HP PCs - Managing user accounts and logins in Windows 10
Passwords and separate accounts help keep the information on the computer private and secure. The information in this document describes the different account types in Windows 10 and explains how to change account types and how to save and change passwords and other sign-in options.
This document also explains how use a Microsoft account to sync your personal settings and software applications to other Windows 10 devices, connect apps to accounts, and link contacts.
Recommended: Use a Microsoft-connected account to log in to Windows
There are two ways to sign in to Windows: with a Microsoft account and with a local account. HP recommends using a Microsoft account due to the differences between the two ways.
Microsoft account
-
Log in to Windows using an email address and password.
-
Reset your password or manage your account using a different device at any time.
-
Sync your settings and files across desktops, laptops, and phones.
-
Install Desktop apps and apps from the Microsoft Store.
Local account
-
Log in to Windows using a user name and password.
-
Reset password or manage account.
-
Access the system resources and customize the computer with your own settings and preferences.
-
Install Desktop apps, but not apps from the Microsoft Store.
HP recommends using a ‘connected account’ with Microsoft to sign in to Windows. The email address that you use to set up the Microsoft account does not need to be a Microsoft or Hotmail email address. Any email address works.
For steps to create a Microsoft account in Windows 10, see Create a new account.
CAUTION:
If you use a local-user account, HP cannot recover or reset your password if it is lost or forgotten.
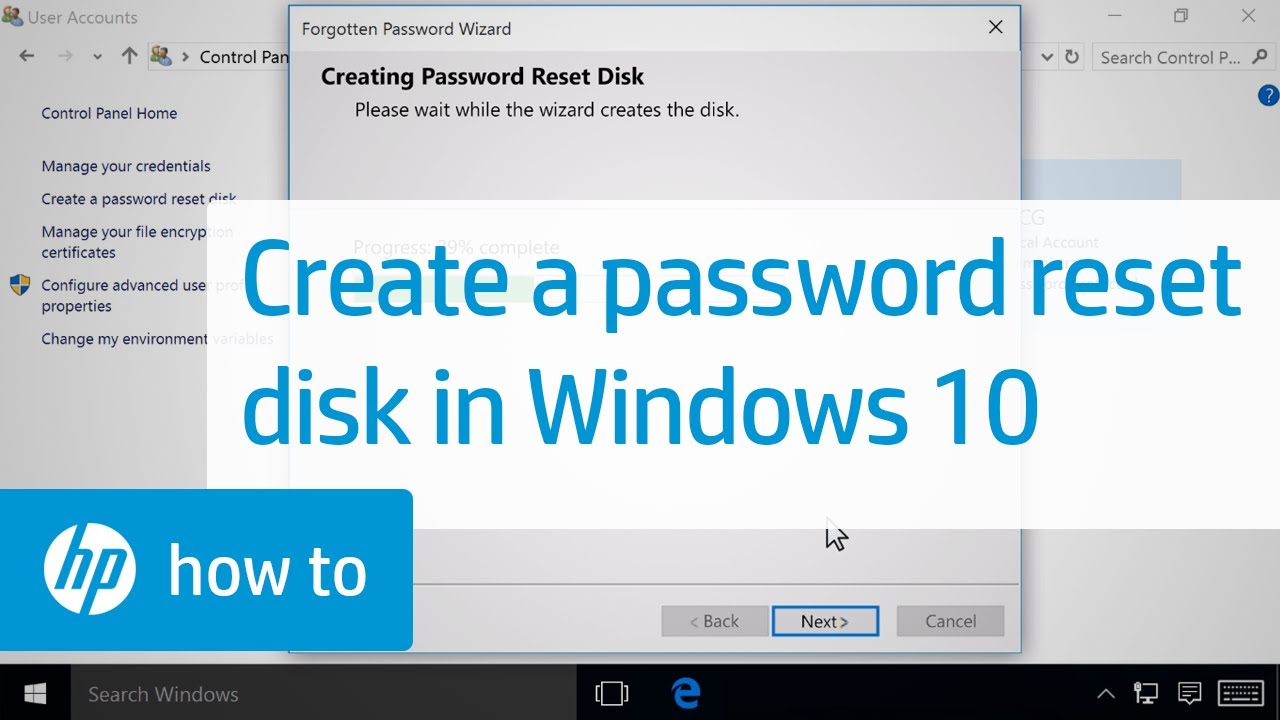
HP strongly recommends creating a password reset disk to enable you to reset your password in case it is forgotten. If you do not have a password reset disk and you forget your password, you might be directed to perform a full recovery to original factory conditions. In that case, you lose any data that was not backed up to an external location. For more information about creating a password reset disk, see HP PCs, Tablets - Creating a Password Reset Disk (Windows).
Types of user accounts in Windows 10
There are two types of user accounts in Windows 10, with each account type having different levels of access. The following list shows the account types and levels of control for each.
Standard account
-
Can be a local user account or Microsoft-connected account.
-
Change, edit, or delete the password.
-
Change the account picture.
-
Cannot install or open new programs.
Administrator account
-
Can be a local user account or Microsoft-connected account.
-
Create accounts.
-
Set and change privileges.
-
Change passwords for user accounts.
-
Install and open certain programs.
Create a new account
Create a new account using the Accounts settings.
-
In Windows, search for and open Manage your account. You can also click Start
, select Settings
, and then select Accounts.
-
On the Accounts window, select Family & other users, and then click Add someone else to this PC.
-
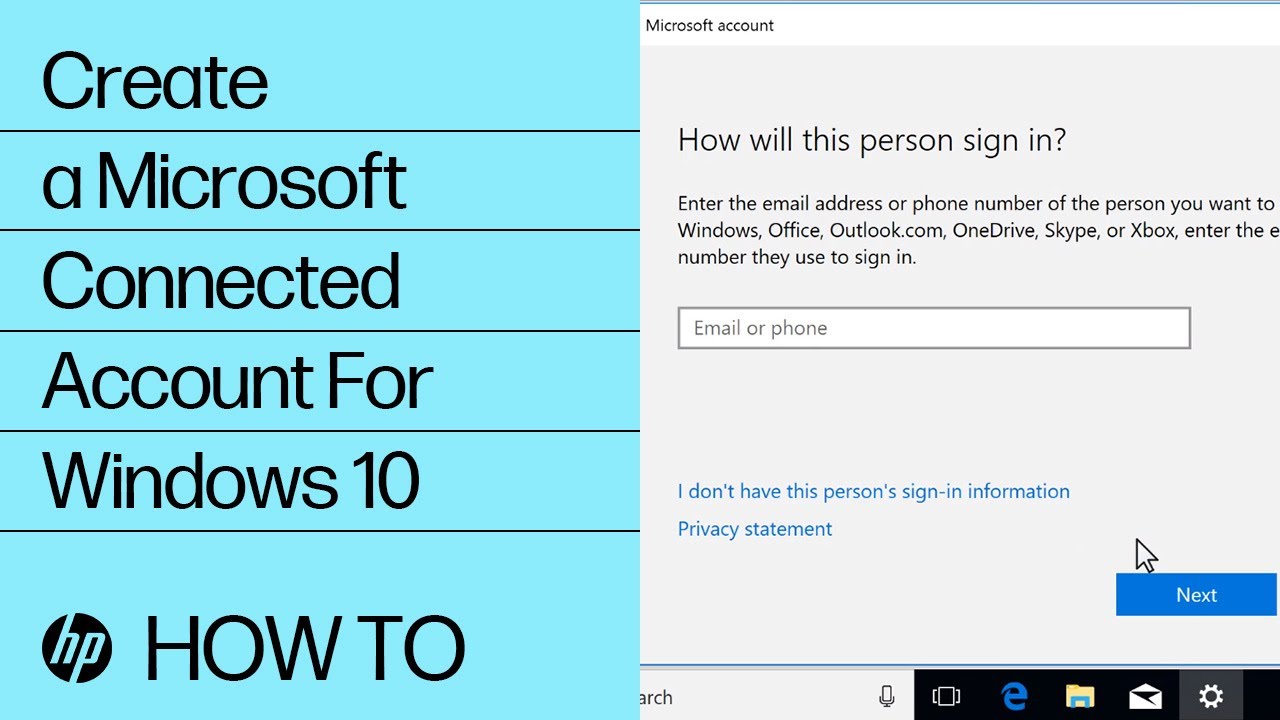
On the How will this person sign in? screen, choose an option depending on whether you have the sign-in information for the new account.
-
If you have the sign-in information: Type the email address or phone number of the person for whom the new account is being set up, and then click Next. Click Finish. The new account is created.
-
If you do not have the sign-in information: Click I don't have this person's sign-in information, and then continue with these steps.
-
-
Type an existing email address or create a new one, type a password, select your country or region, select your birth date information, and then click Next to create a new Microsoft account (MSA).
Note:If you do not wish to create a new MSA, select Add a user without a Microsoft account, and then create a user name and password for a new local account.
-
To create a local account, type the user name of the person for whom the new account is being set up. Type a password in the Enter password field, then type it again in the Re-enter password field. Next, choose a security question from the Security question 1 field and type your answer in the Your answer field. Do this again for the two remaining security questions. Click Next. The new account is created.
Use a Microsoft account
When using a Microsoft account in Windows 10, you can do a variety of things, including the following.
-
Access files from other computers and devices using OneDrive.
-
Install Microsoft Store apps you already own on other devices.
-
Link all your contacts using the People app.
Access files from other devices using OneDrive
Files stored on OneDrive can be viewed, uploaded, and shared from other computers and devices. For more information, see Sync files with OneDrive in Windows (in English) from Microsoft Support.
Install your apps on other devices
Apps obtained from the Microsoft Store can be installed on up to five Windows 10 computers. Go to the Microsoft Store to see a list of apps you own and to install the apps on other computers.
-
On the taskbar, click the Store icon
.
-
In the Microsoft Store, click the More icon
, and then select My Library.
-
Find the app you want, and then select Install.
Link accounts and contacts with the People app
Link Twitter, Outlook, LinkedIn, and other accounts to the People app, where you can add contacts from lists and address books. View the online status of your contacts, as well as ways to interact with them.
Add your accounts to the People app
Add your email, social networking, and other accounts to the People app. The instructions also work for linking accounts to other apps.
-
Click Get started.
-
Click Import contacts.
-
Select the type of account you want to add. Choose from Outlook.com, Exchange, Google, Yahoo!, or iCloud.
Adding multiple modes of contact to one profile
When you have multiple modes for contacting a person, such as email and Twitter, you can add all profiles for each contact in the People app. All ways to communicate with a contact display in the People app profile.
-
Add or remove a contact from the selected contact's profile:
-
To add a contact to a profile, click Find a contact to combine, and then select the contact you want to add.
-
To remove a contact from a profile, click Separate under the contact.
-
Pin a contact to the taskbar
There are a few methods you can use to pin a contact's profile to the taskbar. The contacts display as icons on the taskbar.
-
Choose a method.
-
Open the contact's profile, click the Pin icon
, and then select Pin to taskbar.
-
If the People icon
is displayed on the taskbar, click the icon, click Find and pin contacts, and then select the contact you want to pin to the taskbar.
-
Change your Microsoft account password
If you know your current Microsoft account password and want to change it, use the Accounts settings to change your password.
-
In Windows, search for and open Manage your account. You can also click the Start icon
-
On the Accounts window, select Sign-in options, and then select Password.
-
Type your current password and a new password in the appropriate fields, and then click Next.
Callout
Description
1
Current password field
2
New password field
Set up local account security questions
Set up security questions to avoid losing access to your local account if you forget your password.
-
In Windows, search for and open Manage your account. You can also click Start
-
On the Accounts window, select Sign-in options, and then select Password.
-
In the Password area, click Update your security questions. If a window prompts you to verify your identity, type the requested credentials.
-
Select a security question from the Security question 1 field and type your answer in the Your answer field. Repeat this for the two remaining security questions.
Your security questions are now updated.
Create a password reset disk before you forget your local account password
If you prefer to use a local-user account, HP strongly recommends creating a password reset disk to enable you to reset a forgotten password. Create the password reset disk before you forget your password, while you have access to Windows. If you do not have a password reset disk and you forget your password, you might be directed to perform a full recovery to original factory conditions. In that case, you can lose any data that was not backed up to an external location.
For more information about creating a password reset disk, see Creating a Password Reset Disk (Windows).
Reset a lost password
When you forget your password, use the following instructions to create (reset) a password in Windows 10.
Reset your Microsoft account password
If you have forgotten the password that you use to sign in to Windows 10, you can reset the password using any computer or device that has internet access. Sign in to the other device and use the following instructions.
-
Go to the Microsoft Recover your account page (in English).
-
Enter your Microsoft account email, and then click Next.
-
Follow the on-screen instructions to reset your password.
When the password is reset, you can use your Microsoft account with the new password to sign in to your Windows 10 device. Make sure that Windows 10 is connected to the internet before you attempt to sign in.
Reset your local user account password using security questions
You can reset your forgotten password by answering the security questions you set up when you created your local account.
To use this option, you must have previously set up security questions for your local account.
Note:
If you continue to use a local account, you might not be able to reset your password if it is lost or forgotten. HP recommends using a Microsoft account to sign in to Windows. With a Microsoft account, your password can be reset using any internet-connected device at any time.
-
If the password was entered incorrectly, a message is displayed indicating the password is incorrect. Click OK.
-
Your three security questions display. Type your secret answers to each question. After the last question, press Enter.
-
In the spaces provided, type a new password, and then type it again to confirm. When done, press Enter.
You are now signed in and your local password is reset.
Reset your local user account password using a password reset disk
If you have forgotten the password of your user account and you have a password reset disk, you can reset the password using the password reset disk. Find the disk or USB flash drive and use the following steps to reset the local account password.
Note:
This method applies to local accounts only. A password reset disk does not reset a Microsoft account password. If you do not have a password reset disk, use one of the other sections in this document to access Windows.
-
If the password was entered incorrectly, a message is displayed indicating the password is incorrect. Click OK.
Change the local user account password from another user account
If you have forgotten the password of your user account, you can change the local user account password using another administrator account on the system. Use the following steps if there is another account on the system that has administrator rights. You might need help from the owner of the account.
-
In the Control Panel search field, type User Accounts, and then click User Accounts from the list.
-
Click Manage another account.
-
Select the local account with the forgotten password.
-
Click Change the password.
-
Click Change password.
You can now sign in to the local account using the new password.
Access your account when no other option is available
If you do not have a Microsoft-connected account, there are no other accounts in Windows with administrator rights, and you do not have a password reset disk, try these other options.
-
You can perform a Windows reset to completely erase all files, including local account password information, and reset the computer back to its original settings. For more information, see HP PCs - Reset the computer.
-
Call local computer repair and service stores. Local stores might offer password recovery services for a fee.
Set up an account PIN
A Windows 10 account PIN replaces reusable passwords with the combination of a specific device and the PIN.

-
In Windows, search for and open Manage your account. You can also click Start
-
On the Accounts window, select Sign-in options, and then select Windows Hello PIN.
-
In the Windows Hello PIN area, click . If a window displays prompting you to verify your identity, type the requested credentials.
-
On the Windows Security window, type a PIN, type the PIN again to confirm, and then click OK.
Callout
Description
1
PIN field
2
Confirm the PIN field
Your account PIN is set up, and you can use it to sign in.
Set up Windows Hello
Windows Hello lets you unlock your Windows 10 devices by using your fingerprint, facial recognition, PIN, or picture password. This technology is much safer than traditional passwords since you and your device provide the authentication to Windows, your apps, and your data.
If your computer has the necessary hardware (fingerprint reader or IR web camera), Windows Hello is installed automatically during the Windows installation.
To set up these features, go to HP PCs - Set up sign-in options for Windows Hello (Windows).
Set administrator privileges for an account
If a standard account requires administrator privileges, you can log into any account that already has administrator privileges and change the account settings.
-
In Windows, search for and open Manage your account. You can also click Start
-
Select Change account type.
-
Click the Account type drop-down menu.
-
Select Administrator, and then click OK.
Remove a password from a local account
If you do not want the computer to require a password to sign in to your local account, remove the password using the Accounts settings.
Note:
If you use a Microsoft account, you cannot remove the password.
-
In Windows, search for and open Manage your account. You can also click Start
-
On the Accounts window, select .
-
In the Password area, click Change.
-
On the Change your password window, leave all the fields empty, and then click Next.
Add a password for a local account
If your local account does not use a password, but you want the computer to require a password to sign in to your account, use the Accounts settings to set a password.
-
In Windows, search for and open Manage your account. You can also click Start
-
On the Accounts window, select .
-
In the Password area, click Add.
-
Click Next.
Disable the password requirement
If you do not want the computer to require a password to sign in for all user accounts, you can disable the password requirement.
Note:
If your computer is connected to a network domain, you might not be able to disable the password requirement.
-
Remove the selection from the Users must enter a user name and password to use this computer check box, and then click OK.
-
In the appropriate fields, type your password, type your password again to confirm, and then click OK.
Enter a topic to search our knowledge library
What can we help you with?

Need Help?