Print photos with an HP printer
Print photographs by using the correct paper and settings for your print job.
Tips for printing quality photos
-
Use HP photo paper: HP photo papers are optimized for use with inkjet printers and provide quality prints for craft projects or framing.
-
Take high resolution photos: Higher resolution pictures result in clearer and more vibrant prints.
-
Edit photos before printing: Before printing, use photo editing tools to crop the image and improve colors, brightness, contrast, and any other appearance settings.
-
Select Best or Max DPI quality in print settings: Higher print quality settings provide best results.
Load photo paper
Load paper in the photo tray if your printer has one, or use the main paper tray.
Load photo paper into the photo paper tray
Load compatible photo paper into the photo tray on your HP printer.
Note:
Use the photo paper tray to print smaller-sized photos that are supported by your printer, such as 102 x 152 mm (4 x 6 in) and 127 x 178 mm (5 x 7 in).
-
Adjust the paper guides so they rest on the edge of the photo paper.
Load photo paper into the main input tray
Load compatible photo paper into the main input tray on your HP printer.
Note:
If your printer has a separate photo paper tray, consult your user guide on how to print from the tray.
-
Remove any plain paper from the main paper tray.
-
Load the short edge of the photo paper into the tray. If the paper has a perforated tab, load the paper so the tab faces up or towards you to prevent printing on it.
-
Inkjet printers with a rear load tray: Load inkjet photo paper glossy or print side facing up
-
Inkjet printers with a front load tray: Load inkjet photo paper glossy or print side facing down
-
LaserJet printers with a front load tray: Load laser photo paper glossy or print side facing up
-
-
Adjust the paper width guides so they rest against the edges of the paper.
Print the photo
Print the photo using HP Smart, Windows apps, or Mac apps.
Watch a video overview
Watch one of the following videos to learn how to print photos from your HP printer using the HP Smart app.


Print photos (HP Smart app)
In HP Smart, use the Print Photos tile to print photos from your computer or mobile device.
Print photos with the HP Smart app (Android, iOS)
Print photos using the HP Smart app for Android or iOS.
-
Open the HP Smart app. If you do not have the HP Smart app, download it from 123.hp.com.
-
Tap the Print photos tile, and then select the photo you want to print.
-
On the Preview screen, change any print job settings, and then tap Done.
-
Tap Print (Android) or Print Preview (iOS), and then change any other settings, such as paper size, color, and print quality.
-
When you are done, tap the Printer icon
(Android) or Print (iOS).
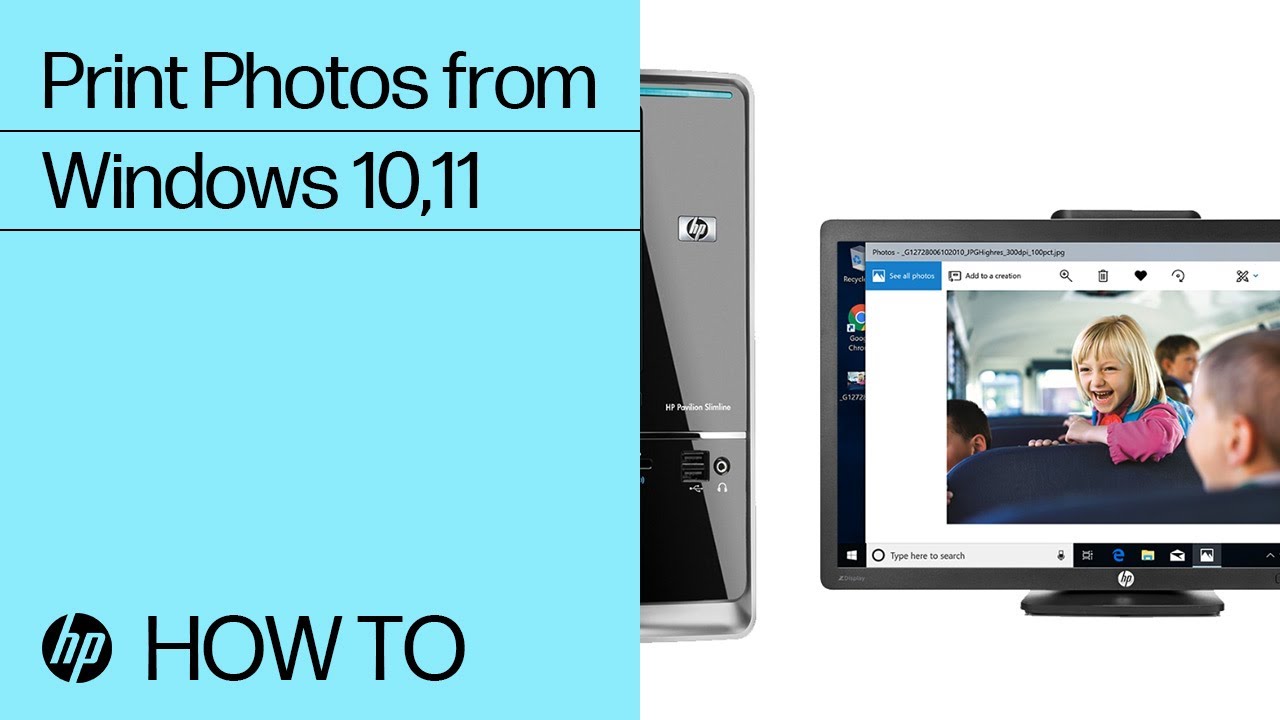
Print photos (Microsoft Photos app)
Print your photo from Windows photo editing software after changing the print settings.
-
Right-click the photo, and then click Print.
Print photos - (Mac Photos app)
Print your photo from photo editing software after changing print quality settings.
-
Click the Spotlight icon
to search for an open Preview Click to open the photo you want to print, and then click .
-
Click the settings names or the print options menu in the center of the window to access all settings by category.
-
Color or black and white: Enable or turn off Print in Color or Black & White. The Presets menu also includes color and black and white options.
Note:If you regularly print in black and white, but find that color ink is also used, your printer model uses a mix of black and color inks to decrease grain. Additionally, some ink is used from all cartridges to perform periodic servicing that prevents clogs and other print quality issues. There is no way to bypass these features.
-
Paper type (plain, specialty): Select the paper type in Media & Quality to ensure the printer properly applies the ink to the paper you loaded in the printer.
-
Paper size: Select the paper from the Paper Size menu on the main dialog if present, or click Paper Handling, select Scale to fit paper size, and then select the paper in the Destination Paper Size menu.
-
Orientation: Select the Orientation of the photo, Portrait for vertical or Landscape for horizontal.
-
Paper tray: Select the tray you loaded the paper into in Media & Quality if your printer has more than one tray.
-
Custom paper size: Click Manage Custom Sizes in the Paper Size menu, if available. The setting might also be available in the menu.
-
Print quality: From the Quality or Print Quality menu or slider, select Best, Normal, or Draft.
-
Add or remove a border: Click Layout, and then click the Border menu to select a border width or select None for borderless prints.
Note:Some paper sizes have multiple options. Make sure to select the correct borderless paper size, such as 4x6 in/10x15 cm Borderless, if you want to print a borderless photo.
-
Mirror printing: Reverse an image or document for printing iron-on transfers. Click Layout, and then select the Flip horizontally option.
-
Frequently asked questions (FAQs)
Still have a question? Find additional answers and help.
How do I print a panoramic photo?
Print a panoramic photo using the HP Smart app.
-
If you want to change the photo appearance, click the Edit icon
, and then adjust the settings.
How do I print a two-sided photo?
Print a two-sided photo using the HP Smart app for Android and iOS.
Note:
Two-sided photo printing is available for mobile devices using the HP Smart app with an HP ENVY Inspire printer and 102 x 152 mm (4 x 6 in) matte photo paper.
-
If you want to change the photo appearance, tap the Edit icon
-
Open the print settings, and then select 4x6" 2-Sided (iOS) or 4x6" Two-Sided (Android).
Example of the two-sided photo option (iOS, Android)
Enter a topic to search our knowledge library
What can we help you with?

Need Help?