solution Contentsolution Content

HP Deskjet, Photosmart 6520 Printers - First Time Printer Setup

This document is for HP Deskjet Ink Advantage 6525 and HP Photosmart 6520, 6521, and 6525 e-All-in-One printers.
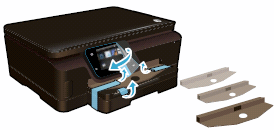
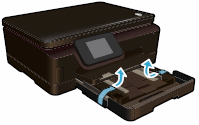
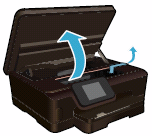
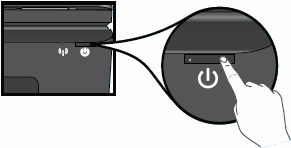
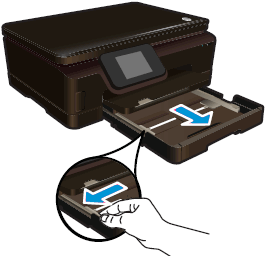
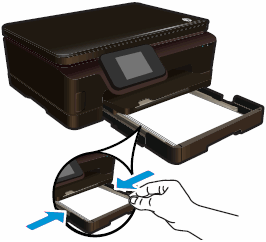
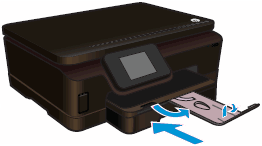
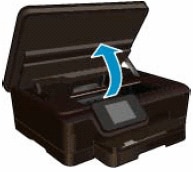
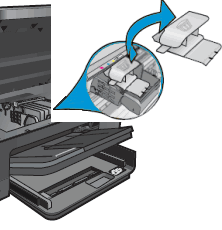
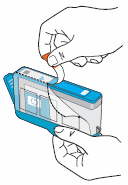
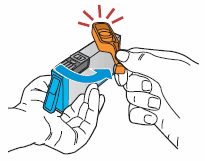
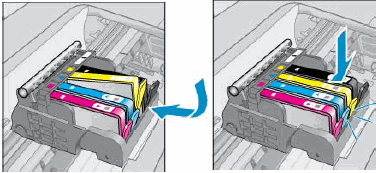
To set up a printer for the first time, remove the printer from the box, connect the power cord, load paper, and then install and align the ink cartridges.
note:
If you are looking for the printer software, go to 123.hp.com.

Step 1: Remove the printer from the box

Remove all tape, stickers, and packing materials from the printer.
  1. Remove the printer from the box.
  2. Remove the packing tape and material from the outside of the printer.
     Remove  packing tape and  materials
  3. Pull out the input tray, remove the packing tape, and then push the tray back into the printer.
    Pull out the input tray and remove the packing tape
  4. Open the cartridge access door, remove the packing tape from inside the printer, and then close the access door.
    Open the cartridge access door and  remove the packing tape

Step 2: Connect the power cord and set preferences

Plug the printer into an electrical outlet, turn on the printer, and then set your preferences.
note:
Do not connect a USB cable at this time. The connection to the computer is established during software installation.
  1. Connect the power cord to the rear of the printer, and then plug the other end into a wall outlet.
    Connect the power cord
  2. Press the Power button to turn on the printer.
     Press the Power button
  3. Select your preferred language and country/region.

Step 3: Load paper into the input tray

Load plain U.S. letter or A4 paper in the paper tray.
  1. Pull out the input tray until it stops, and then slide the paper guides to their outermost positions.
     Pull out the imput tray and slide out the paper guides
  2. Remove any previously loaded media.
  3. Load a stack of plain paper into the input tray with the short edge first and the print side down. Push the stack into the tray until it stops.
    Load  paper into the input tray
  4. Slide in the paper guides until they rest against the edges of the paper.
    Slide in the paper  guides
  5. Push the input tray into the printer, and then open the paper tray extender.
     Push in the input tray  and open the paper tray extender

Step 4: Install the ink cartridges

Install the HP ink cartridges that shipped in the box with your printer.
  1. Open the cartridge access door. The carriage moves to the access area.
    Open the cartridge access door
  2. Remove the protective cap from the carriage.
     Remove the protective cap from the carriage
  3. Pull the orange tab to remove the plastic wrap from a cartridge.
    Remove the plastic wrap from a cartridge
  4. Twist the orange cap counter-clockwise until it snaps off.
    Remove the orange cap from the cartridge
  5. With the nozzle and the contacts facing down, push the cartridge into its slot. Press down on the cartridge until it clicks into place. Make sure that the color icon on the cartridge label matches the color icon on the slot.
     Insert the cartridge
  6. Repeat these steps to insert the other cartridges.
  7. Close the cartridge access door.
    Close the cartridge access door
  8. When you insert a new cartridge, the printer automatically prompts you to align the cartridges. Touch OK on the control panel to complete the alignment.

Step 5: Install the printer software

Your printer hardware is now set up and you can install the printing software. Do not attempt to connect the printer until instructed to do so during the installation.
Download the latest software version from 123.hp.com.