HP PCs - Sleep and Hibernate issues in Windows 10
The computer does not go into sleep mode, does not wake up from sleep mode, or wakes up from sleep mode unexpectedly. The issue might occur after an upgrade to Windows 10.
The computer does not wake up from sleep or hibernate mode
If the computer does not wake from sleep or hibernate mode, restarting the computer, changing settings, or updating the software and drivers might resolve the issue.
If you have a notebook computer that cannot return from sleep mode, first make sure it is connected to a power source and the power light is on.

Restarting the computer
Restarting your computer erases all information in the computer memory, which might restore functionality. If the issue persists after restarting the computer, enable the keyboard to wake the computer.
Enabling the keyboard to wake the computer
Enabling your keyboard to wake your computer from sleep mode might resolve the issue.
-
Select the arrow next to Keyboards, and then select the name of your keyboard.
-
Select Allow this device to wake the computer.
If the issue persists after setting the keyboard to wake the computer from sleep mode, check for Windows 10 updates.
Installing computer updates using Windows Update
Find and install updates for your computer with Windows 10.
Changing advanced options for Windows Update
Open the Advanced options menu for additional settings for Windows Update.
-
In the Windows Update window, select Advanced options.
For more information about using Windows Update, see HP PCs - Updating drivers and software with Windows Update (Windows 10).
Update the PC with HP Support Assistant
Use HP Support Assistant to find and install updates, including BIOS updates, for your computer with Windows.
-
In Windows, search for and open HP Support Assistant, or click the app icon
in the taskbar.
If the app is not installed on your computer, download the latest version from the HP Support Assistant website.
Using the Windows Power troubleshooter to fix problems
The Windows Power troubleshooter can be used to find and fix problems with computer power settings.
To run the Power troubleshooter, complete these steps:
-
In the Troubleshoot computer problems window, under System and Security, select Improve power usage.
-
In the Power window, click Next. The Power troubleshooter starts detecting issues.
Running the Windows 10 Show or Hide Updates troubleshooter package
If your computer does not properly go into sleep mode, the power light remains lit and the fan continues to run, running the Windows 10 Show or Hide Updates troubleshooter package might resolve the issue.
Running the troubleshooter package
Follow these steps to run the troubleshooter package.
-
Change the Update Services setting from Automatic (Delayed Start) to Manual.
-
In the Control Panel search field, type services, and then select Administrative Tools from the list.
-
From the Startup Type menu, select .
-
-
Make sure you have the correct version of the MEI driver installed.
-
Download and run the Windows 10 Show or Hide Updates troubleshooter package.
-
Download the Windows 10 troubleshooter package: http://download.microsoft.com/download/F/2/2/F22D5FDB-59CD-4275-8C95-1BE17BF70B21/wushowhide.diagcab (in English).
-
Run the troubleshooter package, and hide updates to the MEI driver. This step blocks your system from automatically reinstalling or showing updates for version 11 of the MEI driver.
-
-
Use the previous steps to change Windows Update Services setting from Manual to Automatic (Delayed Start).
-
Restart the computer to complete the process.
The computer wakes from sleep mode unexpectedly
If your computer wakes from sleep mode unexpectedly, changing hardware device settings and scanning the computer for viruses might resolve the issue.
Changing device settings in Windows
Activity from hardware devices such as a wireless mouse, keyboards, network adapters, or high definition audio can cause the computer to return from a power savings state unexpectedly. This can cause the computer to wake from sleep mode for no apparent reason.
Network activity can cause the network hardware to wake the computer, especially when the network is always on (for example, cable and DSL connections). Changing the hardware settings might resolve the issue.
-
Clear the box next to Allow this device to wake the computer.
If the issue persists after changing hardware settings, continue to the next step.
Checking for a problem with a connected device
Some devices can cause sleep or standby issues. Disconnect the devices to test if they are causing the issue.
Scanning for and removing viruses and spyware from the PC
Use Windows Security to scan for and remove any viruses, spyware, or other malware from the computer.
-
Quick scan: A quick scan checks the places on the hard disk drive that malware is most likely to infect.
-
Full scan: A full scan checks all files on your hard disk drive and all currently running applications. If you suspect that malware has infected your computer, run a full scan. The scan might take over an hour to complete, and the computer might run slowly during the scan.
-
Custom scan: A custom scan checks specific computer drives and files that you select.
-
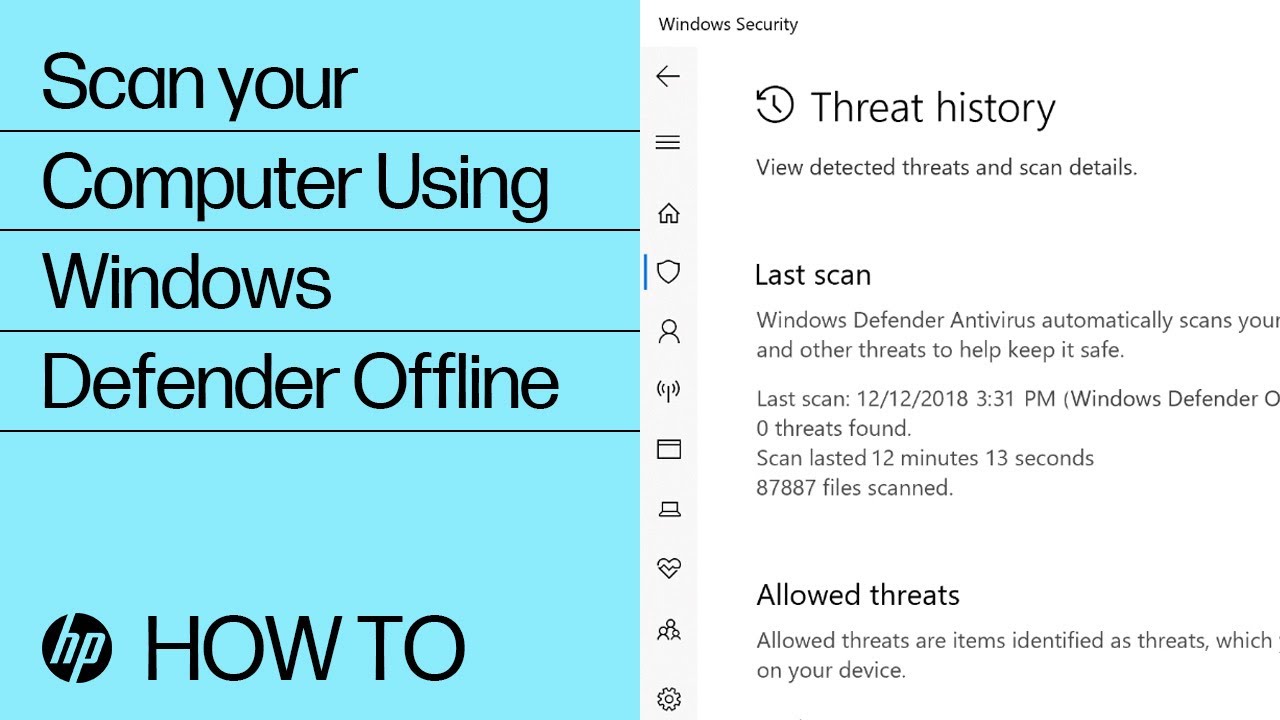
Windows Defender Offline scan: A Windows Defender Offline scan checks for rootkits or highly persistent malware on your computer. Select this option to check for malware outside of the normal Windows system. The scan might take 15 minutes to complete, and the computer restarts as part of the scan.
Note:HP recommends using the Windows Defender Offline scan if you suspect your computer is infected with malware or a virus.
-
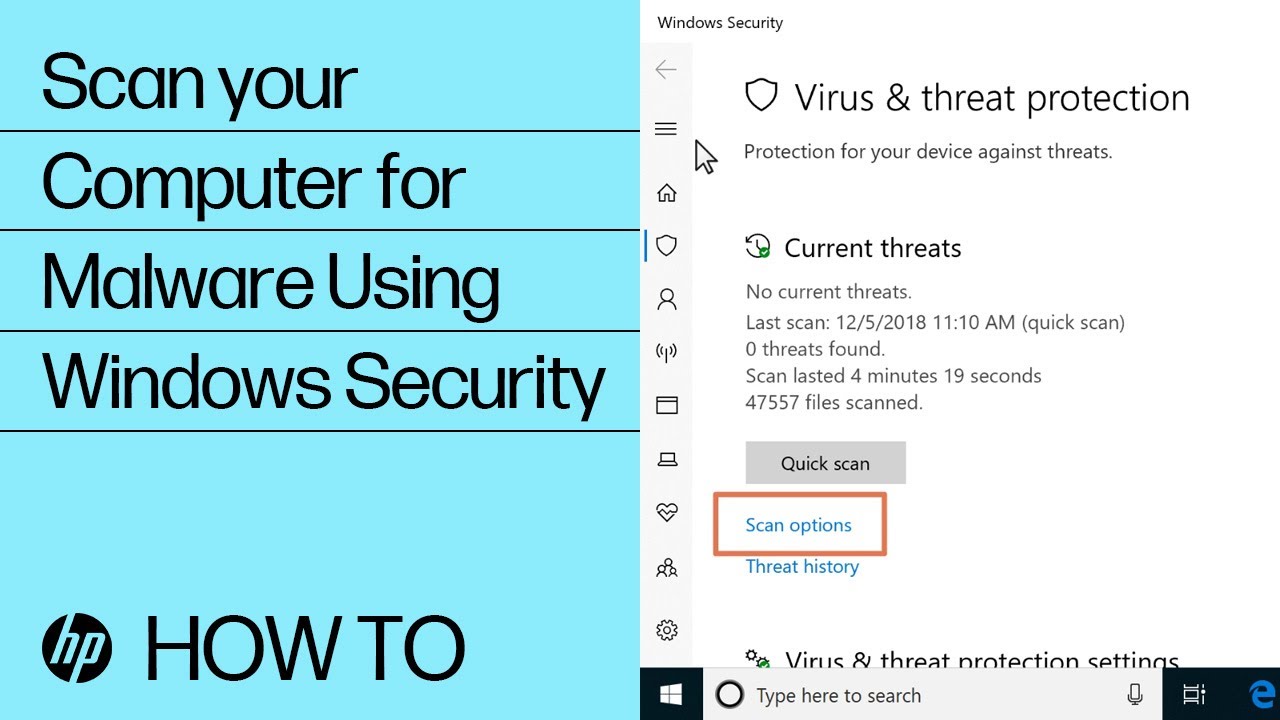
In Windows, search for and open Windows Security, and then select Virus & threat protection
.
-
Click Quick scan, Scan options, or Run an advanced scan, and then select the type of scan you want to run.
-
If you choose Quick scan, the scan begins.
-
If you choose Scan options, continue with these steps to run a full system scan, a custom scan, or a Windows Defender Offline scan.
-
-
Select one of the following options, click Scan now, and then click Scan .
-
If you choose Full scan, the scan begins.
-
If you chooseCustom scan, select the specific drives or folders to scan, and then click Select Folder.
-
If you choose Windows Defender Offline scan, save any open files, and then click Scan. If a User Account Control window opens, click Yes.
Note:The computer restarts when an offline scan completes.
-
The computer does not go into sleep or hibernate mode
If the computer does not go into sleep or hibernate modes, troubleshoot by checking power settings, installing software and driver updates, and scanning for viruses.
Changing a Windows power plan
You can change specific settings in any of the power plans using the following procedure.
To change power plan settings, complete the following steps:
-
In the Choose or customize a power plan window, click Change plan settings next to the plan you want to change.
-
To change more power settings, click Change advanced power settings.
-
On the Advanced settings tab, expand the category you want to customize, expand each setting you want to change, then choose the values you want to use.
Installing computer updates using Windows Update
Find and install updates for your computer with Windows 10.

Changing advanced options for Windows Update
Open the Advanced options menu for additional settings for Windows Update.
-
In the Windows Update window, select Advanced options.
For more information about using Windows Update, see HP PCs - Updating drivers and software with Windows Update (Windows 10).
Update the PC with HP Support Assistant
Use HP Support Assistant to find and install updates, including BIOS updates, for your computer with Windows.
-
In Windows, search for and open HP Support Assistant, or click the app icon
If the app is not installed on your computer, download the latest version from the HP Support Assistant website.
Scanning for and removing viruses and spyware from the PC
Use Windows Security to scan for and remove any viruses, spyware, or other malware from the computer.
-
Quick scan: A quick scan checks the places on the hard disk drive that malware is most likely to infect.
-
Full scan: A full scan checks all files on your hard disk drive and all currently running applications. If you suspect that malware has infected your computer, run a full scan. The scan might take over an hour to complete, and the computer might run slowly during the scan.
-
Custom scan: A custom scan checks specific computer drives and files that you select.
-
Windows Defender Offline scan: A Windows Defender Offline scan checks for rootkits or highly persistent malware on your computer. Select this option to check for malware outside of the normal Windows system. The scan might take 15 minutes to complete, and the computer restarts as part of the scan.
Note:HP recommends using the Windows Defender Offline scan if you suspect your computer is infected with malware or a virus.
-
In Windows, search for and open Windows Security, and then select Virus & threat protection
-
Click Quick scan, Scan options, or Run an advanced scan, and then select the type of scan you want to run.
-
If you choose Quick scan, the scan begins.
-
If you choose Scan options, continue with these steps to run a full system scan, a custom scan, or a Windows Defender Offline scan.
-
-
Select one of the following options, click Scan now, and then click Scan .
-
If you choose Full scan, the scan begins.
-
If you chooseCustom scan, select the specific drives or folders to scan, and then click Select Folder.
-
If you choose Windows Defender Offline scan, save any open files, and then click Scan. If a User Account Control window opens, click Yes.
Note:The computer restarts when an offline scan completes.
-
Disabling the password requirement when resuming from sleep
If you don't want the computer to require a password when waking from sleep, you can disable the password requirement.

-
On the Accounts window, select Sign-in options.
Disabling hybrid sleep in Windows
The hybrid sleep setting might cause an issue with the sleep mode. Change the advanced power settings to disable hybrid sleep.
-
In the Control Panel search field, type power options, and then select Power Options from the list.
-
Select Change plan settings for the power plan that is selected.
-
Select Change advanced power settings.
-
Select Off from the On battery menu, and then select Off from the Plugged in menu.
Understanding Windows Sleep and Hibernate modes
Use this information for definitions of Sleep and Hibernation.
Sleep: Press the Sleep key on the keyboard, or select Sleep from the Power menu to put the computer in sleep mode.
Closing the display panel on a notebook can also put the notebook in sleep mode. Sleep mode saves the state of all open applications to memory, then powers down both the display panel and hard disk drive.
Only enough power is used to maintain the data in the memory. Restoring from sleep mode happens quickly, in most cases in a matter of seconds. Sleep mode is useful when you need to pause the computer for a short time. However, in a notebook, maintaining the power to the memory modules can drain a battery if the notebook is not plugged in.
Hibernate: Select Hibernate (if available) from the Power menu to put the computer in hibernate mode.
Hibernate saves the state of all open applications to the hard disk, then completely powers off the computer. The computer consumes no power while in hibernate mode.
When you restart the computer, the previous state of all open applications is restored. Restarting from hibernate mode might take longer than restarting from sleep mode. Use hibernate when you do not need your computer for an extended period of time.
Enter a topic to search our knowledge library
What can we help you with?

Need Help?