solution Contentsolution Content

HP Latex 3000 Printer Series - HP Internal Print Server

Start the Internal Print Server

The Internal Print Server starts automatically with Windows, and runs continually, in the background if not in the foreground.
If for some reason it has stopped running, or its window is not visible, you can start it from the Windows Start menu or by double-clicking its icon on the desktop.
When it starts, the main screen appears.

Change the language of the Internal Print Server

When the Internal Print Server starts, it uses the language selected in the Windows Regional and Language Options. To change the selected language:
  1. Open the Control Panel from the start menu.
  2. If you are using the Category View of the Control Panel, open the Clock, Language, and Region category.
  3. Open the Regional and Language Options.
  4. In the Formats tab, change the current format to correspond with the language you want.
  5. Press the OK button.
The change takes effect when Windows is restarted.

Change the units of measurement in the Internal Print Server

To change the units of measurement in the Internal Print Server, select the Tools > Preferences > Units. You can change the units of length and temperature.

Set the Internal Print Server preferences

To change the Internal Print Server's preferences, select Preferences from the Tools menu. In the Preferences window, you will see four tabs.

General tab

  • Units of length and temperature
  • Remarks (to add as a footer to the printed file)
  • Font of footer text
  • Hot folder

Queue Rules tab

  • Action when job fails
  • Action when job has been printed
  • Action when job is removed from the queue

Additional Settings tab

  • Maximum roll length
  • Gap between jobs
  • Nesting gap between images
  • Margins:
    • RIP: Margins are set as defined in the RIP.
    • Center: The image is horizontally centered on the loaded substrate.
    • Default: The default margins are set to 5.0 mm. You can define the default left margin in the Job Properties window.

Remote Assistance tab

  • Enable remote assistance
  • Enable proxy server and give details

Internal Print Server menus

The Internal Print Server provides the following menus.
The File menu
  • Add New Job
  • Add Existing Job
  • Edit Job
  • Delete Job
  • Exit
The Information menu
  • Alerts
  • Supplies
  • Service information
The Printer menu
  • Printing adjustments
  • Printhead alignment
  • Printhead cleaning
  • Replace printheads
  • Replace cleaning roll kit
  • Advance calibration
  • Enable/Disable collector
The Substrate menu
  • Load/Unload
  • Settings
  • Create
  • Edit
  • Clone
  • Rename
  • Remove
  • Color calibration
  • Presets management
  • Find new presets
The Tools menu
  • Preferences
  • HP Print Care
  • Proactive Support
  • Firmware update
  • Wake up
  • Shut down
  • Reinitialize carriage
The Help menu
  • About
  • User's guide

Printer status and alerts

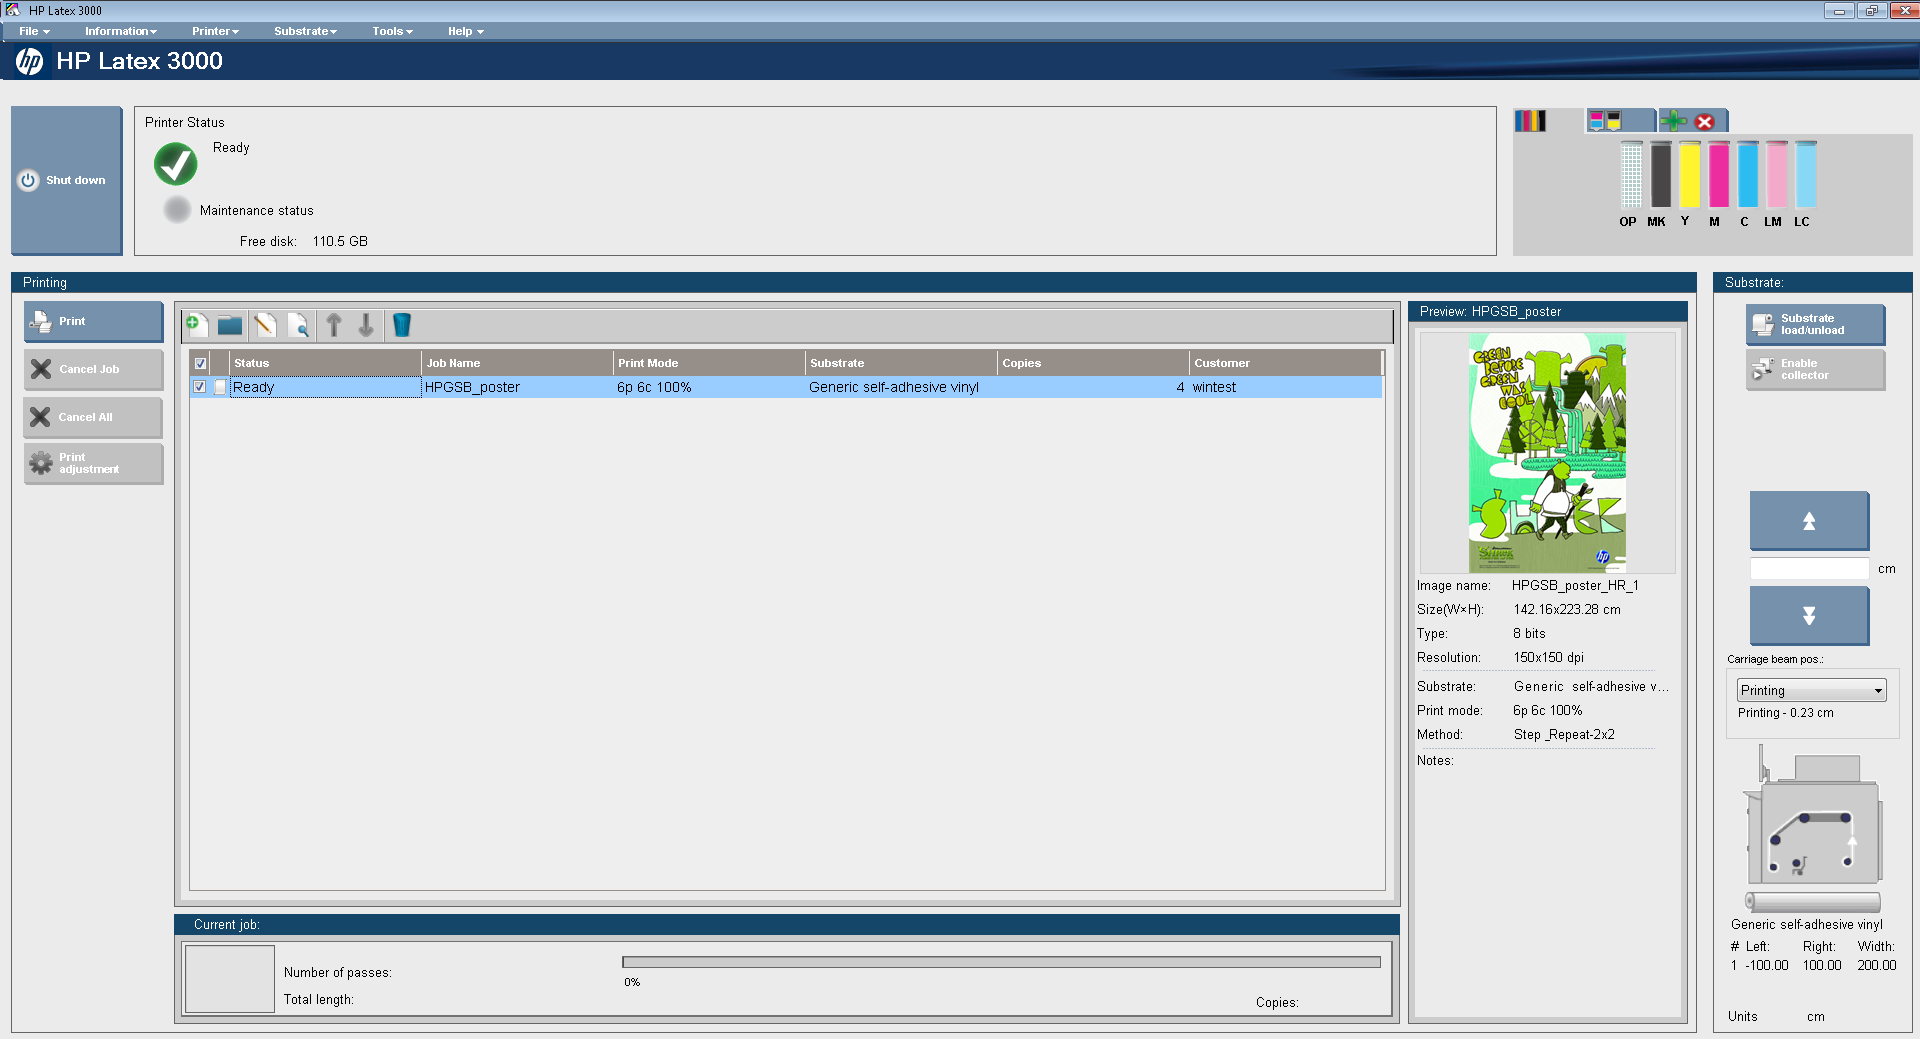
The Internal Print Server displays the general status of the printer, the maintenance status, the loaded substrate, and the ink system.
The printer can communicate the following types of alerts:
General status
  • Errors: When the printer is unable to print.
  • Warnings: When the printer needs attention for an adjustment, such as a calibration, preventive maintenance or ink cartridge replacement.
A summary list of printer alerts appears in the main window of the Internal Print Server. To display a more complete and detailed list, select Information > Alerts.
For more information about a particular alert, see Printer messagesPrinter messages.
Maintenance status
  • Green light: No maintenance is needed.
  • Yellow light: Maintenance procedure date is approaching. Press the yellow button to check Print Care for details. See HP Print CareHP Print Care.
  • Orange light: Maintenance is required. Press the orange button to check Print Care for details.
  • Red light: Maintenance is required urgently. Press the red button to check Print Care for details.
  • Grayed out: Print Care is not running. Press the orange button.

Update the firmware and the Internal Print Server

note:
When updating the firmware and the Internal Print Server, first update the firmware and then the Internal Print Server.

Update the firmware

From time to time firmware updates will be available from Hewlett-Packard. These updates increase the printer's functionality and enhance its features.
Firmware updates can be downloaded from the Internet and installed in your printer using the Internal Print Server: select Firmware update from the Tools menu.
Follow the instructions on your screen to download the firmware file and store it on your hard disk. Then select the downloaded file and click Update.
The firmware includes a set of the most commonly used substrate presets. Extra substrate presets can be downloaded separately; see Substrate presetsSubstrate presets.

Update the Internal Print Server

note:
Remove the previous version of the Internal Print Server in the printer's built-in computer before installing the new version.
  1. Remove the current version of the Internal Print Server through the control panel. Select Uninstall Internal Print Server Application (this deletes any current job in the queue, but not ripped files).
  2. Download the file to the built-in computer's hard disk (but not to the desktop).
  3. Unzip/extract the files HPIPS.msi and Setup.exe.
  4. Run the file Setup.exe and follow the onscreen instructions until the new software is installed.

Maintain the Internal Print Server

The Internal Print Server runs under Microsoft Windows on the computer supplied with the printer. In that operating environment, there are various things you can check in order to maintain optimum performance. You can make these checks after restarting the computer and before starting the Internal Print Server.
  • The user account should be a Standard account and not an Administrator account.
  • No software should be installed on the computer except the software initially provided by HP (which includes antivirus software).
  • Free space on the hard disk should be at least 10 GB.
  • In the Control Panel, Hardware and Sound > Power Options, the high-performance power plan should be selected and sleep mode disabled.
  • Turn off User Account Control from the User Accounts icon in the Windows Control Panel.
  • User a blank screen saver.
  • Press the start button and right-click Computer. Select Manage > Device Manager > Disk drives. Right-click the hard disk, and select Properties > Policies. Ensure that Optimize for performance, Enable write caching on the disk and Enable advanced performance are all enabled.
  • Ensure that scheduled defragmentation is enabled. Press the start button and right-click Computer. Select Manage > Disk Management. Right-click the hard disk, and select Properties > Tools > Defragment Now, and ensure that Run on a schedule is enabled.
  • In the Control Panel, select System > Advanced system settings > Advanced > Performance > Visual Effects > Custom. Ensure that all effects are disabled except Enable Desktop composition, Enable transparent glass, Smooth edges of screen fonts and Use visual styles on windows and buttons.
  • Open Internet Explorer and select Tools > Internet options > Connections > LAN settings. If a proxy server is used, ensure that Bypass proxy server for local addresses is enabled.
  • Ensure that the computer is connected to the Internet and use Windows Update to ensure that all available updates (including Windows Service Packs) have been installed successfully.
  • Start the Internal Print Server, and use File > Delete job to delete any jobs for which there is no further use.