An 'Out of paper' message displays on the control panel, and the product does not pick up or feed paper. The product might make noises as though it is printing, but no paper moves through it.
Experiencing frequent or recurring paper feed issues?
Follow these guidelines to help prevent paper feed issues:
-
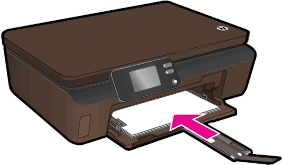
Make sure to push the paper tray into the product until it stops.
-
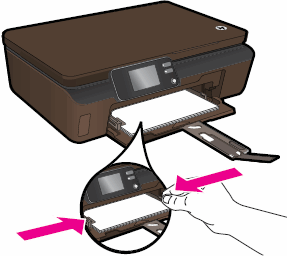
Load at least 10 sheets of paper into the tray, but do not overload the tray.
-
Do not push the paper too far into the tray.
-
Load only one type of paper at a time into the tray.
-
Use only clean unused paper in the tray.
-
Store paper in a cool dry place.
-
Reload paper that has been in the tray for a while. Avoid printing on paper that is dusty.
-
Wait for the product to complete a print job or to display an 'Out of paper' message before reloading the tray.
Causes
Any of the following issues can cause paper feed issues:
-
The paper tray is not pushed into the product until it stops.
-
The paper tray is overloaded.
-
The paper is curled.
-
The print side or shiny side of the paper is not loaded face down in the tray.
-
The paper width guides are too tight against the paper stack.
-
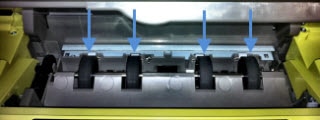
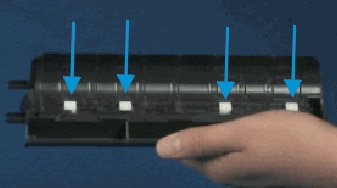
The paper feed rollers are coated with dust.
-
Debris such a as paper clips or bits of paper might have fallen into the paper path.
 Important: You must follow these solutions in the order presented to resolve the issue.

 ), and then touch the Setup icon (
 ).
).

 ) to turn off the product.