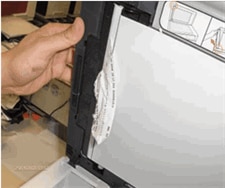
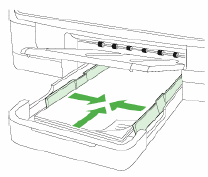
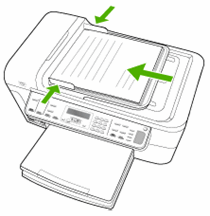
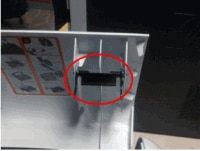
When using the Automatic Document Feeder (ADF) to copy, scan, or fax, the error message 'Original Jam: Clear jam, and then press OK' displays on the product control panel.
-
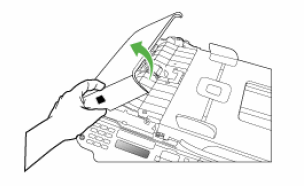
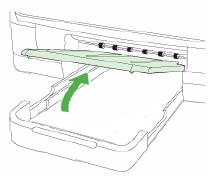
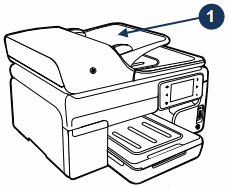
Automatic Document Feeder
Figure : Automatic Document Feeder (ADF)
 ) to turn off the product.