31.03.34 Background missing
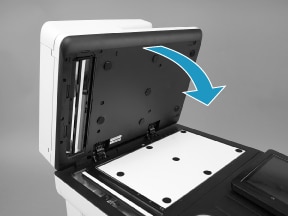
The removable white backing is either missing, not fully snapped into place or dirty.


note:
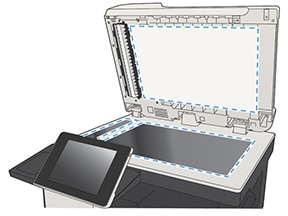
note:If needed, lens cleaner or nonabrasive glass cleaner can be applied to the cloth before cleaning the glass. Spray only onto the cloth and not directly onto the glass or device. Do not spray water or glass cleaner on the glass as it can seep under it and possibly damage the printer. Do not use abrasives, acetone, benzene, ethyl alcohol, or carbon tetrachloride on the glass; these can damage it and/or leave residue on the glass resulting in degraded copy/scan quality.
note:Do not scrub or use paper-based wipes as this can scratch the surface.


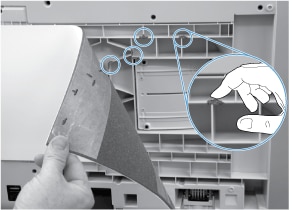
note:If none of the retention clips remain attached to the white backing, skip the remaining sub-sets in this removal procedure.
note:If any of the retention clips or springs are damaged, replace them with the clips supplied in the kit.


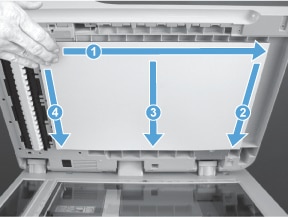
note:Place the corner of the backing that does not have a hook-and-loop fastener in the upper-left corner of the scanner glass.


note:Do not touch the exposed adhesive.


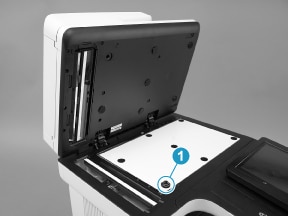
note:One long edge of the foam backing does not have adhesive tape (callout 1). Make sure that this edge is closest to the hinge side of the glass when positioning the foam on the glass.

note:Do not touch the exposed adhesive.

note:One long edge of the foam backing does not have adhesive tape. Make sure that this edge is closest to the hinge side of the glass when positioning the foam on the glass.