solution Contentsolution Content

HP LaserJet Pro P1566, P1606dn Printers - Paper Jam Error

This document is for HP LaserJet Pro P1566 and P1606dn printers.
When clearing jams, be very careful not to tear jammed paper. If a small piece of paper remains in the printer, it could cause additional jams.
  caution:
Before clearing jams, turn the printer off and disconnect the power cord.

Jam locations

Jams can occur at the following locations in the printer.
  1. Internal areas
  2. Input trays
  3. Output bins
  4. Rear door and duplexer (HP LaserJet Professional P1600 printer series)

Clear jams from the input trays

When removing jammed paper, pull the jammed paper straight away from the printer. Pulling jammed paper out of the printer at an angle can damage the printer.
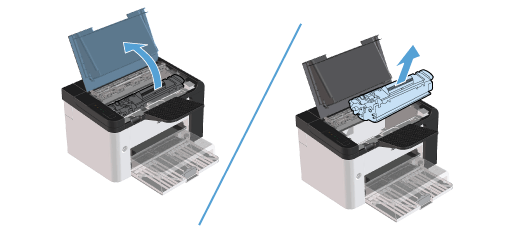
  1. Open the toner cartridge door, and then remove the toner cartridge.
    Remove the toner cartridge
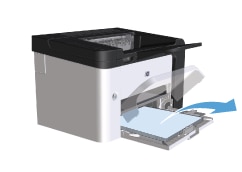
  2. Remove any paper from the input trays.
    Remove all paper
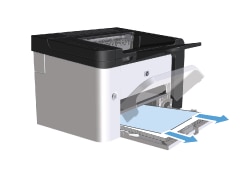
  3. With both hands, grasp the side of the jammed paper that is most visible (this includes the middle), and carefully pull it free from the printer.
    Remove jammed paper
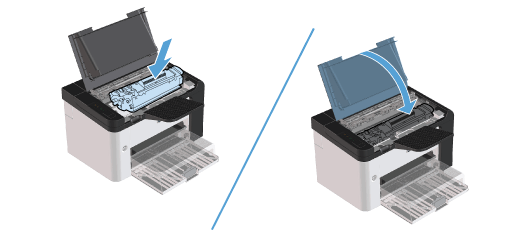
  4. Reinstall the toner cartridge and close the toner cartridge door.
    Install the toner cartridge

Clear jams from the duplexer (P1606dn only)

Remove jammed paper from the duplexer. If your printer does not have a duplexer, skip to the next section.
  1. Open the toner cartridge door, and then remove the toner cartridge.
    Remove the toner cartridge
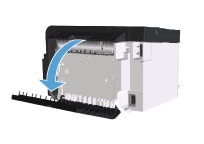
  2. Open the rear door.
    Open the rear door
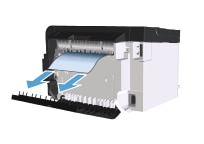
  3. Carefully grasp the jammed paper, and slowly pull it out of the printer
    Remove jammed paper
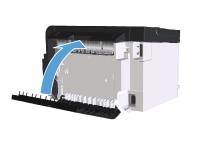
  4. Close the rear door.
    Close the rear door
  5. Reinstall the toner cartridge and close the toner cartridge door.
    Install the toner cartridge

Clear jams from the output areas

Clear jammed paper from the output tray area.
  1. Open the toner cartridge door, and then remove the toner cartridge.
    Remove the toner cartridge.
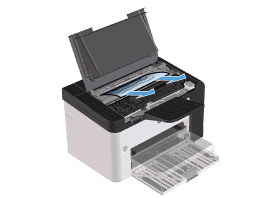
  2. Keep the toner cartridge door open, and then with both hands, grasp the side of the jammed paper that is most visible (this includes the middle), and carefully pull it free from the printer.
    Remove jammed paper
  3. Reinstall the toner cartridge, and then close the toner cartridge door.
    Install the toner cartridge

Clear jams from inside the printer

Clear jammed paper from the toner cartridge access area.
  1. Open the toner cartridge door, and remove the toner cartridge.
    Remove the toner cartridge
      caution:
    To prevent damage, do not expose the toner cartridge to light. Cover it with a piece of paper.
  2. If you can see the jammed paper, carefully grasp the jammed paper, and slowly pull it out of the printer.
    Remove jammed paper
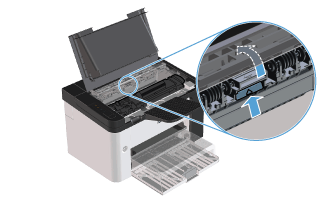
  3. Press the green tab and then open the jam-access door, carefully grasp the jammed paper and slowly pull it out of the printer.
    Remove jammed paper
  4. Reinstall the toner cartridge, and then close the toner cartridge door.
    Install the toner cartridge