solution Contentsolution Content

HP LaserJet Pro M402, M403, MFP M426, MFP M427 - Removal and replacement: Optional Tray 3 separation roller assembly

Introduction

This document provides the procedures to remove and replace the separation roller assembly (500-sheet feeder).

Before performing service

Turn the printer power off
  • Disconnect the power cable.
      warning:
    To avoid damage to the printer, turn the printer off, wait 30 seconds, and then remove the power cable before attempting to service the printer.
Use the table below to identify the correct part number for your printer. To order the part, go to www.hp.com/buy/parts.
Separation roller assembly (550-sheet feeder) part number
RM2-5745-000CN
Separation roller assembly (550-sheet feeder)

Required tools

  • No special tools are required to install this kit.

After performing service

Turn the printer power on
  • Connect the power cable.
  • Use the power switch to turn the power on.

Post service test

Make sure that the printer initializes to a Ready state.
Print a page from the accessory to make sure that the accessory is functioning correctly.
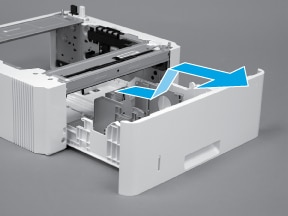
Step 1: Remove Tray 3

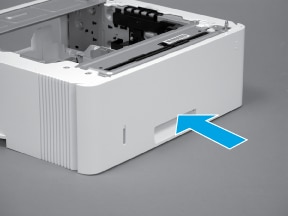
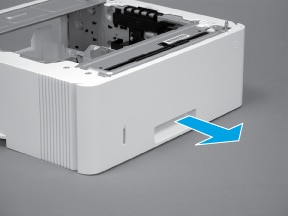
  1. Pull the tray straight out of the printer until it stops.
    Figure : Pull the tray out of the printer
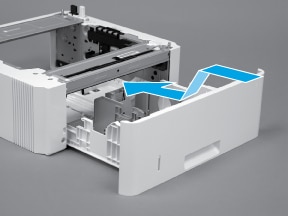
  2. Slightly lift up on the front of the tray to release it, and then continue to pull the tray out of the accessory to remove it.
    Figure : Release and remove the tray

Step 2: Remove the separation roller assembly (optional Tray 3)

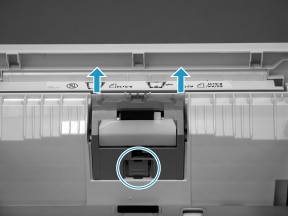
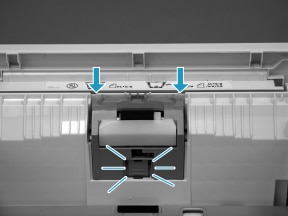
  1. Press the locking lever (callout 1), and then pull the separation roller assembly straight up to release it.
    Figure : Release the assembly
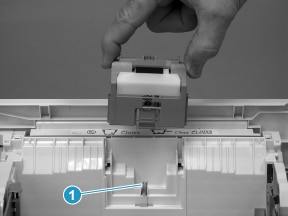
  2. Remove the assembly.
    Figure : Remove the assembly

Step 3: Unpack the replacement assembly

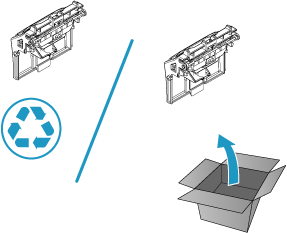
Unpack the replacement part from the packaging.
note:
HP recommends responsible disposal of the defective part.
Recycle and unpack
Figure : Recycle and unpack

Step 4: Install the separation roller assembly (optional Tray 3)

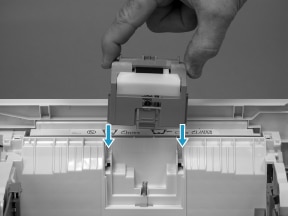
  1. Install the assembly in the slots in the cassette.
    Figure : Install the assembly
  2. Push the separation roller assembly straight down until it snaps into place.
    Figure : Release the assembly

Step 5: Install Tray 3

  1. With the tray at a slight angle, align the sides of the tray with the rails in the accessory, and then partially slide the tray into the accessory.
    Figure : Install the tray
  2. Push the tray straight into the accessory to close it.
    Figure : Close the tray