solution Contentsolution Content

HP LaserJet Pro - Set up, Install, and Configure AirPrint

Introduction

Use this document to get started with AirPrint to print wirelessly to an HP LaserJet Pro printer from an iPad, iPhone, iPod Touch, or Mac computer.
 
To watch a tutorial to print from a USB, go to:
How to Print from a USB Drive on HP Color LaserJet Pro M454, MFP M479 Printers
Learn how to print from a USB drive on HP LaserJet Pro M304, M305, MFP M329, MFP M428, MFP 429, and Color LaserJet Pro M454, MFP M479 printers.
To watch a tutorial on copying, go to:
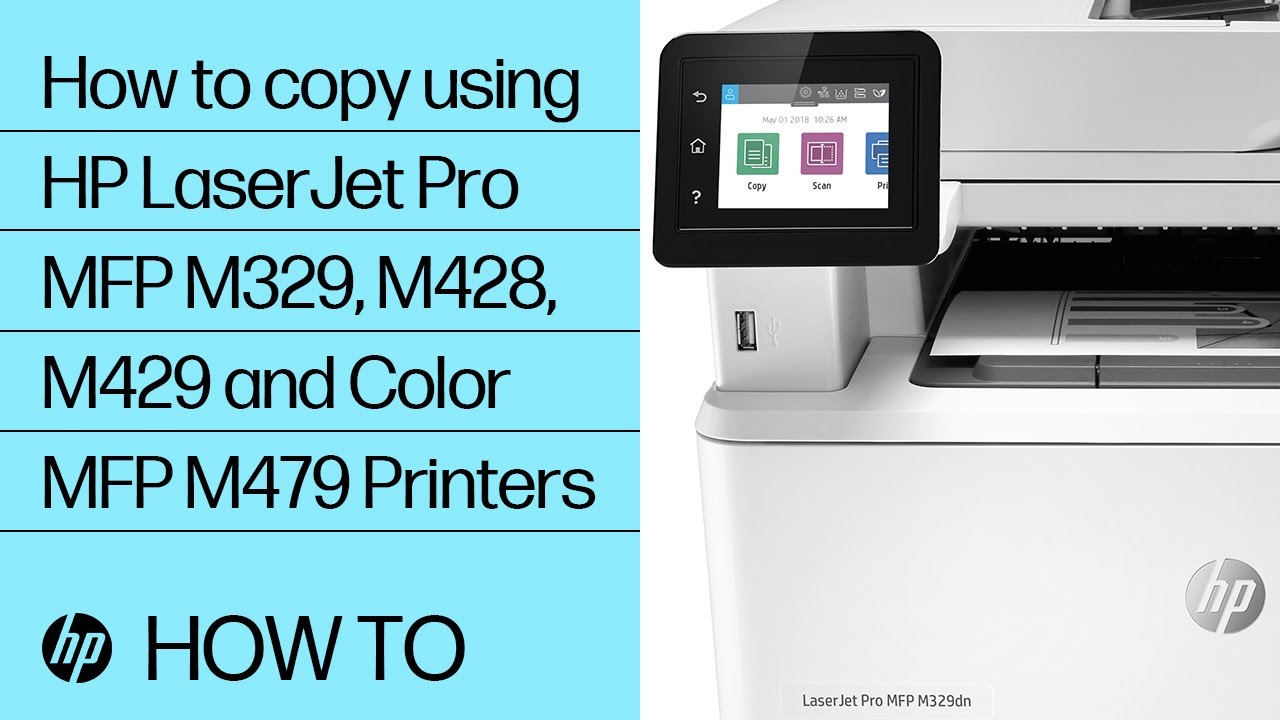
How to Copy on HP LaserJet Pro MFP M329, M428, M429 and Color MFP M479 Printers
Learn how to copy on HP LaserJet Pro MFP M329, M428, M429 and Color MFP M479 printers.
 

Applicable printers

This document applies to HP LaserJet Pro printers that support AirPrint. To set up an HP Enterprise printer, see HP LaserJet Enterprise, HP PageWide Enterprise - Set up, install, and configure AirPrint (c03370520).

Step one: Check compatibility with AirPrint

  1. Make sure that you have an AirPrint-compatible printer. For a list of HP LaserJet printers that support Apple's AirPrint, see Printers that can use mobile printing solutions (ish_4952164-2831633-16).
  2. Make sure you have an Apple device that can use AirPrint:
    • Mac computers running Mac OS X 10.7 or newer:
      note:
      AirPrint is not supported in Mac OS versions 10.6 and earlier.
    • iOS devices running iOS 4.2 or newer (iPhone 3GS or later, iPad and iPod Touch third generation or later)
  3. Make sure you have applications that can be used with AirPrint:
    • Mac computers work with AirPrint in any application that supports printing.
    • iOS devices work with AirPrint in the following application types:
      • Mail
      • Photos
      • PDFs in iBooks
      • Safari
      • Third-party apps with built-in printing. To view a list of apps compatible with Apple's AirPrint, see AirPrint Compatible Mobile Apps.

Step two: Connect the Apple device to the same wireless network as the printer

To use AirPrint, the printer must be connected to the same wireless network subnet as the Apple iOS device (laptops can be connected wirelessly or to a wired (Ethernet) network).
note:
AirPrint is not supported via USB. If the printer is connected via USB to a Mac computer, AirPort Base Station, or Time Capsule, try using the software created for the printer found in Apple Software Update instead of AirPrint.
  1. Turn on the printer and make sure that it is in a ready state.
  2. Make sure that the printer is connected to a wireless network.
  3. Make sure that the iPad, iPhone, iPod Touch, or Mac computer is wirelessly connected to the same network as the printer.
    note:
    Laptops can be connected via a wired (Ethernet) or wireless network.

Step three: Download the latest printer firmware on a computer

Some older printers require a firmware update to enable compatibility with AirPrint, depending on the model and purchase date. If you have an HP LaserJet Pro CM1415 MFP, M1536 MFP, or CP1525 Printer, perform a firmware upgrade before configuring AirPrint:
note:
Firmware upgrades should not necessarily be performed unless recommended for specific printers. If your printer is not an HP LaserJet Pro CM1415, CP1525, or M1536 series, skip this step.
  1. Go to support.hp.com and select Software and Drivers from the top menu bar.
  2. Select Printer, enter your product name, and click Submit. The Software and Driver Downloads page opens with the options available for your printer.
  3. Under the Firmware section, click the firmware filename for more information.
    note:
    If Firmware is not listed, your printer firmware is up to date.
  4. Refer to the ReadMe file to determine the best upgrade method for your environment.
  5. When the firmware update is complete, turn off and then turn on the HP printer.

Step four: Find and/or Change the printer's AirPrint name

If multiple printers of the same model are connected to the network, use the printer's AirPrint name to selectthe printer from the Apple device.To find the printer's AirPrint name and/or to change the printer name for easier recognition, follow these steps:
  1. Open a supported Web browser and then enter the printer IP address or host name in theaddress/URL field to open the Embedded Web Server (EWS).
  2. Click the Networking tab, and then click Wireless Direct Setup.
  3. In the Name (SSID) field, type a name for printer to be used with AirPrint, and then click Apply.

Step five: Configure AirPrint for the computer or iOS device

Follow the steps below to configure either an iOS device or a Mac computer.

Configure AirPrint for an iPhone, iPad, or iPod Touch

Normally, if the printer is connected to the wireless or wired (ethernet) network, then the iOS device should automatically detect the printer and no additional setup is required. To print via Wi-Fi, make sure that the iPad, iPhone, or iPod Touch has an active internet connection, and that the printer's AirPrint name is selected from Wi-Fi network list. Or, to print directly to the printer instead of Wi-Fi, make sure Wireless Direct is configured on the printer.
  1. To print directly to the printer instead of Wi-Fi, make sure the printer is connected to the network, and that Wireless Direct is configured on the printer.
    note:
    This setting will allow AirPrint to print directly to the printer when no internet and no Wi-Fi connection is available.
    1. From the printer control panel, open the Wireless menu.
    2. Select Wireless Direct, and then make sure the setting is On (default).
  2. To print via Wi-Fi, make sure that the iPad, iPhone, or iPod Touch has an active internet connection, and that the printer's AirPrint name is selected from Wi-Fi network list.
    1. From the Apple device, open Settings and touch Wi-Fi networks.
    2. Under Choose a Network, touch the printer name created in Step four.
If you have an iPad, iPhone, or iPod Touch, you should now be setup and ready to print.

Configure AirPrint on a Mac computer

Adding an AirPrint-compatible printer to a Mac desktop or laptop running OS X 10.7 and newer is a quick and easy way to print without installing a driver or downloading any software.
Use these steps to configure the printer to AirPrint from the Mac computer when it has an active internet connection via Wi-Fi, or to print directly to the AirPrint-compatible printer (without an internet connection) using Wireless Direct.
  1. From the printer control panel, open the Wireless menu, press Wireless Direct, and then make sure the setting is On (default).
    note:
    This setting will allow AirPrint to print directly to the printer when no internet and no Wi-Fi connection is available.
  2. Click the Apple menu (), and then click System Preferences.
  3. Click Print & Scan ().
  4. Click the plus sign () at the bottom of the left pane.
  5. Under Nearby Printers, click the name of your printer.
    note:
    Make sure that the printer Kind is Bonjour or Bonjour Multifunction.
  6. Click Print Using or the Use box, select AirPrint (if it is not selected already), and then click Add to add the printer to the queue.
    note:
    If your printer is compatible, AirPrint should automatically be selected in OS X 10.8 and newer. In Mac OS 10.7 (Lion), manually select the AirPrint driver.
    Figure : Mac OS X 10.8: AirPrint is the default selection in the Use menu