Advance calibration determines the amount of paper the printer advances between printing swaths of data. It is important that the paper loaded for this calibration is exactly that used for normal printing, both in quality and in width. Either roll or sheet media can be used.
To calibrate the advance, follow the steps below:
-
Load the paper used for normal printing and set the cutter to ON (if using rolled paper).
-
From the main front-panel menu, select the Paper menu icon and press ENTER.描述 : Paper menu icon

-
Select Advance calibration and press ENTER描述 : Selecting Advance calibration

-
Select Create pattern and press Enter描述 : Selecting Create Pattern
 The printer prints its calibration pattern (see Figure 1.4) and cuts or ejects the paper.描述 : Advance calibration pattern
-
Remove the printed paper from the printer, and re-load the paper with the printed side up and the dotted line at the top, as shown in Figure 1.4.
-
Now, select Measurepattern and press ENTER.描述 : Selecting Measure pattern
 The printer reads the calibration pattern and makes the appropriate internal adjustments.
注意:
The pattern printed is solely for the use of the printer; you are not expected to relate any of its characteristics to the quality of your images.
Advance calibration values
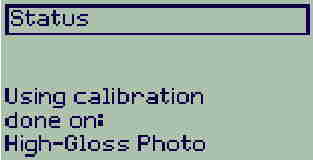
The printer stores the advance calibration values of the last two different types of media used for the calibration. When printing, the printer tries to match the media used to the stored values. If there is a match, the printer applies the stored advance calibration values.
If the type of media being used has not been used for either of the last two advance calibrations, the printer uses a set of default values for the media.
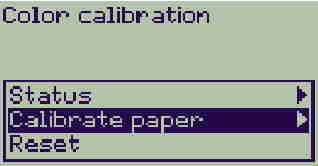
Restore factory calibration
The Restore factory option of the advance calibration menu erases any stored advance calibration values from the printer memory. This means that until the advance calibration is performed again, the printer will use the factory default values for all types of media.
描述 : Restore factory calibrations