This document is for HP Officejet 6812, 6815, 6820, Officejet Pro 6830, and 6835 e-All-in-One printers.
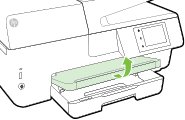
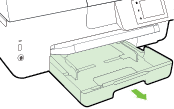
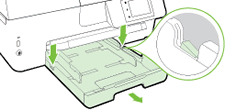
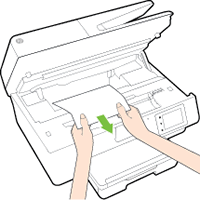
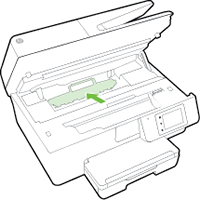
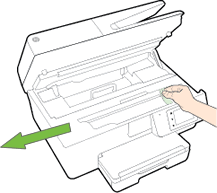
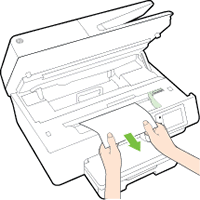
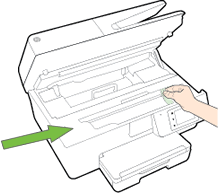
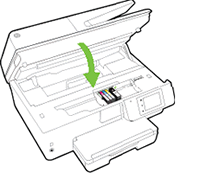
During a print job, the carriage stalls, the printer stops and the following error message displays on the printer control panel:
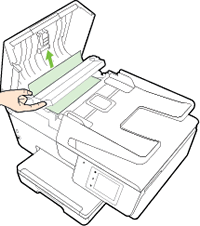
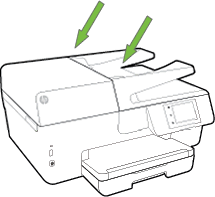
'The print carriage cannot move. Open the ink cartridge access door, clear any paper jam or obstruction, and then select OK'
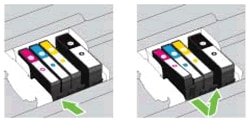
 ). The
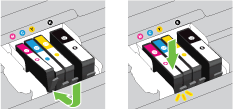