HP PCs - Setting up the HP Bluetooth Travel Mouse (Windows 11, 10)
Set up the HP Bluetooth Travel Mouse, and then use the HP Accessory Center (HPAC) app to adjust the mouse settings and configure the buttons.
Install the batteries
Install the AA Alkaline batteries that came with the mouse.
Note:
You can operate the mouse using a single battery, but it reduces battery life.
-
Insert the batteries into the mouse, and then push down until they click into place.
Pair the mouse to your computer
The HP Bluetooth Travel Mouse can be connected to two computers simultaneously. After both connections are set up completely, switch between the two by pressing the Connect button on the mouse.
Pair the mouse to your computer (Windows 11)
Add the HP Bluetooth Travel Mouse to your list of Bluetooth devices, and then pair the mouse to your computer.
-
On the mouse, press and hold the Connect button for three seconds until the pairing light blinks white.
Pair the mouse to your computer (Windows 10)
Add the HP Bluetooth Travel Mouse to your list of Bluetooth devices, and then pair the mouse to your computer.
-
Make sure that Bluetooth is enabled on your computer.
-
Click Add Bluetooth or other device.
-
Click Bluetooth as the kind of device that you want to add.
-
On the mouse, press and hold the Connect button for three seconds until the pairing light blinks white.
-
Select HP Travel Mouse from the list of devices, and then wait until the connection is complete.
Afterwards, the mouse is displayed in the Mouse, keyboard, & pen section as a connected device.
Customize the mouse (optional)
Use the HP Accessory Center (HPAC) app to customize mouse buttons and settings.
Note:
For more information, go to HP PCs - Using HP Accessory Center (Windows 11, 10). The HP Accessory Center app is automatically downloaded from the Windows store when you connect the mouse to a computer.
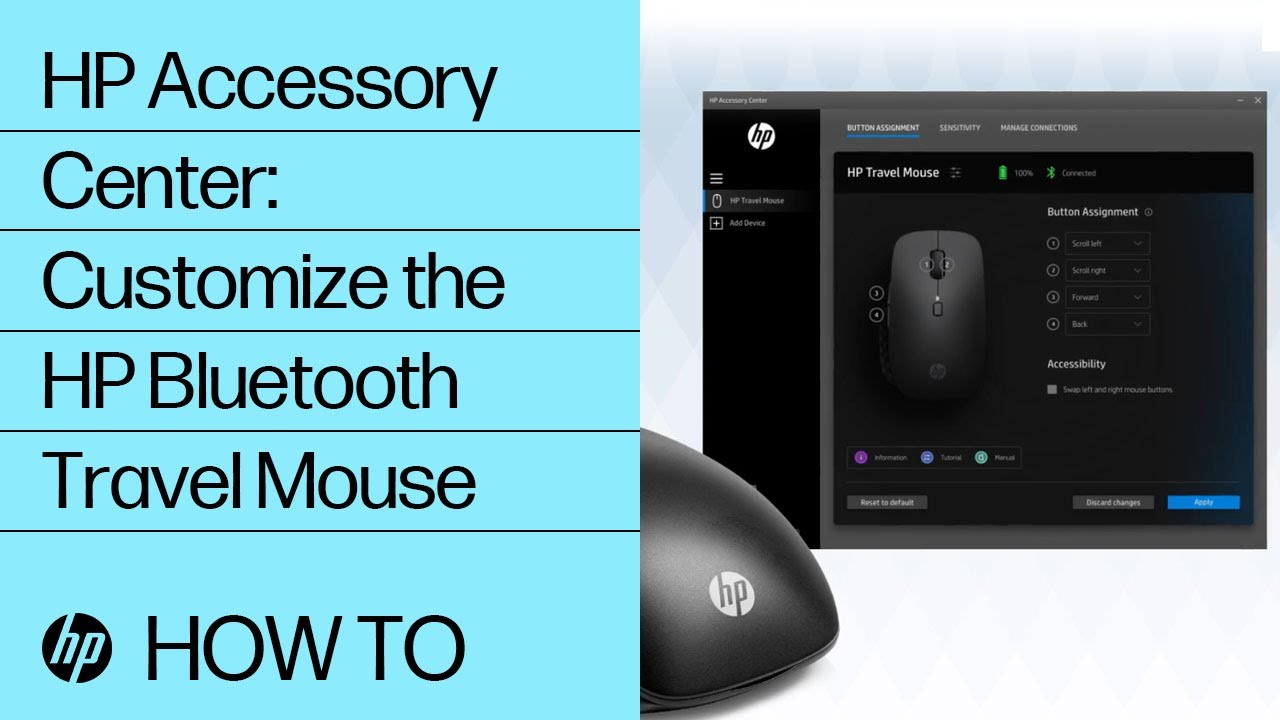
Customize the mouse buttons
Customize the mouse buttons to assign preferred functions or single-click actions.
-
Select a function from the drop-down list or click More to view additional options.
-
On the Button Assignment dashboard, click a category on the left to open additional commands for that category on the right.
-
Commands: Enable a frequently used command.
-
Recent: View the most recent commands used or saved.
-
Keystroke: Record a frequently used keystroke combination.
-
Launcher: Open any frequently used application.
-
Gesture: Configure settings for basic mouse controls such as scrolling and left- and right-clicks.
-
Customize mouse speed and sensitivity
Adjust the sensitivity setting to change the speed and sensitivity of the mouse pointer. The default setting is 1200.
-
In HPAC, click the Sensitivity tab.
Manage Bluetooth connections
You can view and modify Bluetooth connection status from the Manage Connections tab.
-
In HPAC, click the Manage Connections tab.
Frequently asked questions (FAQs)
Review these frequently asked questions about using the HP Bluetooth Travel Mouse.
Enter a topic to search our knowledge library
What can we help you with?

Need Help?