HP Notebook PCs - Keyboard troubleshooting (Windows)
Use this information to troubleshoot common keyboard problems on notebook computers.
CAUTION:
To avoid potential software damage, immediately replace keyboards damaged by liquid spills.
Test the keyboard
Use HP PC Hardware Diagnostics to complete a functional test of the keyboard and identify any problems with the hardware.
Note:
Bluetooth devices are not currently supported.
-
In Windows, search for and right-click HP PC Hardware Diagnostics for Windows, and then select Run as administrator.
-
Click .
For more information about using HP PC Hardware Diagnostics for Windows, go to HP PCs - Testing for hardware failures.
Pressing keys does nothing (keyboard is not working)
If your keyboard is not working, try these steps.
-
Click View, and then select Show hidden devices.
The keyboard should now work correctly.
Key presses are slow to respond
After pressing a key, there is a short delay before the character is displayed on the screen. This might be caused by the Filter Keys function. Disable Filter Keys to return to the default keyboard behavior.
-
Clear the check box for Allow the shortcut key to start Filter Keys.
The keys should be more responsive.
Pressing a key once types several characters
If pressing a key once types two or more characters, adjust the key repeat delay.
-
Drag the Repeat delay slider to Long, click Apply, and then click OK.
The keyboard should now work as expected.
Function keys do not work
If pressing any of the function keys does nothing while the rest of the keys are working, you need to replace the function key driver.
-
Click Driver-Keyboard, Mouse and Input Devices, and then select the HP Wireless Button Driver or HP Hotkey Support driver, depending on your operating system and notebook model.
The function keys should now work.
Backlight function does not work
On notebooks with a backlit keyboard, use the backlight key to turn the backlight function on and off.
Note:
Not all HP notebooks have a backlit keyboard. To confirm whether your notebook has a backlit keyboard, go to HP Customer Support. Search for your notebook model, and then click Specifications.
For more information, go to HP Consumer Notebook PCs - Using the backlit keyboard.
Computer beeps while typing
If the computer sometimes beeps while you are typing, Toggle Keys or Sticky Keys is active.
-
Toggle Keys: The computer beeps when you press the lock keys.
-
Sticky Keys: The computer beeps when you press the ctrl, alt, shift, or lock keys.
Use these steps to disable Sticky Keys and Toggle Keys.
-
Disable both Use Sticky Keys and Use Toggle Keys.
The keyboard should no longer beep when you type.
Wrong characters are displayed when typing or changing keyboard language or layout
If the wrong characters are displayed when you are typing, or when you are trying to use a different keyboard, synchronize Windows to the keyboard language or layout you are using.
Synchronize the computer to the keyboard in Windows 11
Synchronize your Windows 11 computer to the type of keyboard that you are using.
-
In Windows, search for and open Edit language and keyboard options.
-
Make sure that your default language is correct. If the default language is incorrect, click Add a language, and then select a language.
-
Click the added language, and then click Set as default, if necessary.
-
Click the More icon
next to the language, and then select Language options.
-
Click Add a keyboard, and then select a keyboard layout.
The keyboard should now work as expected.
Synchronize the computer to the keyboard in Windows 10
Synchronize your Windows 10 computer to the type of keyboard that you are using.
-
In Windows, search for and open Edit language and keyboard options.
-
Click the default language, and then click Options.
-
Click Add a keyboard, and then select a keyboard layout.
-
Under Current format, click the drop-down menu to select the language that matches the selected keyboard.
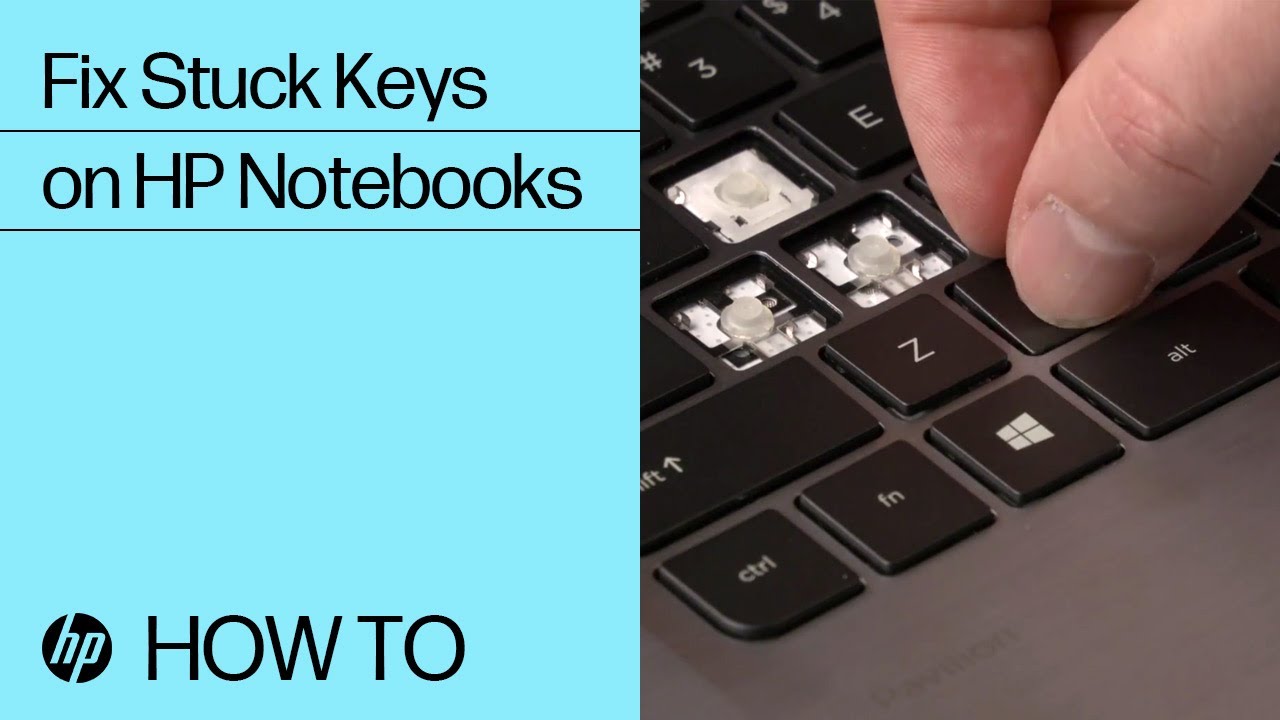
Notebook key sticks
If a key sticks in the down position, removing and cleaning the key might solve the issue.
CAUTION:
Do not perform this step if the computer is under warranty. Contact HP to have the computer serviced before removing a key. If you damage the keyboard, the warranty might not cover the repairs.
If the computer is no longer covered by the warranty, try removing and cleaning the key.
-
Use a cotton swab to clean the key and its slot in the keyboard. Use compressed air to remove dirt or other debris.
-
Replace the key by snapping it back into place.
Note:Longer keys, such as space and enter, probably include a small metal rod for support. Make sure that you insert this rod into the key before replacing the key.
If the computer is under warranty, if a key cannot be unstuck, or if the keyboard does not have keys that can be removed, have the computer serviced.
Enter a topic to search our knowledge library
What can we help you with?

Need Help?