HP PCs - Troubleshoot the webcam (Windows 11 and Windows 10)
Use these steps to troubleshoot and repair your webcam.
Note:
Depending on your version of Windows, some graphics and information in this document might vary. You can get the latest version from the Microsoft Store.
Certain HP notebooks, monitors, and All-in-One computers come with built-in webcams that you can use to capture video motion or still images. A webcam is a video input device, similar to a scanner or camera, and requires software to function. The two most common types of software that use webcams are internet messaging software (for making video calls over the internet), and video editing software (for creating and sharing video files).
Locate and toggle the webcam privacy switch or press the webcam shutter key
Select HP notebook models come with a webcam privacy switch or a webcam shutter key that turns the webcam off and on. By default, the webcam is turned on. You might need to turn the webcam on if it has been turned off.
Note:
Your HP notebook might also have a webcam privacy cover. Slide the cover right to uncover the webcam.
Locate and use the webcam privacy switch
The webcam privacy switch is located on either the right or left side of your computer or next to the camera. To turn off your webcam, slide the webcam privacy switch toward the icon next to the switch. To turn the webcam back on, slide the switch away from the icon.
Locate and use the webcam shutter key
The webcam shutter key is located on the action key row of your keyboard. To turn off your webcam, press the webcam shutter key. To turn the webcam back on, press the shutter key again. On some computers, you might need to simultaneously press the fn key and the action key.
|
Webcam shutter LED |
Webcam status |
|---|---|
|
|
Light on: The webcam is off. |
|
|
Light off: The webcam is on. |
Find and use the webcam software that came with your computer
If your computer came with a built-in webcam, you can use the Camera app to record and share webcam video. The Camera app comes preinstalled on Windows computers. It is also available to download for free in the Microsoft Store.
In the search box on the taskbar, search for and open Camera.
-
If you can see an image, then you are finished. Your webcam is working.
-
If you cannot see an image in the main display window, restart the computer, and then try again. If the problem persists, see Video is not displayed in your webcam software (such as Zoom, Skype, Messenger, and so on).
Resolve specific issues with your webcam
If you are experiencing one of the following issues, use the procedure to attempt to resolve that issue.
Video is not displayed in your webcam software (such as Zoom, Skype, Messenger, and so on)
You can open webcam software, such as YouCam, Skype, or Zoom, but video is not displayed in the main viewing window. To repair this problem, make sure that the webcam is the selected device, uninstall and reinstall software, test your webcam, and then update the webcam drivers.
Note:
Make sure that other programs or applications that use the webcam are completely closed or not in use.
Note:
The webcam might be associated with another software program or not responding. Often, simply restarting the computer can correct the problem. Restart the computer, and then open your webcam software as soon as Windows finishes loading.
Verify that your app can use the webcam
Use the procedure for your operating system to make sure that your app can use the webcam.
Make sure that the webcam is the selected video/capture device for your webcam software
Your webcam must be selected as the video capture device in your webcam software. If the computer has multiple video input sources, your webcam software might be connected to something other than your webcam.
To select the webcam as your video source, open your webcam software and look for video camera, video source, or video caption in the software properties or preferences.
Note:
The name of your webcam might display as USB Video Device, HP Webcam, HP 4K Webcam, HP HD Camera, USB 2.0 Camera, HP Pavilion Webcam, or similar. If you do not know the name, select video device names until you see the video from your webcam display in the window.
For instructions, see the support documentation for your webcam software.
-
Zoom: Zoom Room camera controls (in English)
-
Teams: Manage your call settings in Teams (in English)
-
Skype: How do I change audio and video settings in Skype? (in English)
Uninstall and reinstall webcam software
Your webcam software, such as Zoom, Teams, or Skype, might need to be reinstalled to repair a software or hardware conflict.
-
In Windows, search for and open Add or remove software.
-
Select your webcam software, and then click Uninstall.
-
Go to the webcam software website to install the latest version of the software.
Update or change the webcam driver
Some software applications might require updated drivers for your webcam to display video or they might need a more basic driver. Use the following procedures to update your webcam.
Update the PC with HP Support Assistant
Use HP Support Assistant to find and install updates, including BIOS updates, for your computer with Windows.
-
In Windows, search for and open HP Support Assistant, or click the app icon
in the taskbar.
If the app is not installed on your computer, download the latest version from the HP Support Assistant website.
Find driver updates on the HP website
Learn how to find driver updates on the HP website.
HP provides many free software and driver downloads.
Note:
For devices with Windows 10 in S mode, you can only get drivers through Windows Update. Go to HP PCs - Frequently Asked Questions about Windows in S Mode (Windows 11, Windows 10) for more information.
-
Type the model name for your computer in the Or, enter your serial number field, and then click Submit. For example, type
Pavilion HPE h8-1360t Desktop, and then click Submit. -
The software results page for your computer displays with the default operating system selected. If you need to change the operating system, click Change, select your version, and then click Change.
Note:If the operating system you want is not on the list, HP does not have drivers for that operating system. Use a different method to download software and drivers.
-
From the list of available software and driver categories, click the category name, and then click Download.
CAUTION:Sometimes there is more than one download available for a component, such as several DVD firmware updates. If this happens, identify the component installed in your computer, and then download the appropriate file. To find the name of a component, search for and open Device Manager. Find the component, and then expand the category (for example, DVD/CD ROM drives). The category lists the component’s original manufacturer name.
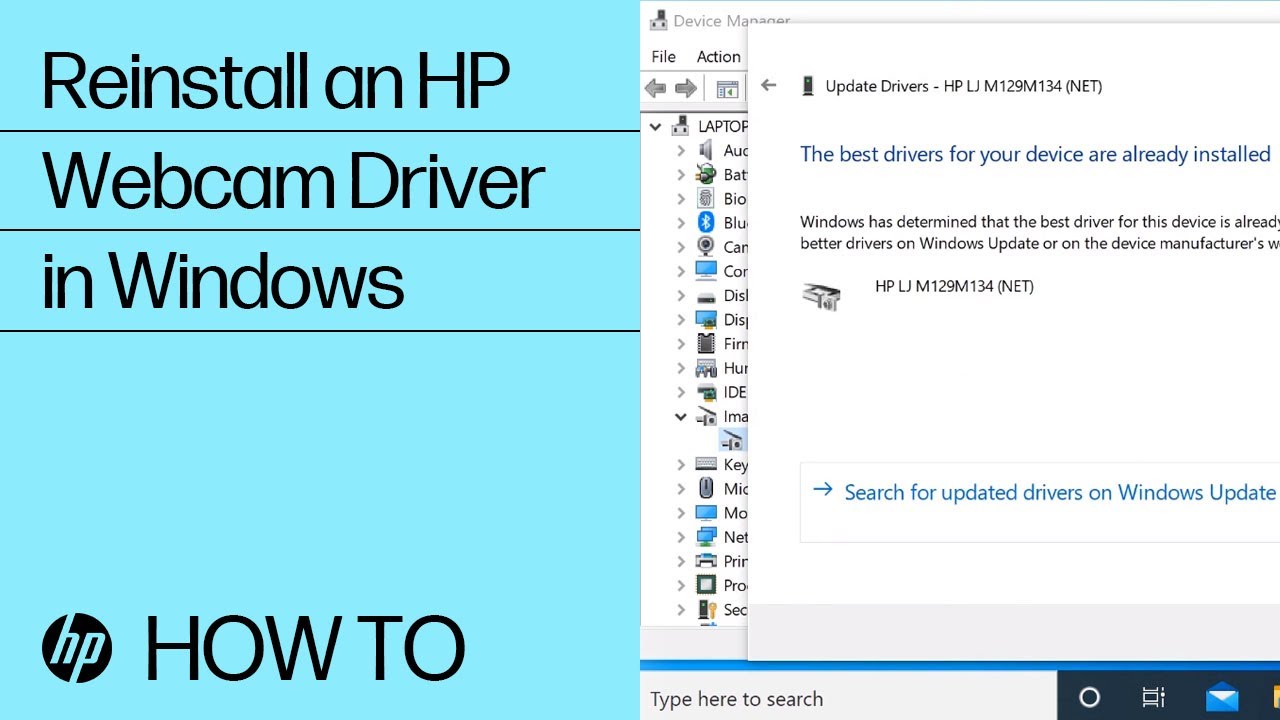
Update specific drivers in Device Manager
If a specific hardware component (such as the touchpad, video display, or keyboard) is not working correctly, or is missing functionality, update the component driver in Device Manager.
-
In the list of devices, expand the device that you want to update.
-
Right-click the device, and then click Update driver.
-
Click Search automatically for drivers, and then follow the on-screen instructions.
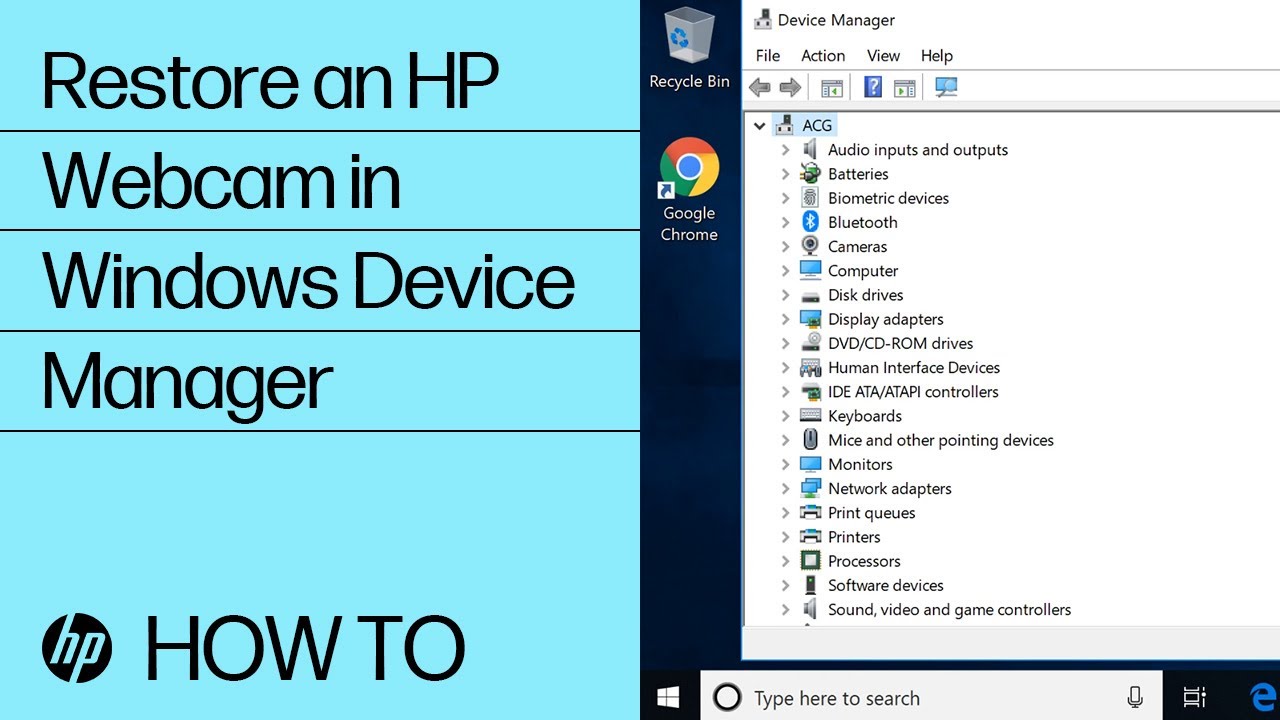
Webcam is not listed in Device Manager
The drivers for the Imaging devices, which include the webcam, are not displayed in the Device Manager. To resolve this problem, use the following steps.
-
If there is no Imaging devices category listed, select .
Webcam stops working after an update
Sometimes, a webcam that was working in one of the preinstalled programs suddenly stops working after installing Windows updates or after installing a recommended update your webcam software. To resolve this issue, reinstall the original HP Webcam-101 or Microsoft USB Video Device driver.
Webcam does not work after installing other webcam programs
Installing multiple webcam drivers and programs might cause conflicts.
If you are using more than one software program to use your webcam, such as one program for instant messaging and one for saving videos, make sure that only one program is open when using the webcam. Do not attempt to open both programs at the same time, and close your webcam software when you are done. It is a good idea to wait 5 to 10 seconds after closing one webcam software before opening another webcam software program.
Restarting the computer can resolve most software conflicts. If problems persist, uninstall one of the webcam software applications, and reinstall the software that you want to use.
Webcam image quality problems
The webcam works, but the image is too dark or the video is choppy.
If the image is too dark, take the following actions:
-
Make sure that your video recording environment has good lighting.
-
Change the image quality, brightness, contrast, and make other adjustments in the webcam software.
To resolve problems with choppy playback, take the following actions:
-
Reduce the size of the video image in the webcam software.
-
Use a high-speed internet connection.
-
Do not use other high-speed USB devices while using the webcam.
Reinstall the original webcam software that came with your computer
If your computer came with a built-in webcam, Microsoft and HP both provide software that you can use with your webcam. If this software program is removed, you can reinstall it.
Depending on the webcam software that came with your computer, you might be able to download the software from the Microsoft Store, HP, or the manufacturer's website.
Note:
If the operating system on your computer was upgraded, these steps do not work. Instead, go directly to the HP Customer Support - Software and Driver Downloads page or the software manufacturer’s website.
-
Check the Microsoft Store. Many of the apps that came preinstalled on your computer are available to download for free in the Microsoft Store app.
-
Go to the HP Customer Support - Software and Driver Downloads page. If a Let's identify your product to get started page displays, select your computer type, type the model name of your computer, and then click Submit. From the list of available software and driver categories, find HP Webcam Control Center, click the category name, and then click Download.
-
Go to the software manufacturer's website.
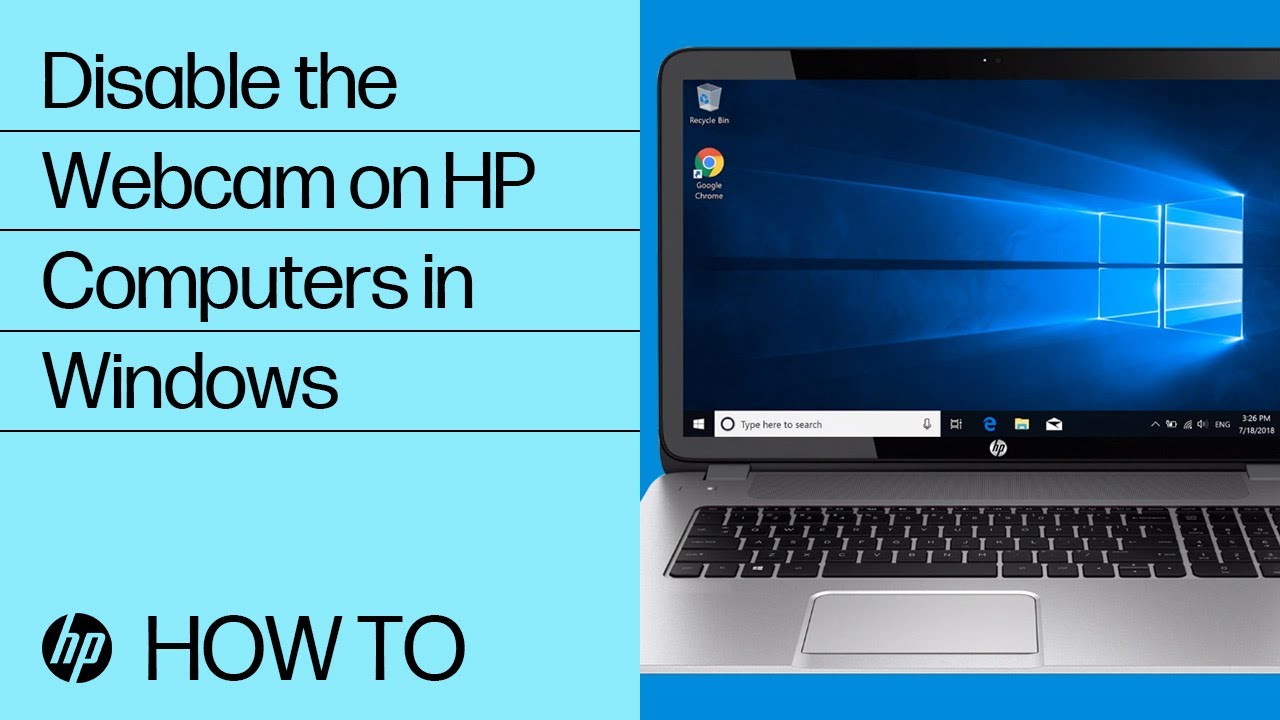
Disable the webcam
To disable the webcam so that it cannot be used, disable the device in Device Manager.
-
Right-click the name of the webcam and select Disable.
Enter a topic to search our knowledge library
What can we help you with?

Need Help?