HP Printers - 'Unsuccessful Network Installation' error (Windows)
When you attempt to install the full feature print driver and software (HP Printer Assistant) for a wireless network, an Unsuccessful Network Installation error message displays.
Restart devices
Restart your computer or mobile device and the printer to clear any error states. If you are using a network printer, restart the router.
If your printer connects to a Wi-Fi network, disconnect your computer or mobile device from the network name (SSID), and then reconnect it to the same network name your printer is connected to.
If the printer is available and has a ready status, the issue is resolved. You do not need to continue troubleshooting.
-
If the printer connects to a network, check the connection to make sure the same network is used by the printer and the device.
-
Computer or mobile device: Open the list of available networks and make sure it is connected to the correct network.
-
Printer: Check the Wireless light
on the control panel. If it is solid blue, the printer is connected.
-
Uninstall the HP printer software (Windows)
Uninstall HP printer software, and then remove the printer from your Devices list.
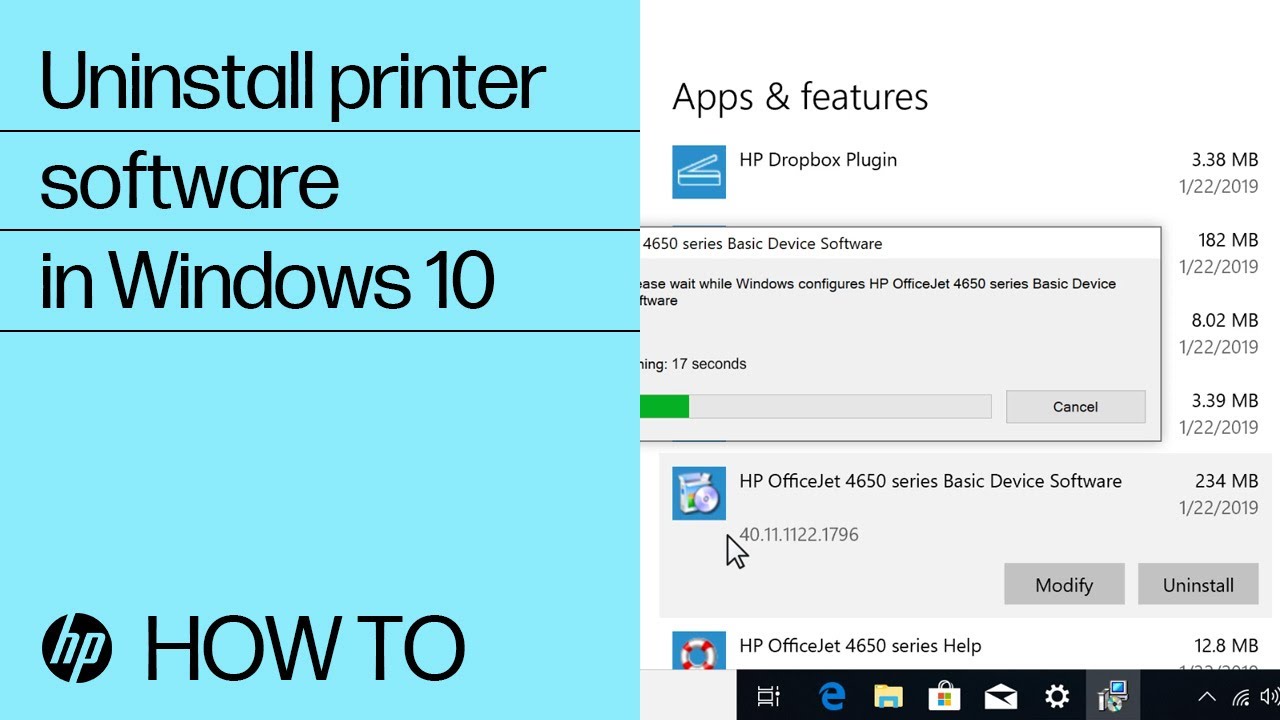
The printer software and driver is uninstalled.
Other related HP software might remain on the system. If you do not want a particular software title, uninstall it from Add or remove programs.
Repair Windows system files
Use the Microsoft System File Checker (SFC) utility to repair damaged or corrupt system files.
-
Close all open programs and apps running in Windows.
-
Search Windows for command, right-click Command Prompt from the list of search results, and then select Run as Administrator.
-
Type sfc /scannow in the command prompt, and then press Enter.
-
If a Windows Resource Protection found corrupt files and successfully repaired them message displays, reinstall the HP driver and software.
Install the HP Smart app and set up the printer
Get the HP Smart app for Android, Apple iOS and iPadOS, Windows, and macOS to set up and use your HP printer to print, scan, copy, and to manage settings.
Do the following if you are setting up the printer on a Wi-Fi network.
-
Place the printer and the computer or mobile device near the Wi-Fi router.
-
Turn on Wi-Fi on your computer or mobile device and connect to your network. If the computer is connected to the network with an Ethernet cable, temporarily disconnect the cable and use the Wi-Fi connection during the setup.
-
Enable Bluetooth on the computer or mobile device so that HP Smart can detect the printer during the setup.
-
For Windows computers, turn on Windows Update to make sure Windows is always up to date.
-
After installing HP Smart for iOS and Android, enable the mobile device location service and allow the app to use your location to detect the printer and offer solutions during setup.
-
From the app home screen, click Add Printer or the Add icon
, and then follow the prompts to set up the printer.
If your printer is not found, continue to the next step.
-
Restore Wi-Fi setup mode.
-
Most printers with a touchscreen display or menu: Open the Wireless
menu, select Network setup or Settings, and then select Restore Network Settings.
-
Printers without a touchscreen display or menu: Go to Restore Wi-Fi setup mode on your HP printer to restore default settings by pressing the buttons on your printer.
-
Other install methods to try
One of the following installation methods might resolve the installation issue.
Install the printer by adding a new TCP/IP port
Add a new TCP/IP port with the Devices and Printers app in Windows to install the printer.
-
Click Add a printer.
-
Remove the selection from Query the printer and automatically select the driver to use, and then click Next.
Contact HP Customer Support
If the previous steps did not resolve your issue, contact HP Customer Support for further assistance.
-
Enter your product serial number to view warranty status and to change your location, if necessary.
-
Select a support option. If you are in Asia Pacific, you will be directed to a local service center in your area.
Enter a topic to search our knowledge library
What can we help you with?

Need Help?