HP PCs - Using Microsoft System Restore
Use Microsoft System Restore to return the computer to a previous state when the computer worked normally.
For business computers, if you do not have the option to restore the computer, contact your company's IT department or your local IT service.
Restore your computer when Windows starts normally
If the computer stops working correctly, but Windows starts as expected, you can restore it to a previous point in time when it was working.
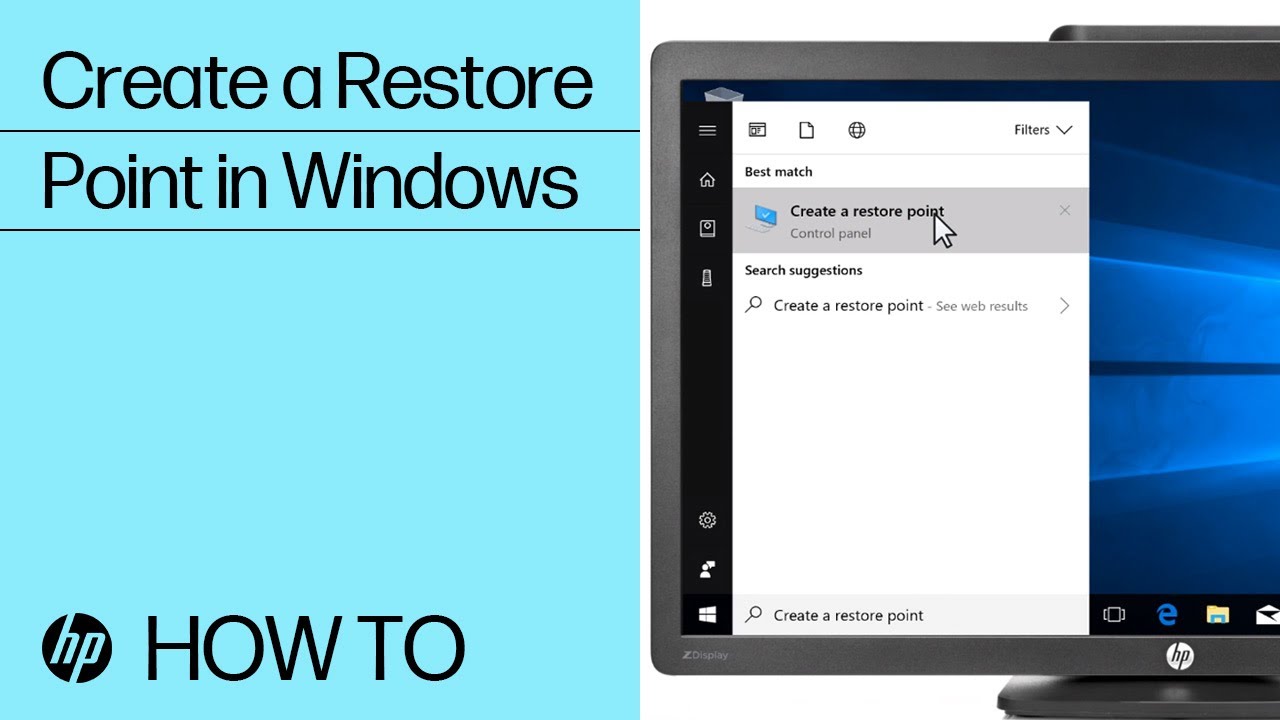
Create a restore point
Windows automatically creates restore points at regularly scheduled intervals and before many software installations. If you would like to create a restore point manually, use the steps below.
-
On the System Protection tab, click Create.
-
Click Close.
Restore your computer when Windows starts normally
Restore your computer to a previous point in time.

-
On the System Protection tab, click System Restore.
-
Select the restore point you want to use, and then click Next.
-
Read the warning about not interrupting System Restore, and then click Yes.
CAUTION:Allow System Restore to complete without interruption to avoid corrupting the hard drive or causing additional damage to the computer.
System Restore returns the computer configuration to a previous point in time and restarts the computer.
Restore your computer when Windows cannot start normally
Use Microsoft System Restore from the Windows loading screen when Windows does not start normally.
-
Click Next.
-
Click Finish to restore your computer to a previous point.
-
Click Yes in the caution that displays.
CAUTION:Do not interrupt System Restore when it starts.
Frequently asked questions (FAQs)
Review the list of frequently asked questions about Microsoft System Restore.
How do I enable Microsoft System Restore?
You can enable Microsoft System Restore from System Properties in Windows.
-
Click Turn on system protection, and then click OK.
Can I undo a system restore?
You can undo the restore and return the computer to a time before you used System Restore.
-
Select Undo System Restore, and then click Next.
-
Click Yes in the caution that displays.
CAUTION:Do not interrupt System Restore when it starts.
What do I do if System Restore fails?
Use the following information to troubleshoot System Restore if the restore process fails.
Turn off your antivirus protection
Temporarily turn off your antivurus protection if it interferes with software installations or computer recovery functions.
-
Turn off the firewall.
Note:The following image is only an example and your software might look different. Go to your software manufacturer's website for detailed steps.
How do I delete System Restore points?
Use the following information to delete old restore points and create more space on your hard drive.
These steps delete all but the most recent restore point.
-
In the task bar on the desktop screen, click the File Explorer icon
.
-
In the Disk Cleanup window, select the More Options tab, and then click Clean up in the System Restore and Shadow copies area.
Enter a topic to search our knowledge library
What can we help you with?

Need Help?