The 'Load Paper' error message displays on the printer's control panel LCD, and the printer does not pick up or feed the paper from the paper input tray.
Experiencing frequent or recurring paper pick issues?
Review the following sections on what causes paper pick issues and how to prevent them.
Causes
Any of the following issues can cause paper pick issues:
-
The paper tray is empty or overloaded.
-
The paper is curled.
-
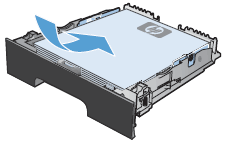
The print side, or shiny side, of the paper is not loaded in the paper tray face up. For photo paper, always load the rougher side of the paper facing down.
-
The paper is too slick for the product.
-
The paper might not be engaged with the feed rollers.
-
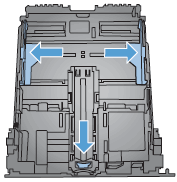
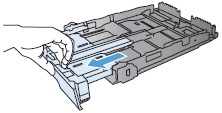
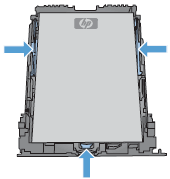
The paper-width guide is pressed against the paper stack too tightly.
-
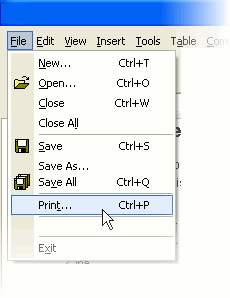
The paper settings in the print driver do not match the paper loaded in the paper tray.
-
The rubber paper-feed rollers are dusty.
Preventing paper pick issues
Follow these guidelines to help prevent paper pick issues:
-
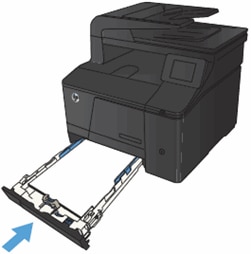
Load at least 10 sheets of paper into the tray, but do not overload the tray.
-
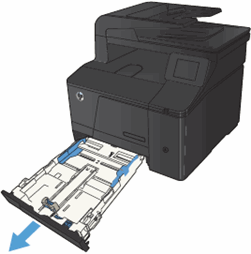
Load paper correctly, and then push the paper all the way into the tray.
-
Use only one type of paper at a time in the tray.
-
Store paper in a cool, dry place.
-
Use only clean unused paper in the tray.
-
Avoid printing on paper that is dusty.
-
Wait for the product to complete a job or to display an 'Out of paper' message before reloading paper.
 Important: You must follow these solutions in the order presented to resolve the issue.
 ).
).