HP PCs - Computer does not start (Windows 10)
This document provides possible solutions to common computer startup issues. Follow the instructions in this document step-by-step to help isolate the problem and find the most appropriate help.
Remove discs and devices
Before troubleshooting startup issues, remove or disconnect all discs and devices from the computer.
-
Turn off the computer.
-
Remove any discs and USB devices.
-
Remove memory cards from the card reader slot.
-
Disconnect all non-essential devices such as printers, scanners, and external hard drives.
-
Leave only the mouse, keyboard, and monitor connected.
-
After you have removed all discs and devices, turn on the computer.
-
If the computer starts, reconnect devices one at a time to determine which disc or device is causing the problem. If the issue is solved, troubleshooting is complete.
-
If the computer still does not start and exhibits the same problem, press and hold the power button to turn off the computer. Do not connect anything, and continue troubleshooting.
Perform a hard reset
Many startup errors and other problems can be resolved by decreasing the amount of power stored in hardware components. Decreasing stored power is sometimes referred to as a hard reset.
After you have completed these steps, if the computer startup issue is resolved, go to HP PCs - Updating drivers and software with Windows Update (Windows 10), and then go to HP PCs - Using HP Support Assistant (Windows) to update all device drivers.
Power reset your desktop computer
Perform a power reset on your desktop computer.
-
Turn off the computer.
-
Disconnect any peripheral devices, and then unplug the power cord.
-
With the power cord unplugged, press and hold the Power button for approximately 15 seconds.
-
After you drain the capacitors, plug in the power cord. Leave peripheral devices disconnected.
-
Turn on the computer.
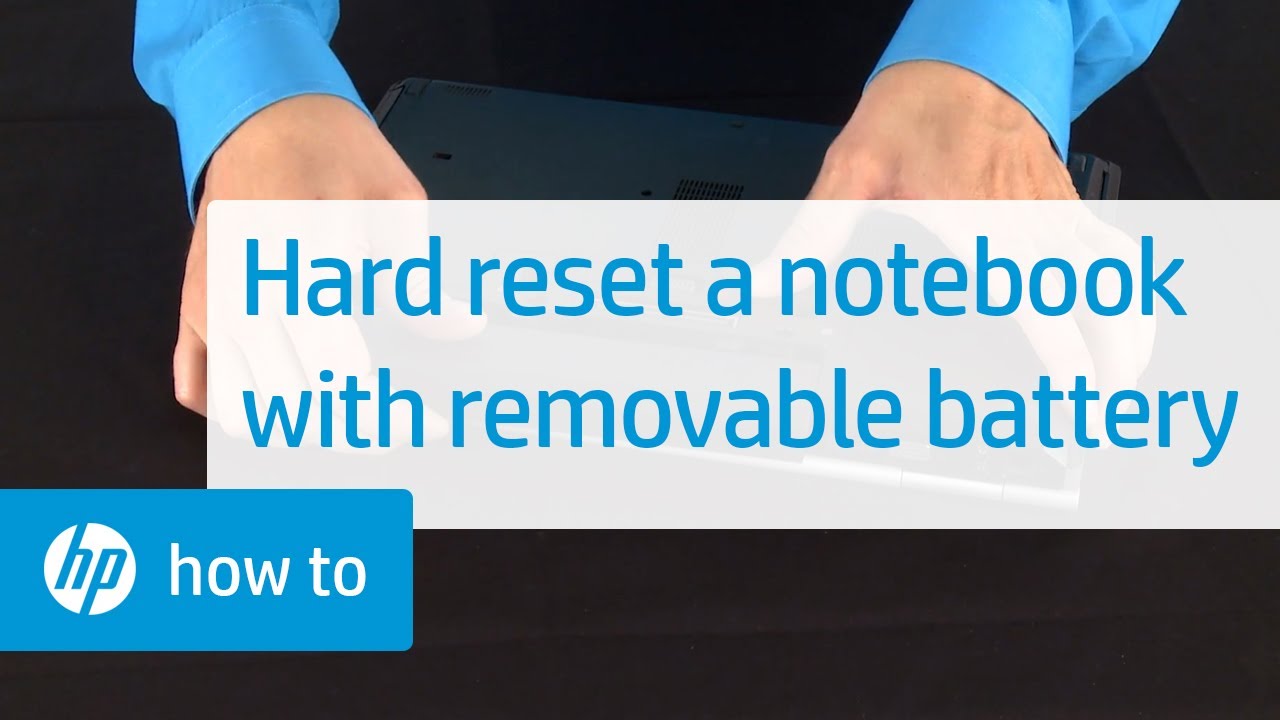
Power reset a laptop with removable battery
Perform a power reset on your notebook with a removable battery.
-
Turn off the computer, and then unplug the power cord.
-
Disconnect any peripheral devices, and then remove the computer from any port replicator or docking station.
-
Remove the battery from the computer.
-
With the battery and power cord unplugged, press and hold the Power button for approximately 15 seconds.
-
After you drain the capacitors, re-insert the battery, and then plug in the power cord. Leave peripheral devices disconnected.
-
Turn on the computer.
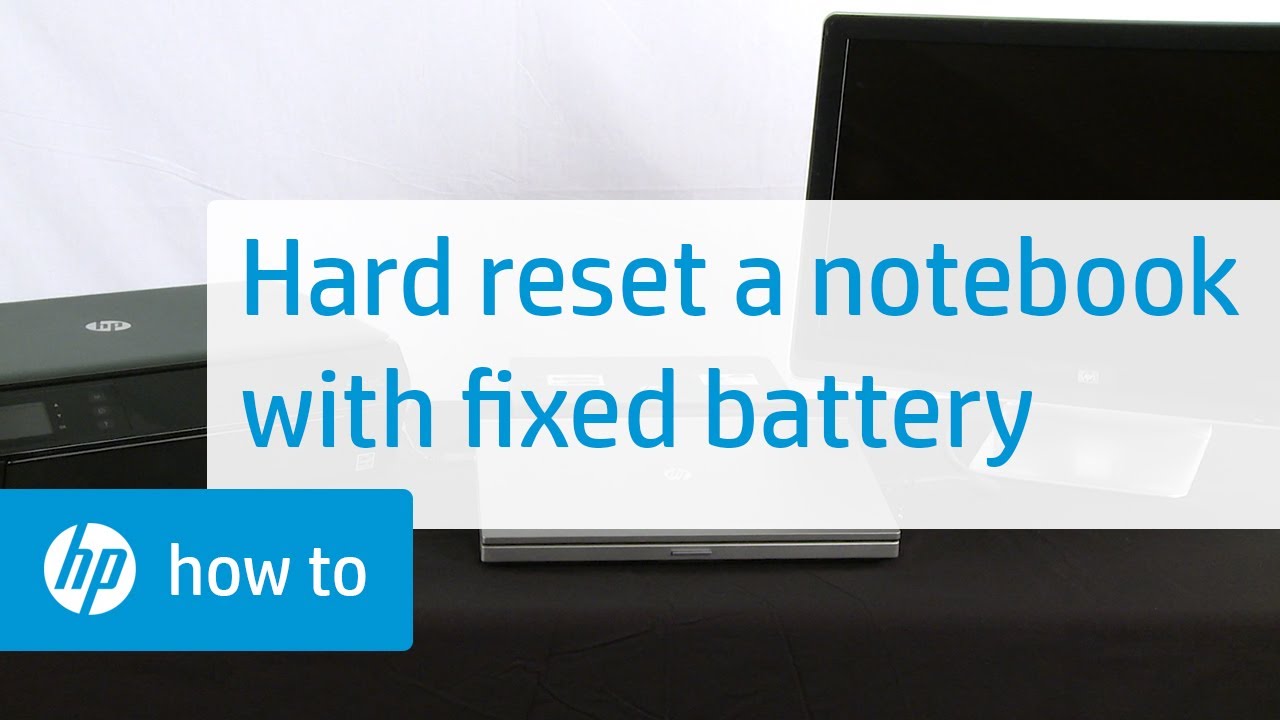
Power reset a laptop with a non-removable battery
Perform a power reset on your notebook with a non-removable battery.
-
Turn off the computer, and then unplug the power cord.
-
Disconnect any peripheral devices, and then remove the computer from any port replicator or docking station.
-
With the power cord unplugged, press and hold the Power button for approximately 15 seconds.
-
After you drain the capacitors, plug in the power cord. Leave peripheral devices disconnected.
-
Turn on the computer.
Run hardware diagnostic tests
Make sure that the issue is not hardware related by performing diagnostic tests.
-
If an issue is not found, continue to the next step.
-
If a component fails a test, write down the failure ID (24-digit code) and contact HP Customer Support.
Refresh or reset your PC
Use the Microsoft Refresh your PC feature to reinstall Windows without affecting your personal files, apps, or many of your settings.
-
On the Choose an option screen, click Troubleshoot.
If your computer does not open to a blue Choose an option screen, skip this step and go to HP Notebook PCs - Advanced startup troubleshooting (Windows 10) or HP Desktop PCs - Advanced startup troubleshooting (Windows 10) for further troubleshooting options.
-
Click Refresh your PC.
-
Click Next.
-
Select Reset your PC.
-
Click Next.
Advanced troubleshooting
If the previous steps did not resolve the computer startup issue, go to the advanced troubleshooting section for your computer type.
HP Notebook PCs - Advanced startup troubleshooting (Windows 10)
Complete these advanced troubleshooting procedures to try to resolve startup issues with your notebook PC.
Troubleshoot specific startup issues
Find a symptom that matches your computer's condition.
LED lights blink but the computer does not start
HP and Compaq notebook computers use blinking LEDs to identify startup errors. If the LEDs blink (usually 1 to 8 blinks in a series) near the caps lock or num lock keys, go to HP Desktop PCs - Computer Does Not Start and Emits an LED or Beep Code.
Note:
If a white AC adapter light blinks when a new notebook computer is used for the first time, the battery is still in Shipping Mode. To resolve this issue, turn off the notebook, connect the notebook to AC power, allow the battery to charge for at least 30 minutes, and then start the computer.
The computer starts, but the screen is blank or unresponsive
When pressing the power button, LED lights blink or turn on, a fan spinning sound is heard, but the screen remains black, and the notebook does not start.
If the computer is on, but the screen remains blank, go to HP Notebook PCs - Computer Starts but Screen Remains Blank (Windows 10, 8).
The computer does not have power (no noise or lights)
If there is no noise from the computer case or fans, the lights on the computer do not turn on (including keyboard LEDs), and the screen is not receiving a video signal, your computer might not be receiving power. Test the AC adapter.
-
Confirm that the AC power adapter is a genuine HP part. Do not use a third-party AC power adapter with an HP computer.
-
Determine the adapter wattage by looking near the bottom of the adapter.
Note:Using an AC adapter with a lower wattage than the computer requires can cause issues. For example, the CPU clock rate might be reduced to save power, which might cause programs to run slower or the AC adapter to become warm to the touch.
-
Check the AC power adapter for damage. Damaged components, like the AC adapter housing or the pin in the power connector, might require an HP-certified repair. Check the box, cord, pins, and plugs for damage.
The computer locks up at the HP or Compaq logo screen or the Windows loading screen
If the computer locks up at the HP or Compaq logo screen or the Windows loading screen, try cleaning the computer vents with compressed air.
Restart the computer. If Windows 10 opens, you are done. If Windows 10 does not open, go to HP PCs - Testing for hardware failures in Windows 10.
An error message is displayed on a black screen
Windows does not start and an error is displayed on a black screen. If the error message lists a hardware component, such as a fan or BIOS, test those components and service as necessary. It might also help to search the internet using the exact error text.
Errors involving the hard drive or primary boot device are as follows:
-
Boot device not found
-
Disk Boot Failure
-
Non-system disk error (make sure that you have removed discs and USB storage devices)
-
OS Not Found
-
PXE-E61: Media Test Failure
-
SMART Failure Imminent / Imminent Hard Disk Failure
For any of these errors, use the following steps:
Note:
Removing and reseating the hard drive might also solve some hard drive errors.
An error message is displayed on a blue screen
To learn more about troubleshooting blue screen error messages, see the following document.
HP PCs - Error Messages Display on a Blue Screen (Windows 10)
Troubleshooting other issues with computer not starting
If none of the previous symptoms match the one on your computer, use the following procedures to try to solve the issue.
Remove and reseat the memory modules
If the memory modules are not fully seated, it can cause computing and performance problems. These problems can be resolved by removing and reseating the modules.
Note:
Your computer might look different than the following computer, but the steps are the same.
-
Remove the cover to access the memory.
Note:Some computers might not have a cover that provides access to the memory. Have the computer serviced if you cannot access the memory.
-
Remove all memory modules from the computer.
Perform a System Restore to resolve an issue in Windows
If the issue is recent, restore the computer to a point before the problem began, to resolve the issue.
Go to HP PCs - Using Microsoft System Restore for more information.
Additional resources (Notebook PCs)
If you cannot find a solution, contact HP Support for further assistance or to have the computer serviced.
HP Desktop PCs - Advanced startup troubleshooting (Windows 10)
Complete these advanced troubleshooting procedures to try to resolve startup issues with your desktop PC. Find a symptom that matches your computer's condition.

The computer does not have power (no noise, no lights)
If there is no noise from the computer case or fans, the lights on the computer do not turn on (including the keyboard LEDs), and the screen is not receiving a video signal, your computer might not be receiving power. Test the AC adapter.
CAUTION:
Use an AC adapter that meets the power requirements and has the correct type of connector to avoid damaging the computer.
-
Confirm that the AC power adapter is a genuine HP part. Do not use a third-party AC power adapter with an HP computer.
-
Determine the adapter wattage by looking near the bottom of the adapter.
Note:Using an AC adapter with a lower wattage than the computer requires can cause issues. For example, the CPU clock rate might be reduced to save power, which might cause programs to run slower or the AC adapter to become warm to the touch.
-
Check the AC power adapter for damage. Damaged components, like the AC adapter housing or the pin in the power connector, might require an HP-certified repair. Check the box, cord, pins, and plugs for damage.
The computer starts, but makes beeping sounds
Beep sounds occur when a key on the keyboard is stuck, a memory DIMM or hard drive cable is not seated properly, or a component on the system board has failed.
Disconnect the mouse and keyboard, and then restart the computer. If the beeping noises stop, repair or replace those devices. To find out more information about resolving a problem with beeping sounds, go to HP Desktop PCs - Computer Does Not Start and Emits an LED or Beep Code.
The computer starts, but the screen is blank or unresponsive
If the monitor is on, but the screen remains blank when you turn on the computer, or if an error message stating that a video signal is not detected is displayed on the screen when you turn on both the monitor and computer, go to the following document.
HP Desktop PCs - Computer Starts but Screen Remains Blank (Windows)
The computer locks up at the HP or Compaq logo screen or the Windows loading screen
If the computer locks up at the HP or Compaq logo screen or the Windows loading screen, try cleaning the computer vents with compressed air.
Restart the computer. If Windows 10 opens, you are done. If Windows 10 does not open, go to HP PCs - Testing for hardware failures in Windows 10.
An error message is displayed on the screen
See the following list of error messages and solutions.
If the error message is not listed here, go to HP PCs - Testing for hardware failures in Windows 10.
-
Disk boot failure: Go to HP PCs - Testing for hardware failures in Windows 10
-
File is missing: Go to HP PCs - Testing for hardware failures in Windows 10
-
OS not found: Go to HP PCs - Testing for hardware failures in Windows 10
-
Non-system disk error: Go to HP PCs - Testing for hardware failures in Windows 10
-
Real time clock error: The CMOS (backup) battery on the system board that powers time and other settings has run out of power. To remove and replace the CMOS battery, go to HP and Compaq Desktop PCs - Removing and Replacing the CMOS Battery, and then correct the time.
Note:You can bypass this error message by pressing the f2 key, but the CMOS battery needs to be replaced and the time and date reset.
-
Windows Product Activation: Windows expects you to enter a product key for authentication purposes. With the computer connected to the Internet, bypass the activation screen to continue using Windows with reduced functionality.
Check whether the hard drive is detected in BIOS
Confirm that the hard drive is detected in the BIOS.
-
Remove or disconnect all discs and devices from the computer, except for the mouse, keyboard, and monitor.
-
Turn on the computer and immediately press the f10 key repeatedly, about once every second, until the BIOS setup tool opens.
-
Use the arrow keys to select Storage, select Device Configuration, and then press enter.
-
Confirm that a hard drive is listed under Hard Disk.
-
If the hard drive name displays, exit the BIOS without saving any changes, and go to HP PCs - Resetting Your Computer (Windows 10).
-
If the hard drive name is missing, or Auto or None displays, exit the BIOS without saving any changes, and then see the procedures for when the hard drive is not detected in BIOS.
-
Hard drive is not detected in BIOS
See the procedures for your type of computer.
Hard drive is not detected in BIOS (Desktop PCs)
Troubleshoot start-up problems when the hard drive is not detected in BIOS on a desktop computer.
Reset the BIOS
Reset the BIOS to make sure that the BIOS settings are correct.
-
Use the arrow keys to select Apply Defaults and Exit, and then press enter.
Disconnect and reconnect the hard drive cable
Remove and reseat the hard drive cables.
CAUTION:
This product contains components that can be damaged by electrostatic discharge (ESD). To reduce the chance of ESD damage, work over a noncarpeted floor using a static dissipative work surface (such as a conductive foam pad) and wear an ESD wrist strap connected to a grounded surface.
-
Remove the side panel by loosening the side panel screws and sliding the panel to the back and off the computer.
-
Disconnect and reconnect the power cable.
Remove and reseat the memory modules
Remove and reseat the memory modules in the computer.
CAUTION:
This product contains components that can be damaged by electrostatic discharge (ESD). To reduce the chance of ESD damage, work over a noncarpeted floor using a static dissipative work surface (such as a conductive foam pad) and wear an ESD wrist strap connected to a grounded surface.
-
Remove any screws that secure the panel to the computer.
-
Slide off the panel to gain access to the inside of the computer.
-
Pull out, and then press down on the holding clips that retain the memory modules. The memory modules pop up slightly out of the socket.
-
Replace each memory module by aligning the memory module so the small notches on the lower edge line up with the tab on the socket.
Hard drive is not detected in BIOS (All-in-One PCs)
Troubleshoot start-up problems when the hard drive is not detected in BIOS on an All-in-One computer.
Reset the BIOS
Reset the BIOS to make sure that the BIOS settings are correct.
-
Use the arrow keys to select Apply Defaults and Exit, and then press enter.
Reseat the hard drive
Reseat the hard drive.
Replacing the hard drive
Warning:
The edges of metal panels can cut skin. Be careful not to slide skin along any interior metal edge of the computer.
CAUTION:
This product contains components that can be damaged by electrostatic discharge (ESD). To reduce the chance of ESD damage, work over a noncarpeted floor, use a static dissipative work surface (such as a conductive foam pad), and wear an ESD wrist strap connected to a grounded surface.
Note:
For detailed instructions, go to the HP Customer Support website, select your country or region, and then enter the computer model number. Search for replacing the hard drive.
-
Remove the back hard drive covers.
-
Remove any screws that secure the hard drive to the chassis.
-
Disconnect the cables from the hard drive.
-
Lift the hard drive out of the computer.
-
Reinstall the hard drive, and then turn on the computer. The computer displays the logo screen.
If the startup problem still persists, the computer probably requires service. Contact HP Customer Support, because the hard drive or system board might be defective.
Perform a System Restore to resolve an issue in Windows
If the issue is recent, restore the computer to a point before the problem began, to resolve the issue.
Go to HP PCs - Using Microsoft System Restore for more information.
Additional resources (Desktop PCs)
If you cannot find a solution, contact HP Support for further assistance or to have the computer serviced.
For more information on how to resolve no boot and power issues, go to the following HP support documents:
Enter a topic to search our knowledge library
What can we help you with?

Need Help?