This document is for HP Tango and Tango X printers.
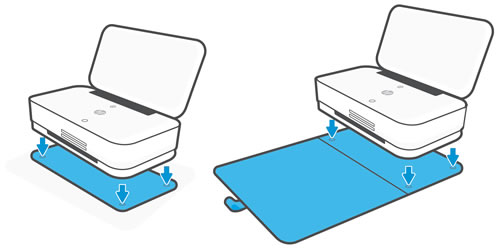
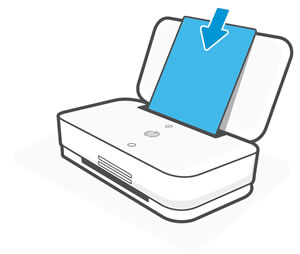
Unbox the printer, connect it to a power source, load paper, install ink cartridges, and then connect it to your wireless network.


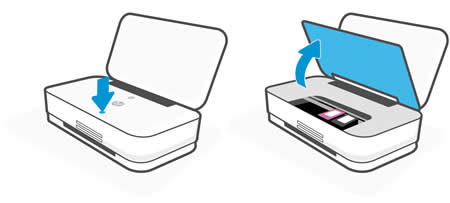
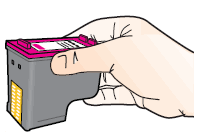
caution:Do not touch the copper-colored contacts or the ink nozzles. Handling these parts can result in clogs, ink failure, and bad electrical connections.
note:Install the color ink cartridge on the left and the black ink cartridge on the right.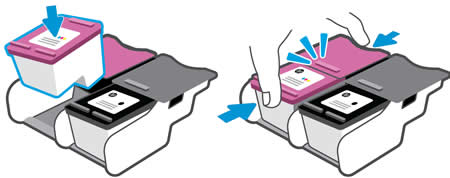
note:You can print a Wireless Quick Start Guide to help you set up your printer. Touch and hold the Information buttonon the control panel for at least 3 seconds. When the other control panel buttons light up, touch the Information button

 on the app home screen.
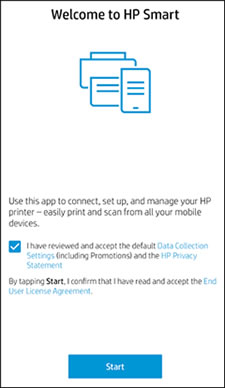
note:If you have an Android OS 7 (Nougat) and later device and are unable to complete the printer setup, turn off cellular data temporarily, and then try again.
 , tap Set Up a New Printer, and then follow the on-screen instructions to connect the printer to the network.
, click Set Up a New Printer, and then follow the on-screen instructions to connect to the network.
, tap Set Up a New Printer, and then follow the on-screen instructions to connect the printer to the network.
, click Set Up a New Printer, and then follow the on-screen instructions to connect to the network.
 and the Power button
  on the back of the printer for at least 3 seconds.
