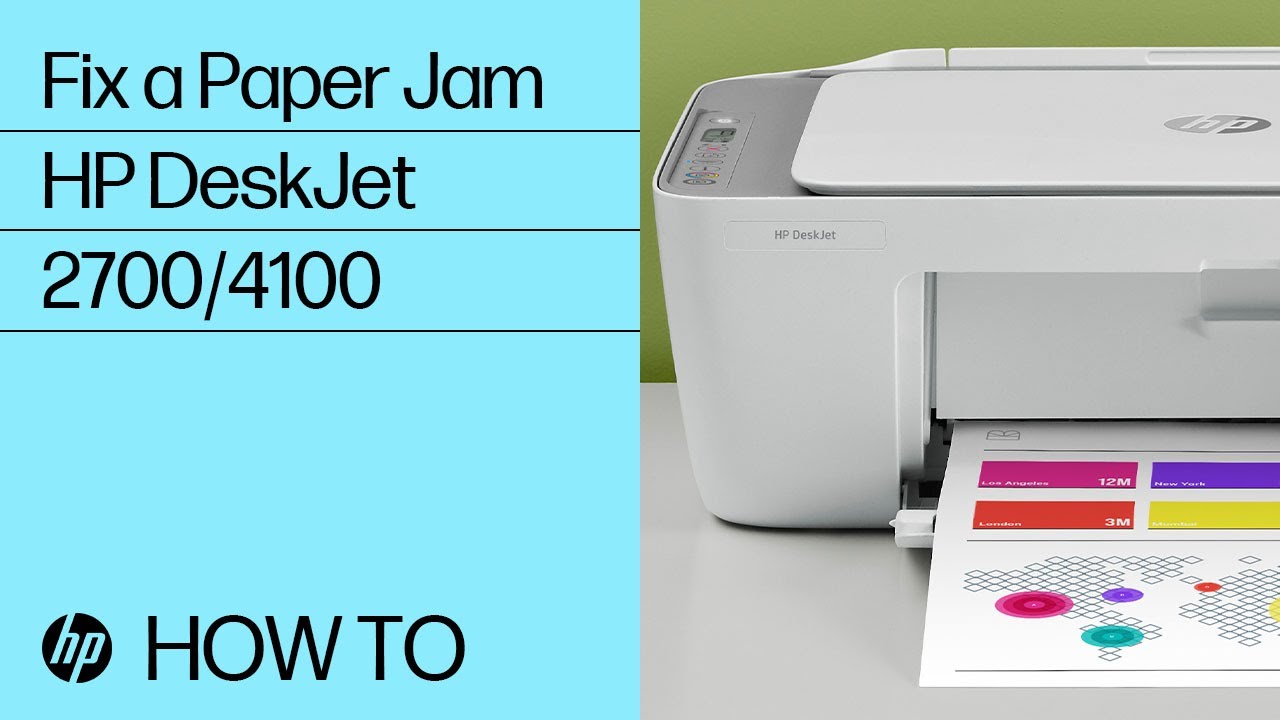
HP DeskJet Printers - E4 (Paper jam) error
During a print job, your HP DeskJet 2700, 2800, 4100, 4200, 4800, or 4900 series printer stops feeding pages, an E4 error displays, and the Resume light blinks. Paper might be jammed inside the printer.
Note:
Paper jams can be real or false. The printer might report a paper jam even when there is no jammed paper. The following steps apply to both real and false paper jams.
Perform the following tasks in the order given. Use the printer after each task to see if the issue is resolved.
Possible jam locations
Paper jams can occur in the following areas of the printer.
Note:
The printer images and details may vary depending on your printer model.
|
Feature |
Description |
|---|---|
|
1 |
Input tray |
|
2 |
Output tray |
|
3 |
Cartridge access area |
|
4 |
Bottom of the printer |
|
5 |
Document feeder (some printer models) |
Clear jammed paper from underneath the printer
Remove jammed paper from underneath the printer.
-
Press the Cancel button
on the printer to automatically clear the paper jam.
If the error persists, continue with these steps.
-
Pull the tabs on either side of the cleanout door to open it.
-
Remove any jammed paper found inside the printer.
Remove jammed paper
Look in all areas where jams can occur and remove any jammed paper or foreign objects found.
CAUTION:
-
Do not use sharp objects, such as tweezers or needle-nose pliers, to remove jammed objects.
-
When removing jammed paper, use both hands to pull the paper straight out from the printer.
Input tray
Remove any jammed paper that is accessible from the input tray area.
-
Gently remove any jammed paper and bits of torn paper from the input tray. To avoid tearing any whole sheets of paper, pull the paper with both hands.
-
Press the Resume button
on the printer control panel to continue the print job.
Output tray
Remove any jammed paper that is accessible from the output tray area.
-
Gently remove any jammed paper and bits of torn paper from the output tray. To avoid tearing any whole sheets of paper, pull the paper with both hands.
-
Press the Resume button
Ink cartridge access area
Remove any jammed paper from the ink cartridge access area.
-
Open the ink cartridge access door, and then wait for the carriage to move to the center of the printer.
-
Gently remove any jammed paper inside the printer. To avoid tearing any whole sheets of paper, pull the paper with both hands.
Document feeder (DeskJet Plus 4100, 4200 printers only)
Remove any jammed paper from the automatic document feeder (ADF).
-
Lift the document feeder cover.
-
Gently remove any jammed paper from the rollers. To avoid tearing any whole sheets of paper, pull the paper with both hands.
CAUTION:If the paper tears when removing it, check the rollers and wheels for any torn pieces of paper. If you do not remove all torn paper, more jams are likely to occur.
Use an automated tool to clean the paper rollers
Clean the printer's paper rollers with an automated tool.
-
Press and hold the Power button, press the Cancel button
seven times, and then release the Power button.
The printer makes noise for approximately one minute while cleaning the paper rollers.
Manually clean the paper rollers inside the printer
Dust, paper fiber, and other debris might accumulate on the paper feed rollers and cause paper jams and paper feed issues. Clean the rollers inside the printer.
-
Raise the input tray.
-
Lift and hold the input tray shield.
Note:Do not remove the input tray shield. The input tray shield prevents debris from falling into the paper path and causing paper jams.
-
Locate the gray paper pick rollers inside the tray. You might need a flashlight to illuminate the area.
Reset the printer
Reset the printer to recover from printer errors or failures.
Learn how to avoid jams and paper-feed issues
Follow these tips to help prevent paper jams, misfeeds, and no feeds.
-
Ensure that paper loaded in the input tray lays flat, and the edges are not bent or torn.
-
When adding paper to the input tray, adjust the paper guide to rest against the edge of the paper stack.
-
Do not overfill the input tray, but make sure that you have at least 5 pages loaded, for best results.
-
Only use paper that is compatible with your printer. Do not use paper that is too thick or too thin.
Use HP paper for optimum performance.
-
Whenever you change the paper size or type in the tray, be sure to change the paper setting on the print menu of the software application you are printing from.
-
Do not combine different paper types and paper sizes in the input tray; the entire stack of paper in the input tray must be the same size and type.
-
Avoid using the printer in dusty or dirty environments.
Do not remove the input tray shield. It can prevent debris from falling into the paper path and causing jams or other problems.
If needed, remove paper and close the input tray when not in use.
-
Remove printed papers from the output tray frequently.
-
Do not force paper too far down in the input tray.
-
Do not add paper while the printer is printing. Wait for the printer to prompt before loading paper.
Service the printer
Service or replace your HP product if the issue persists after completing all the preceding steps.
Go to Contact HP Customer Support to schedule a product repair or replacement. If you are in Asia Pacific, you will be directed to a local service center in your area.
To confirm your warranty status, go to HP Product Warranty Check. Repair fees might apply for out-of-warranty products.
Enter a topic to search our knowledge library
What can we help you with?

Need Help?