This document is for HP OfficeJet 251dw, 276dw, 3610, 3620, 6100, 6600, 6700, 7110, 7510, 7610, 7612, 8100, 8600, 8610, 8615, 8616, 8620, 8625, 8630, 8640, 8660 9010, 9012, 9013, 9014, 9015, 9016, 9018, 9019, 9020, 9022, 9023, 9025, 9026, 9028, and 9012 printers.
The printer does not print, and one of the following error messages displays on the computer or printer control panel.
-
Print System Problem
-
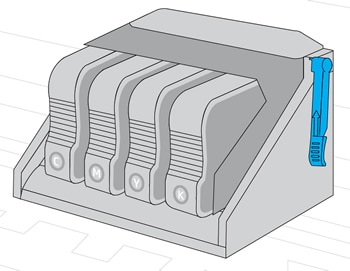
Problem with Ink System
-
Problem with Printer System