This document is for HP Neverstop Laser MFP 1200a, 1200n, 1200nw, 1200w, 1201n, 1202nw, and 1202w printers.
HP Neverstop Laser MFP 1200 - Replacing the Imaging Drum
Replace the imaging drum when the following error lights and messages display.
-
The Attention light
 blinks, the Imaging Drum light
  blinks, and the printer control panel character display alternates between Er and 09.
-
An Imaging drum is low, Replace imaging drum, or similar message displays in the printer software or HP Smart app.
-
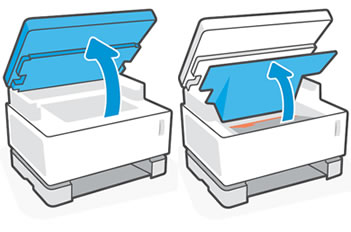
Lift the scanner, and then open the top cover.
-
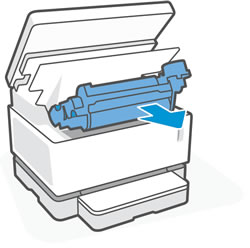
Using the handle, pull the imaging drum up and out to remove it, and then recycle it.
-
Remove the new imaging drum from its packaging.
-
Remove the orange cover and the tabs from the new imaging drum.
caution:
Do not touch the green roller. Fingerprints and smudges can damage the imaging drum and affect print quality.
-
Shake the imaging drum at least five times to loosen the toner.
-
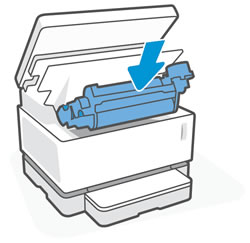
Hold the imaging drum by the handle, align it with the tracks, and then insert it into the printer.
-
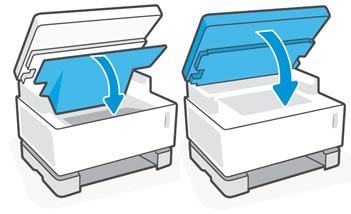
Close the top cover, and then lower the scanner.
Frequently asked questions (FAQs)
Review these frequently asked questions about replacing the imaging drum.
Enter a topic to search our knowledge library
What can we help you with?

Need Help?