Use the following procedure to check for paper in all possible jam locations related to the optional 550-sheet paper feeders. When a jam occurs, the control panel displays an animation that assists in clearing the jam.
-
13.A3.A3
-
13.A3.D3
-
13.B2.D3
In addition to the instructions provided in this document, you can view the following video of how to clear a paper jam in the 550-sheet paper trays.
note:The printer model referenced in the video is different, but the steps also apply to the M577, M578 models.
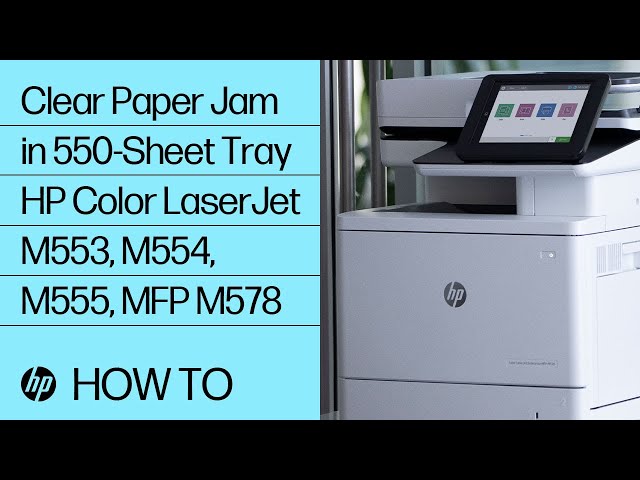
How to Clear a Paper Jam in 550-Sheet Tray for the HP Color LaserJet Enterprise M553, M554, M555 and HP Color LaserJet Enterprise MFP M578 Printer
Learn how to clear a paper jam in the optional 550-sheet tray in the HP Color LaserJet Enterprise M553, M554, M555 and HP Color LaserJet Enterprise MFP M578 printer.
-
Open the lower-right door.Figure : Open the lower-right door
-
Gently pull out any jammed paper.Figure : Remove the jammed paper

-
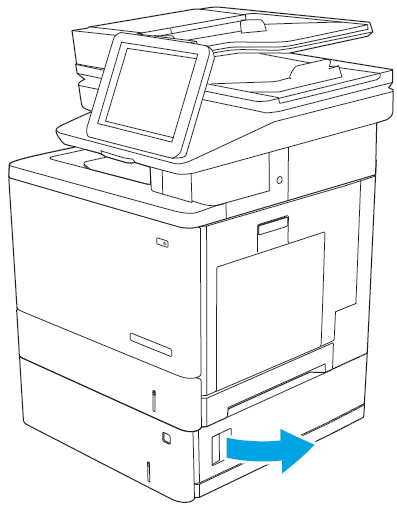
Pull the tray completely out of the printer by pulling and lifting it up slightly.Figure : Remove the tray

-
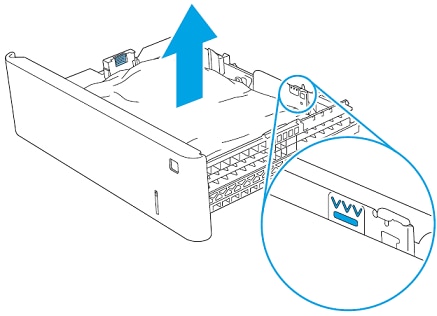
Remove any jammed or damaged sheets of paper. Verify that the tray is not overfilled and that the paper guides are adjusted correctly.Figure : Remove the jammed paper
-
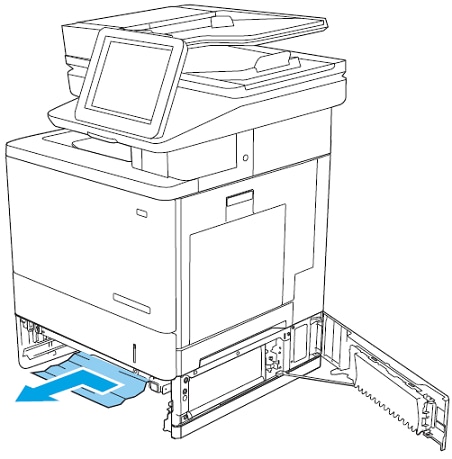
Remove any paper from the feed rollers inside the printer. First pull the paper to the left to release it, and then pull it forward to remove it.Figure : Remove the jammed paper
-
Close the lower-right door.Figure : Close the lower-right door

-
Reinsert and close the tray.Figure : Close the tray

-
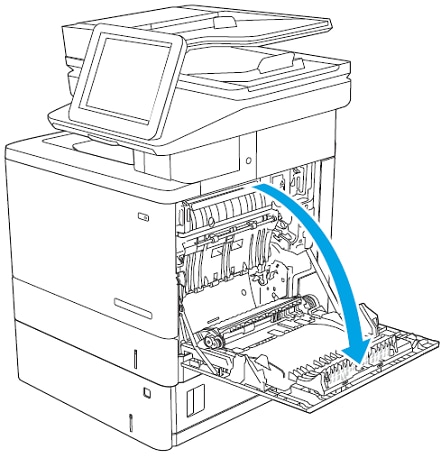
Open the right door.Figure : Open the right door
-
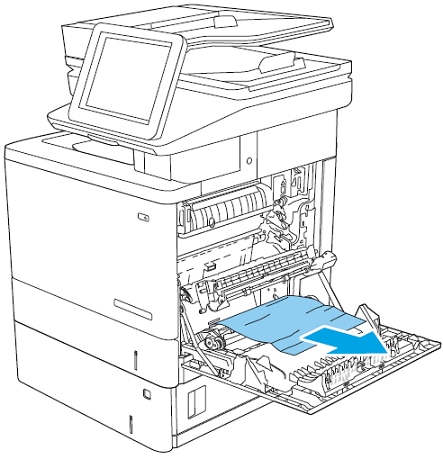
Gently pull out any jammed paper from the pick-up area.Figure : Remove the jammed paper
-
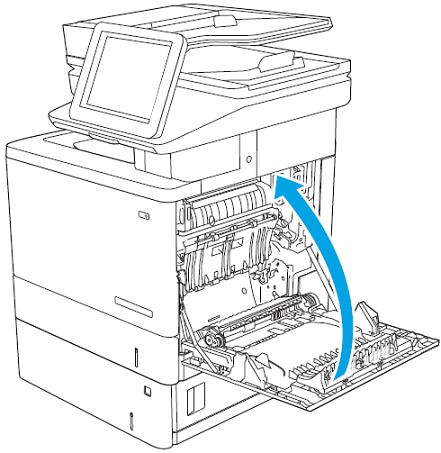
Close the transfer assembly.Figure : Close the transfer assembly

-
Push down on the green levers to release the jam-access cover.Figure : Press down on the green levers

-
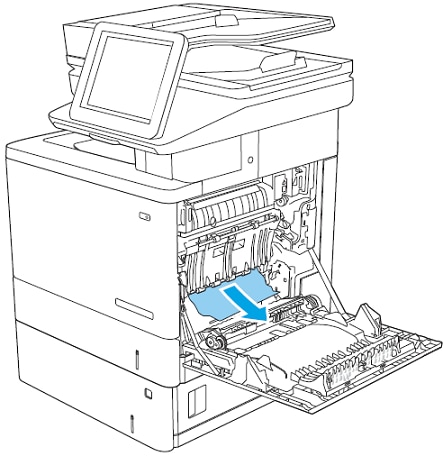
Gently pull out any jammed paper. If the paper tears, make sure to remove all remnants.Figure : Remove the jammed paper
-
Close the jam-access cover, and then lower the transfer assembly.Figure : Close the jam-access cover

-
Close the right door.Figure : Close the right door