solution Contentsolution Content

HP Designjet 9000s Printer Series - Printhead Nozzle Plate Cleaning Sheets

Introduction

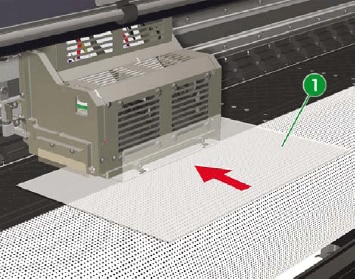
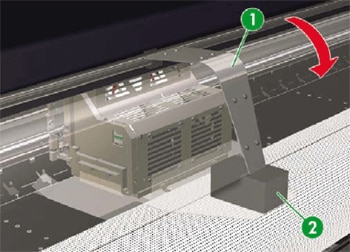
Printhead nozzle plate cleaning sheet is now available as a new service part. The Printhead cleaning sheet, Q6665-60089, is provided to remove dried ink and dust from the printhead nozzles. We recommend that all users clean the printhead nozzles plate once a month in order to keep the nozzles healthy. This is especially important for customers that frequently print long jobs.

What’s in the box

  1. Printhead nozzle plate cleaning sheet (Qty 12)
  2. Support sheet (Qty 1)
  3. Platen protection sheet (Qty 1)
  4. User’s Guide (Instructions) (Qty 1)

Instructions for using the kit

  1. At the heater control panel turn Off:
    • Front heater
    • Print heater
    • Rear heater
    Check that the front paper guide, platen and rear paper guide have cooled down to at least 30°degree Celsius or below. If not, wait until they cool down.
    note:
    Make sure that the platen and paper guides are sufficiently cool before cleaning the printheads. Otherwise, especially if the platen is still hot, the wiper cleaning liquid will evaporate quickly, causing insufficient cleaning, or the nozzle plate and printhead cleaning sheet will stick to each other. They may cause a printer malfunction.
  2. On the front panel, go to the Printhead maintenance menu, and select CAP CLEANING to move the carriage to the wiper side.
  3. Lift the media load lever to release the media grip, and pull out the media.
    1. Media load lever
    2. Pull out the media
  4. Open the rear cover.
    1. Rear cover
  5. Press the power button on the front panel to turn Off the printer.
    1. Power button
  6. Move the carriage manually to the central part of the platen.
    1. Carriage
  7. Apply 4 cc of the wiper cleaning liquid to the cleaning surface (white surface) of the printhead cleaning sheet with a syringe provided in the regular maintenance kit. Apply 1 cc of wiper cleaning liquid to the cleaning sheet at a time using the syringe. Repeat this process 4 times. Apply the cleaning liquid evenly on the cleaning surface.
    1. Syringe
    2. Printhead cleaning sheet
    3. Wiper cleaning liquid
      warning:
    Discard each printhead cleaning sheet after using it once. Repeated use may cause the printer to malfunction. Be sure to use the specified amount of the wiper cleaning liquid. An excessive amount of liquid may stain the platen or drive roller, causing an unexpected failure of the printer.
  8. Insert the printhead cleaning sheet underneath the carriage.
    1. Printhead cleaning sheet
  9. Align the holes of the printhead cleaning sheet with the protrusions of the carriage.
    1. Printhead cleaning sheet with the protrusions
  10. Insert the platen protection sheet between the platen and the printhead cleaning sheet so that the end of the sheet can be gripped. Also make sure the platen protection sheet is inserted underneath the pinchwheels.
    1. Platen protection sheet
  11. Lower the media load lever to grip the platen protection sheet.
    1. Media load lever
  12. Make sure the platen protection sheet is gripped securely by the pinchwheels.
    1. Platen protection sheet
    2. Pinchwheels
  13. Insert the support sheet between the platen protection sheet and the printhead cleaning sheet.
    1. Support sheet
  14. Align the end of the support sheet with the boundary of the platen (2) and rear paper guide while aligning the center of the support sheet with the center of the carriage (1).
    1. Center of the carriage
    2. Boundary of the platen
  15. Close the rear cover. The cover stops cushioned by the support sheet.
    1. Rear cover
    2. Support sheet
  16. Leave the printer for 8 to 16 hours.
    note:
    Do not leave the cleaning sheet in place for more than 16 hours; this may cause printer failures such as clogged cap unit, or the evaporation of the wiper cleaning liquid may cause the nozzle plate and cleaning sheet to stick to each other.
  17. Carry out the regular maintenance on the capping unit (see Chapter 6 in the User's Guide).
  18. Open the rear cover.
  19. Pull out the support sheet.
  20. Pull out the printhead cleaning sheet.
  21. Move the carriage manually away from the platen protection sheet.
  22. Release the grip, lift the media load lever and pull out the platen protection sheet.
  23. Close the rear cover and turn On the printer at the front panel. The carriage automatically returns to its home position.
  24. Load the media and carry out the regular maintenance on the wiper blade and sponge (see Chapter 6 in the User's Guide).
  25. Perform a normal printhead recovery (see Chapter 6 in the User's Guide).