This information applies to Sprout Pro by HP G2 and the Stop Motion app.
Sprout Pro by HP G2 - Creating Animations with Stop Motion
With the Stop Motion app, you can create stop motion animated videos using assets from your computer or captured from the Sprout mat. Use high-quality digital images to create a professional animation, or make quick and fun claymation video with art supplies you have on hand.
Included are sample projects to help you get an idea of the types of animation projects you can create.
Creating animations with Stop Motion
You can create your own animation or use the sample backgrounds and assets to create a project. The background stays the same and the assets, or objects you add, can be fixed on the background, or can be moved time and time again and captured each time to bring the animation to life. Use the following instructions to create an animation from the sample backgrounds and assets:
-
Select Mat in the camera selection.Figure : Selecting Mat

-
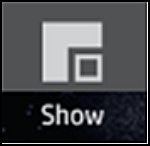
Tap Show in the upper left corner of the touch mat.Figure : Show button
-
Tap Background, and then select the background for your project.Figure : Selecting a background

-
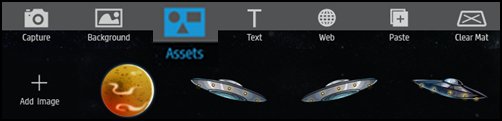
Tap Assets and select an object.Figure : Selecting an object from the assets
-
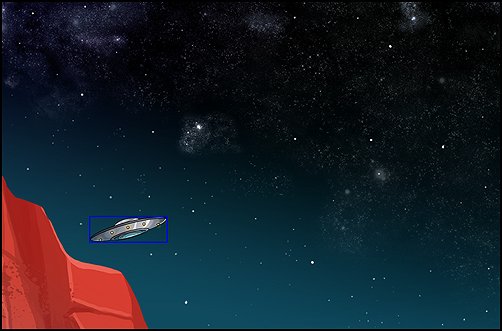
Resize the object (selected asset), and drag it on the mat to a starting position for the first frame of the animation project.Figure : The object selected for placement
-
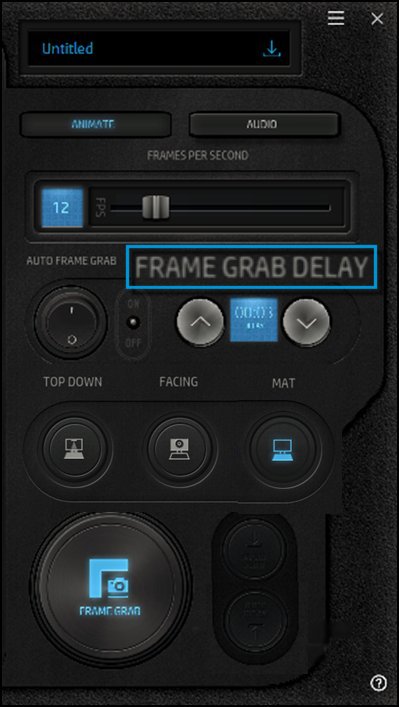
Set a Frame Grab Delay time. This setting determines how many seconds between tapping the Frame Grab button and when the frame is captured.Figure : Frame Grab Delay
-
With an object from the Assets gallery placed on the background in position to begin the animation, tap Frame Grab. The delay seconds count down, and the image is captured and placed on the bar at the bottom of the capture screen.
note:
To capture frames automatically, turn on Auto Frame Grab. The Frame Grab Delay Time needs to be longer because you need to move the object into its new position each time while the delay time is counting down. It is not necessary to tap Frame Grab each time, as it automatically captures each frame.Figure : Frame Grab button
-
Drag the object to the next position and tap Frame Grab.
-
Continue the process until the desired number of frames are captured.Figure :

-
To view your new animation, tap Play.
-
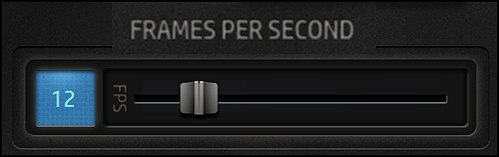
After viewing the animation, you can adjust the speed by setting the Frames per Second using the slider bar.Figure : Frames Per Second
-
Tap Save to name and save your project.
Adding text to your animated project
Use the following steps to open a project and add text to it:
-
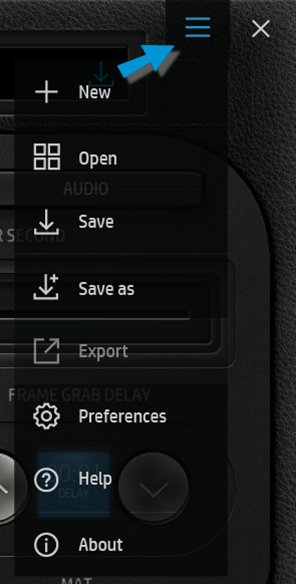
Tap the menu button.Figure : Menu button
-
Tap Open.Figure : Open
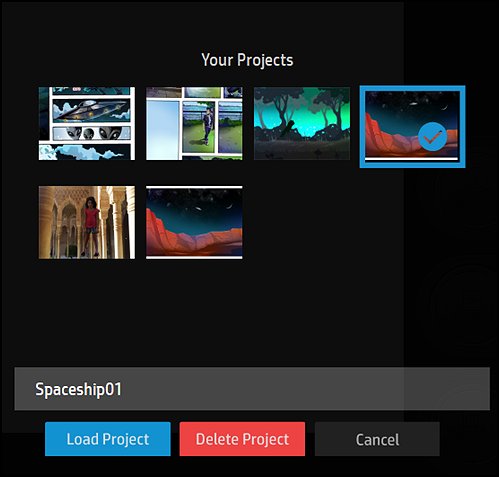
-
Select the project you want to open and tap Load Project.Figure : Loading the project
-
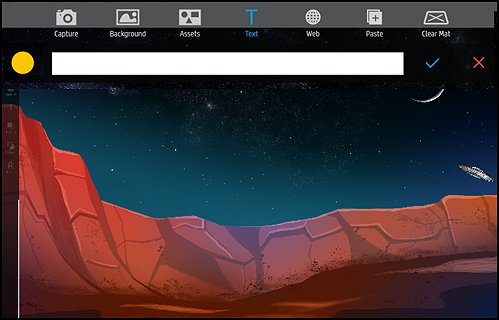
The project is displayed on the mat and the vertical screen. Use the menu options on the mat to edit the project.Tap the T on the menu bar to open text box.Figure : Text box is open
-
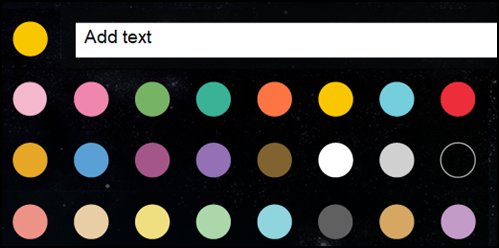
Type your desired text in the box. Tap the Color button to choose a color for the text.Figure : Adding text and choosing a color
-
When you are finished editing the text, tap the blue check mark to insert the text into the project.Figure : Blue check mark

-
The text is added to the project. Tap the text to select it (the blue box around it is displayed). You can resize it and move it to where you want it.Figure : Text is selected
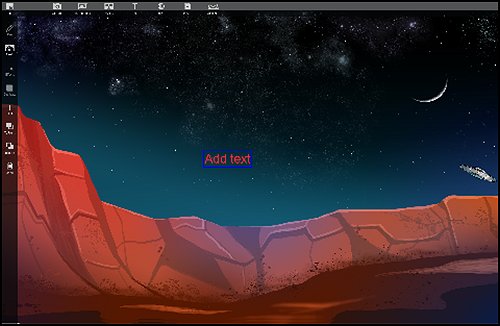 Figure : Text is resized and moved
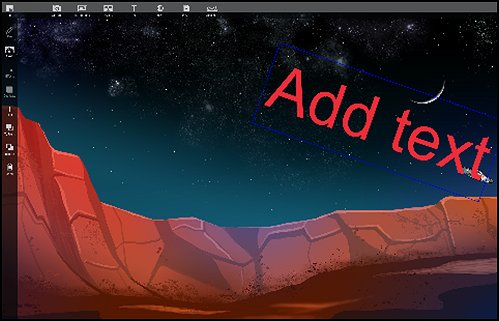
Writing with your finger or with an HP Active Pen
To add handwriting to your project, select the pen from the menu and write on your project using your finger or an HP Active Pen. Open a project, or continue with your current project, and use the following instructions to add handwriting:
-
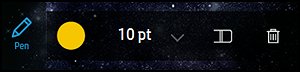
Tap the Pen button on the left menu.Figure : Pen button
-
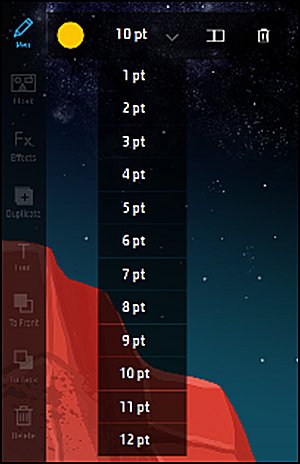
Click the drop-down menu to select the desired line width.Figure : Line width options
-
Use the HP Active Pen or your finger to write on the mat.Figure : Writing on the project on the mat

-
Tap the writing and then select it (a blue box displays around the selection). If needed, resize or move the writing to where you want it.
Editing the assets
On the left side of the mat is a list of editing tools. With an object, text, or other asset selected (framed in blue), the editing tools are displayed:
|
Editing tool icon
|
Function
|

|
Hide: Hide or display the editing tools
|

|
Pen: Select color and line width when using an Active Pen or your finger to write on the selection
|

|
Effects: Rotate, reverse, change the opacity, or change the scale or size of the object
|

|
Duplicate: Make an identical copy of the asset or object
|

|
Font: Change font style
|

|
To Front: When using more than one object, move the selected one in front, or on top of the other(s)
|

|
To Back: When using more than one object, move the selected one to the back, or behind the other(s)
|

|
Delete: Delete unwanted asset, text, graphic, or other asset
|
Adding audio
You can add music or other audio recordings to your project.
To add audio to your project, tap Audio.
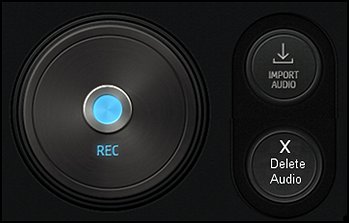
Figure : Audio controls
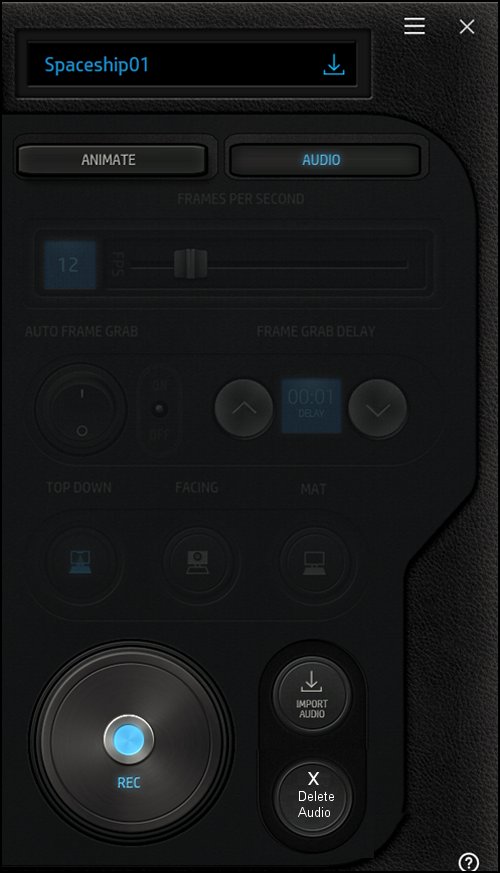
Use the controls to import an audio file from your computer, or record your voice and other sounds using the controls:
-
Rec: Record your voice narrating the project or record other sound or audio not previously recorded and filed on you computer
-
Import Audio: Tap Import Audio to import any audio file from your computer into your project
-
Delete Audio: Delete or remove the audio from your project
Figure : Audio controls
Enter a topic to search our knowledge library
What can we help you with?

Need Help?