solution Contentsolution Content

HP Printers - Unable to Print When Connected to a Network in Windows 8

This document is for HP printers used in Africa, Asia Pacific, Europe, and the Middle East.
After updating your computer to Windows 8 on a wired (Ethernet) or wireless network, the printer does not print or a file is stuck in the print queue. This is a known issue that occurs under the following conditions:
  • The computer is running the Windows 8 operating system.
  • The print driver you are using is an in-operating system (in-OS) driver that automatically installs when Windows detects your printer.
  • The printer is connected through a wired (Ethernet) or wireless network.

Step 1: Make sure your computer and printer are connected to your home network

Verify the computer and printer are connected to your network.

Step 2: Uninstall the in-OS print driver

Before installing the full feature driver, uninstall the print driver that Windows 8 automatically installed.
  1. Right-click the Start button () or the lower left corner of the screen, click Search, and then type Devices and Printers.
  2. Click Devices and Printers.
  3. Right-click the icon for your printer, and then click Remove Device.
    The computer uninstalls the printer software.

Step 3: Download and install the printer software

Many printers have more than one print driver available on the HP Support - Software and Driver Downloads webpage. Choices might include Basic and Full Feature drivers. To resolve the issue, select the Full Feature driver.

Video of downloading and installing the Full Feature software with a wireless connection

The following video demonstrates how to download and install a Full Feature driver with a wireless connection in Windows 8.
Replacing the Printhead - HP Officejet Pro 8600 e-All-in-One Printer
Learn how to replace the printhead in your HP Officejet Pro 8600 e-All-in-One Printer.
Download and install the full feature printer software.
  1. Turn on the printer.
  2. Disconnect the USB cable from the printer, if necessary. The software installation prompts you to connect the cable if needed.
  3. If a Let's identify your product to get started page displays, click Printer, type your printer model number, and then click Submit.
  4. If you need to change the operating system, click Change, select your version, and then click Change.
  5. Under the Driver heading, click Download for the full software package, or click Basic Drivers for other driver options.
  • If these steps resolved the issue, there is no need to continue troubleshooting.
  • If the issue persists, see the next step.

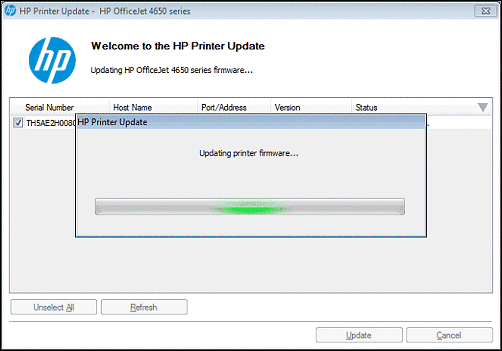
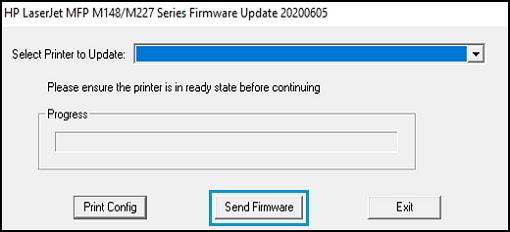
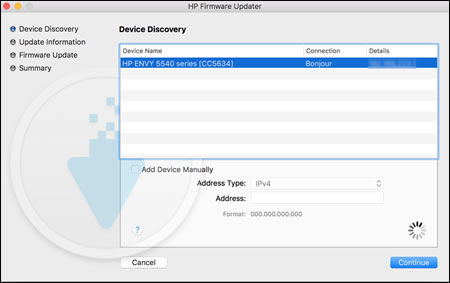
Step 4: Update the printer firmware (if available)

A firmware update to resolve the issue might be available for your printer.