To view a video demonstrating the procedure for removing the part click here to access the Services Media Library (www.hp.com/go/sml). Select Printers and Multifunction under the Product category, Select HP Color LaserJet Printers under the Product family, and then select the printer model under the product series category.
HP Color LaserJet 4700 - Replace the Hard Drive
Hard drive replacement
-
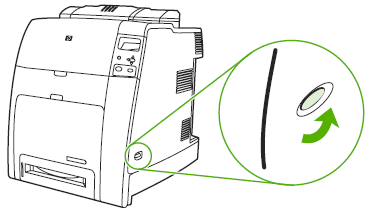
Turn the printer off.

-
Disconnect all power and interface cables.

-
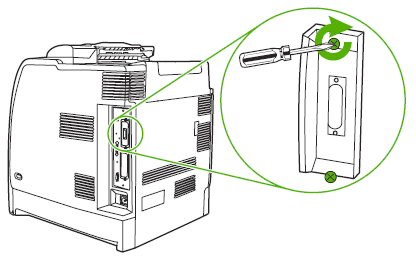
Locate the formatter board in the rear of the printer.

-
Loosen the retaining screws at the top and bottom of the hard drive.

-
Remove the hard drive from its slot in the formatter board.

-
Firmly insert the new hard drive into the EIO slot.

-
Insert and tighten the retaining screws that came with the hard drive.

-
Reconnect the cables and power cord, and turn the printer on.

Parts return
If your part requires return then click on the appropriate link below:
Enter a topic to search our knowledge library
What can we help you with?
Need Help?
