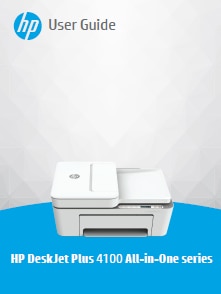
This document is for the HP DeskJet 2710, 2710e, 2720, 2720e, 2721, 2721e, 2722, 2722e, 2723, 2723e, 2724, 2732, 2742e, 2752, 2752e, 2755, 2755e, 4110e, 4120e, 4121e, 4122e, 4123e, 4130e, 4132e, 4133e, 4152e, 4155e, 4158e, 4175e, DeskJet Ink Advantage 2775, 2776, 4175, 4176, DeskJet Plus 4110, 4120, 4121, 4122, 4130, 4140, 4152, 4155, 4158, DeskJet Ink Advantage Ultra 4825, 4826, 4828, 4829, and 4877 All-in-One printers.
HP DeskJet 2700, 4100, 4800 Printers - Replacement Printer Instructions
When HP replaces your defective product, some accessories or parts need to be transferred from the defective product to the replacement product.
note:
Before you send your defective printer to HP, follow these instructions to make sure that you remove the correct accessories to use with your new printer.
note:If you have an HP Instant Ink subscription and were using HP Instant Ink cartridges in your old printer, they do not work in your new printer. Go to Printer Replacement and Instant Ink for more information.
-
Turn on the printer.
-
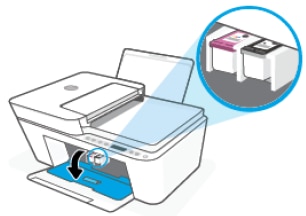
Open the ink cartridge access door.The carriage moves to the center of the printer.
note:
If you have HP Instant Ink cartridges, you need new HP Instant Ink cartridges for your replacement printer. Go to HP Instant Ink, and then sign in to your account to learn more.DeskJet 2700DeskJet Plus 4100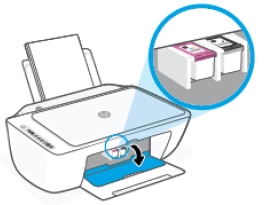
-
Wait until the printer is idle and silent before you continue.
-
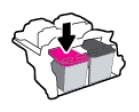
Lightly press down on the ink cartridge to release it, and then pull the ink cartridge out of its slot.
-
If you are not going to insert the ink cartridges in the replacement printer immediately, store them at room temperature inside a sealed plastic container. Store the color ink cartridge with the nozzles down and the black ink cartridge with the nozzles up. This helps prevent the ink from drying out.
-
Turn off the printer.
-
Disconnect the power cord from the rear of the printer, and then unplug the power cord from the wall outlet, surge protector, extension cable, or power strip.
-
Keep the following accessories to use with the replacement printer:
-
Power cord

-
Universal Serial Bus (USB) cable
note:
Availability might vary by country/region.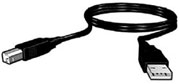
-
Printer software CDs
note:
Availability might vary by country/region.
-
Printer manuals
-
-
Connect the power cord to the rear of the replacement printer, and then plug it into a wall outlet.
-
Turn on the replacement printer, and then test all printer functions.
Enter a topic to search our knowledge library
What can we help you with?

Need Help?