solution Contentsolution Content

HP Color LaserJet Pro M254 Printers - First Time Printer Setup

This document is for HP Color LaserJet Pro M254dw, M254dn, and M254nw printers.
To set up a printer for the first time, remove the printer and all packing materials from the box, load paper into the input tray, connect the power cable, set control panel preferences, and then download and install the printer software.
note:
If you are looking for the printer software, go to 123.hp.com/laserjet.
Step 1: Remove the printer from the box

Remove the printer from the box and all tape, stickers, and packing materials from the printer.
note:
The toner cartridges come preinstalled in your printer. You do not need to remove the toner cartridges from the printer.
  1. Remove the printer from the box.
  2. Remove all tape and packing materials from the outside of the printer, and then remove the film from the printer control panel.
  3. Recycle the packing materials.

Step 2: Load plain paper in the input tray

Load plain paper, such as A4, U.S. letter, or legal, into the input tray.
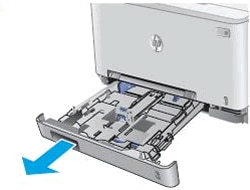
  1. Pull out the paper input tray.
    Figure : Pulling out the paper input tray
    Pull out the paper input tray
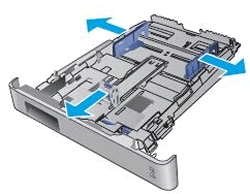
  2. Slide the paper width and length guides to their outermost positions.
    Figure : Sliding the paper guides outward
    Slide the paper guides outward
    note:
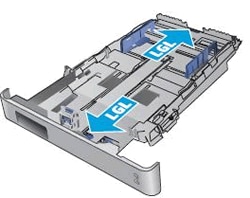
    If you want to load legal-size paper, pull the front and rear of the tray to extend it.
    Figure : Extending the paper input tray
    Extend tray for legal size paper
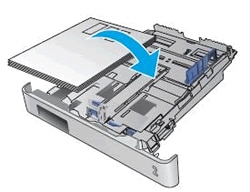
  3. Load the paper in the input tray, print side up. Slide the paper forward until it stops.
    Figure : Loading the paper
    Load the paper
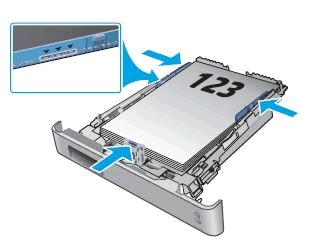
  4. Slide the paper width and length guides inward until they stop at the edges of the paper.
    note:
    Do not overload the paper input tray. Make sure that the stack of paper fits within the tray and is no higher than the top of the guides.
    Figure : Sliding the paper guides inward, and then check the stack height
    Slide in the paper guides
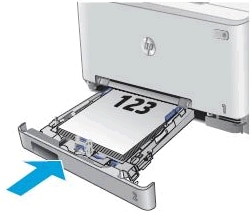
  5. Insert the paper input tray back into the printer.
    note:
    If you extended the paper input tray for legal-sized paper, the tray does not sit flush with the printer body when inserted.
    Figure : Inserting the paper input tray
    Insert the paper input tray

Step 3: Connect the power cord, and set your preferences

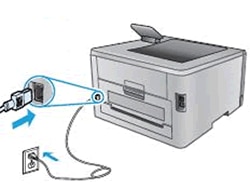
Plug the printer into a wall outlet, turn on the printer, and then set the printer preferences.
note:
Do not connect a USB cable at this time. The connection to the computer is established during software installation.
Your HP printer hardware is now set up, and you can install the printing software.

Step 4: Install the printer software

Download the latest version of the printing software from 123.hp.com/laserjet, and then follow the on-screen instructions to install the software.