solution Contentsolution Content

HP Laser MFP 130, 1000 Printers - First Time Printer Setup

This document is for HP Laser MFP 131a, 133pn, 135a, 135ag, 135r, 135w, 135wg, 136a, 136nw, 136w, 137fnw, 137fwg, 138fnw, 138p, 138pn, 138pnw, 1136w, 1139a, 1188a, 1188w, 1188nw, and 1188pnw printers.
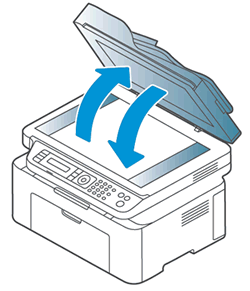
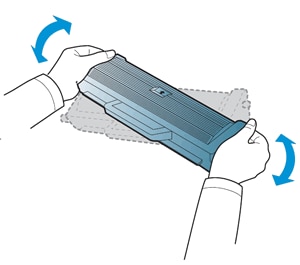
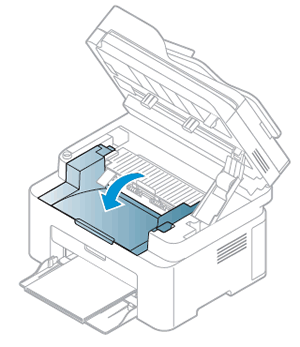
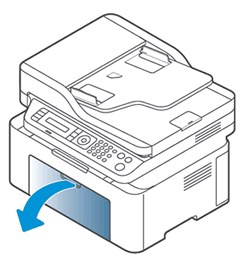
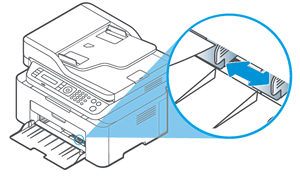
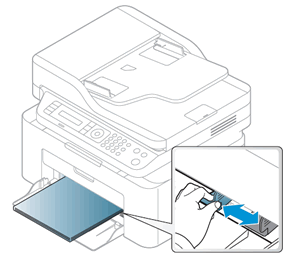
To set up a printer for the first time, remove the printer from the box, load paper, connect the power cable, and then download the printer software.
note:
If you are looking for the printer software, go to 123.hp.com.
How to unbox & set up HP Laser 100, MFP 130, 1003, 1008, MFP 1130, & MFP 1180 printers
Learn how to unbox and set up the HP Laser 100, MFP 130, 1003, 1008, MFP 1130, and MFP 1180 printer series.

Step 1: Remove the printer from the box, and then remove packing materials

Remove the printer from the box and all tape, stickers, and packing materials from the printer.
  1. Remove the printer from the box, and then remove all tape and packing materials from the outside of the printer.
  2. Lift the scanner lid, remove the packing materials, and then close the lid.
    Lifting the scanner lid to remove packing materials, and then closing it
  3. Lift the scanner assembly, and then lift the toner cartridge access door.
      Lifting the  scanner assembly, and then the toner cartridge access door
    1. Lifting the scanner assembly
    2. Lifting the toner cartridge access door
  4. Remove the packing material from the toner cartridge access area, and then remove the toner cartridge.
      Removing the packing material, and then removing the toner cartridge
    1. Removing the packing material
    2. Removing the toner cartridge
  5. Remove the sealing plastic.
     Removing the sealing plastic
  6. Grasp both sides of the toner cartridge, and then distribute the toner by gently rocking the toner cartridge back and forth.
    Grasping the toner cartridge, and then gently rocking the toner cartridge back and forth
  7. Align the toner cartridge with the tracks inside the printer, and then push it until it is firmly seated.
    Installing the toner cartridge
  8. Close the toner cartridge access door, and then close the scanner assembly.
    Closing the toner cartridge access door, and then the scanner assembly
  9. Recycle the packing materials.

Step 2: Load plain paper in the input tray

Load plain U.S. letter or A4 paper into the input tray.
  1. Open the input tray.
    Opening the input tray
  2. Slide out the paper guide as far as possible.
    Sliding out the paper guide   as far as possible
  3. Load paper into the tray print side up with the top edge towards the printer. To prevent paper jams, make sure the stack is below the paper fill guide.
    Loading paper into the tray print side up
  4. Slide in the paper guide until it touches the edge of the stack of paper.
    note:
    Before printing or copying, select the correct paper size and type settings from the control panel or computer.
    Sliding in the paper guide until it touches the paper

Step 3: Connect the power cord, and then turn on the printer

Plug the printer into a wall outlet, and then turn on the printer.
  1. Connect the power cord to the rear of the printer, and then plug the other end of the power cord into an electrical outlet.
    Connecting the power cord to the rear of the printer, and then to a power outlet
  2. If the printer does not turn on automatically, press the Power button, and then follow the prompts on the printer control panel.

Step 4: Connect the fax cables (only 137, 138 printers)

If you plan on using the fax feature, use the fax cables that came with your printer to connect to an available landline.
Connect the phone cord to the phone wall jack, and then connect the other end into the LINE jack on the rear of the printer.
If you are using an answering machine, connect the phone cord to the machine, and then connect the other end to the EXT jack.
Example of connecting the fax cables
For additional information, go to How to Fax.

Step 5: Install the printer software

Your HP printer hardware is now set up, and you can install the printing software. Do not attempt to connect the printer to a computer until instructed to do so during software installation.
Download the latest version of the printing software from 123.hp.com.