Poznámka:After a printhead is replaced, the printer will automatically realign the printheads.
-
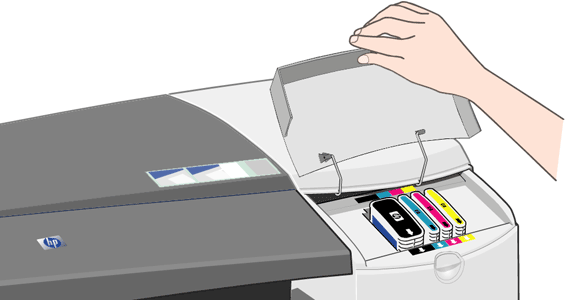
Open the front hinged flap at the right of the printer.
-
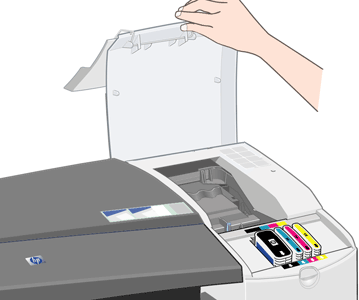
Open the second (back) part of the flap and lift it right back.
-
The print carriage will move to the left and then back to the right. Wait for it to stop.
-
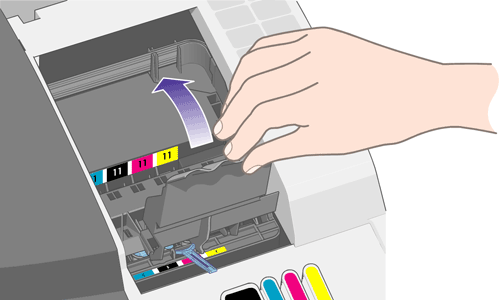
Pull the printhead cover up and towards you, so that the hook at the front unlatches itself, and then push the whole cover back so that the printheads are exposed.
-
Lift the small handle at the top front and use it to pull the printhead vertically up and out of the printer.

-
Take the new printhead and remove the tape that protects its electrical contacts and ink nozzles.

-
Lower the new printhead into place and close its small handle.

-
Push the printhead gently into place, so that it is quite secure.

-
Repeat the preceding four steps for each printhead that you wish to replace.
-
Pull the printhead cover towards you, ensuring that the hook at its front edge latches onto the tab, and then push it away from you to close the cover.

-
Close the rear part and then the front part of the outer flap.

