This document is for the HP Laser 100, 150, MFP 130, 170 printer series and computers with Windows.
Print documents from a Windows computer and change any related print job settings.
 (WordPad), and then click Print to open general print settings.
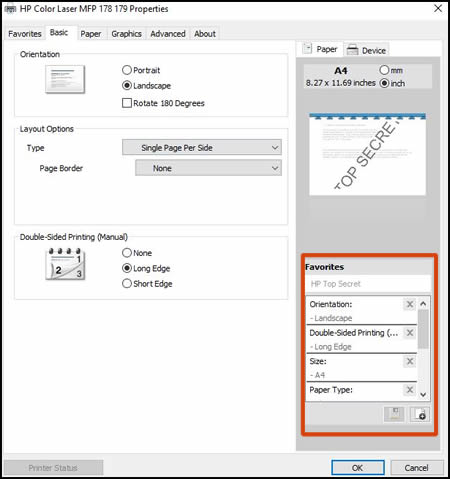
注意:If the Properties window has a Favorites tab, select one of the document print job shortcuts that has essential settings already selected for you.
|
Setting
|
Location
|
|
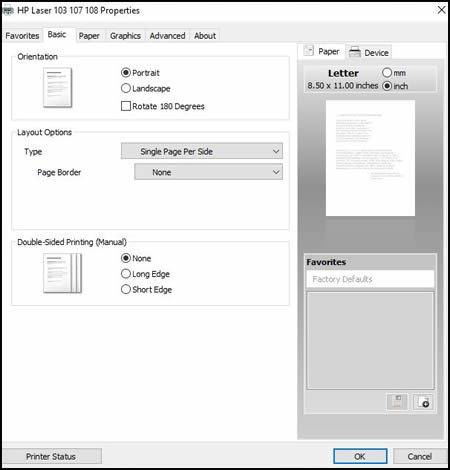
Portrait or landscape orientation
Select Portrait for vertical prints or Landscape for horizontal prints.
|
Orientation menu on the Basic tab
|
|
Paper type
Set the paper type you are using, such as plain, brochure, or other specialty types, so the printer properly prints on the paper.
|
Type menu on the Paper tab
|
|
Paper size
Select the Original size of paper in the printer, such as letter or legal paper.
Make sure to select Same as Original Size in the Output Size menu.
|
Original Size and Output Size menus on the Paper tab
Some newer printers support more paper options. Go to Creating Custom Paper Sizes for more information.
|
|
Print on both sides of the page (duplexing)
Depending on the printer model, you can automatically print on both sides of the paper, or set up the print job to manually flip the pages.
|
Double-sided Printing menu on the Basic tab
The Favorites tab might include shortcuts to print on both sides
Go to Printing on Both Sides of the Paper (Windows) for detailed steps on how to load and flip the paper for your printer type.
|
|
Setting
|
Location
|
|
Quality: Measured in print resolution dots per inch (DPI). Higher DPI produces clearer and more detailed prints, but slows print speed and may use more ink.
|
Advanced on the Document Type menu on the Graphics tab
|
|
Economode: Lowest DPI typically used when ink cartridge levels are low or when high quality prints are not needed
|
Economode menu on the Graphics tab
|
|
Printing in color or grayscale: The following settings might be available, depending on the printer model:
|
Select Color or Grayscale on the Graphics tab
|
(WordPad), then click Print to open general print settings.


注意:Not all websites support size changes through web browser settings. If these settings do not change output size, copy and paste the web page into a document application such as Word or WordPad to adjust the printout size.
 , click Show advanced settings, and then select a larger font size in the Web content section.
 , click Print, and then select a larger printout size in the Scale setting.
 , click Options, click Content, and then select a larger font size in the Fonts & Colors section.

