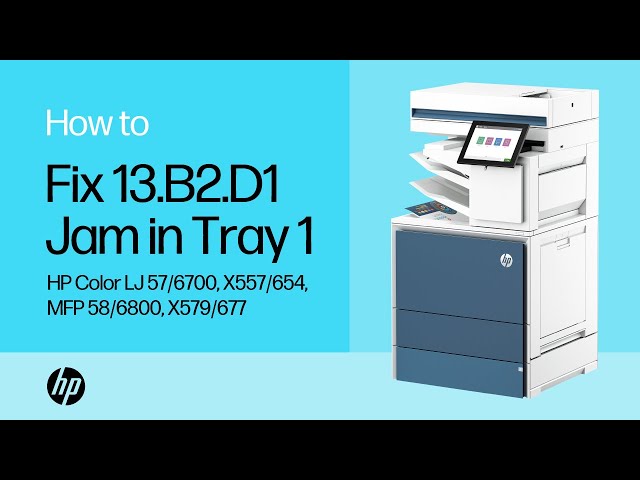
HP Color LaserJet Enterprise 5700, 6700, 6701, X557, X55745, X654, X65455, X65465, MFP 5800, 6800, 6801, X57945, X58045, X677, X67755, X67765 - 13.B2.D1 jam error in Tray 1 (multipurpose tray)
Use the following procedure to check for paper in all possible jam locations related to Tray 1.
Clear a paper jam in Tray 1 (multipurpose tray)
Use the following procedure to clear paper jams in Tray 1 (multipurpose tray). When a jam occurs, the control panel displays an animation that assists in clearing the jam.
Recommended action for customers
When a jam occurs, the control panel displays a message and an animation that assists in clearing the jam.
-
13.B2.D1 Jam in tray 1
-
If you can see the jammed sheet in Tray 1, remove the jammed sheet by gently pulling it straight out.
-
Open the right door and remove paper from the area shown.
-
Make sure the Tray 1 guides are set to the correct paper size and that the paper tray is not overfilled (paper is below the 3 triangles on the right guide).
-
If the same jam appears remove and clean the tray 1 pick, feed and separation rollers.
-
Locate and release the pickup roller assembly release tab.
Locate the pickup roller assembly tab
-
Push the pickup roller assembly to the right and then away from the printer.
Remove the pickup roller assembly
-
Grasp the left- and right-side of the separation roller assembly, and then lift the assembly up.
Lift the separation roller assembly
-
Pull the separation roller assembly straight out to remove it.
Remove the separation roller assembly
-
Enter a topic to search our knowledge library
What can we help you with?

Need Help?