solution Contentsolution Content

HP LaserJet MFP M232e-M237e Printers - Setup Using HP Smart (Windows 10, MacOS)

This document pertains to HP LaserJet M232e-M237e printers using HP Smart in Windows or MacOS.
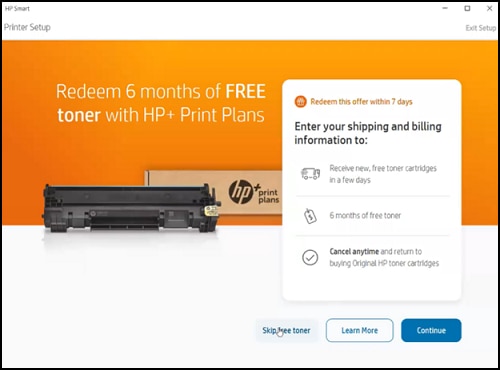
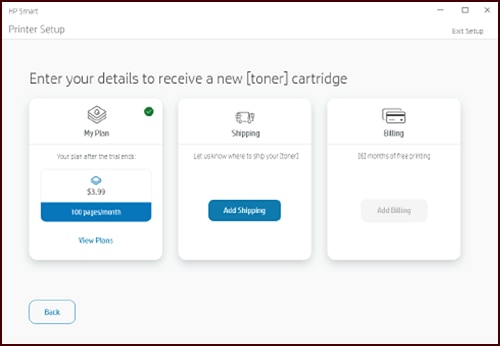
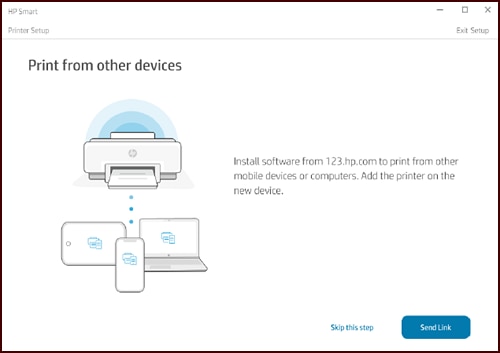
Setup your new HP+ printer using HP Smart.
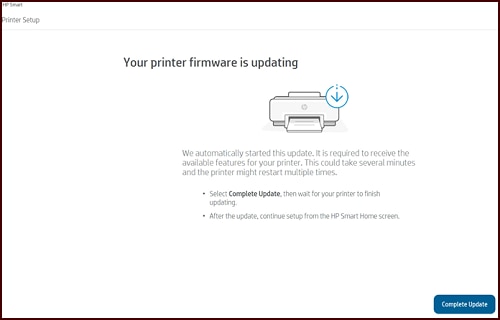
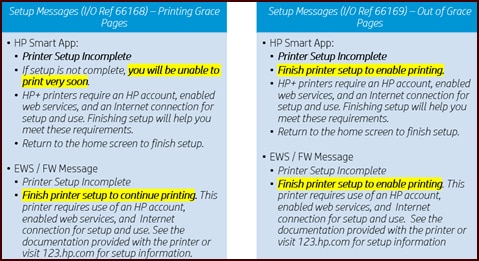
note:
To set up and use the printer, it must always be connected to the internet.

Step 1: Make sure the printer hardware is setup

Before installing HP Smart, make sure the printer hardware has been setup and is ready to be connected to your network. Remove the printer and all packing materials from the box, and connect the printer to a power source, For additional help, refer to the setup poster that came with the printer or refer to HP LaserJet MFP M232-M237 Printers - First Time Printer Setup.

Step 2: Install HP Smart

  1. On your Windows 10 or MacOS device, go to 123.hp.com to get the app, and then follow the on-screen instructions to download and install the app.
  2. After the installation completes, open the HP Smart app.
  3. On the Welcome screen, click Continue, and then Yes.
    Doing so allows HP Smart app to collect usage data.
  4. Click Set Up a New Printer.
    note:
    If you are installing HP Smart for the first time, the Sign in and Skip for now options are also displayed. Refer to What are the Sign in and Skip for now options? in the Frequently Asked Questions section for more information.
  5. Follow the on-screen instructions to add your printer.
    note:
    Make sure to enter your network password if prompted.
  6. Select your printer, and then click Continue.
  7. To secure the connection by default, press the Information 
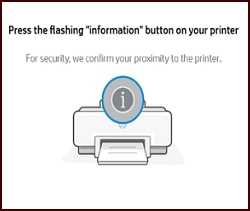
button on the printer.
    Selecting Information button on control panel
  8. Click Continue again.
    The mandatory firmware update screen displays.
    Updating the firmware
  9. Click Complete Update, and then click Finish Setup.
    note:
    If the Firmware Uploading error displays, click Exit setup, and then click Finish Setup to restart the firmware update.
  10. Click Continue on the next two windows, and then click Confirm.
  11. Sign in to an exisiting HP Account. If you do not have an HP account, create a new account - refer to How do I create a new HP account? in the Frequently Asked Questions section.
  12. Continue past the next three windows to set up your new account and redeem six months of free printing and Print plans.
    Redeeming six months HP+ print plans
  13. Choose a plan you would like, and then specify your Shipping address and Billing details.
    Selecting Toner Plans
  14. Click Continue on the confirmation window.
    Confirmation of Toner supply
  15. Load the paper into the input tray, and then click Continue.
  16. Install the tray cover and remove the toner sheet, and then click Continue.
Setup is now complete. Click Print to start printing or click Skip printing page to skip printing. To add your printer to mobile or desktop devices, skip to Print from other devices or view account plans.
Skip printing or print a page when setup is complete

Frequently asked questions (FAQs)