This document is for HP Latex 600 (HP Scitex LX600 Industrial Printer), 820 (HP Scitex LX820 Industrial Printer), and 850 (HP Scitex LX850 Industrial Printer), HP Scitex LX800, and HP Designjet L65500 printers.
This document provides the steps to access the Service menu and the Diagnostic mode on the printer front panel. In order to perform certain service or maintenance tasks, access the Service menu or the printer in Diagnostic mode. The procedures in this document should only be performed by a qualified user or when directed by an HP Customer Care representative.
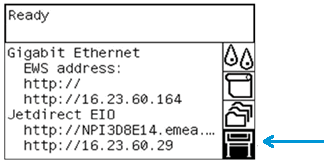
 ) button until the plotter icon is highlighted.
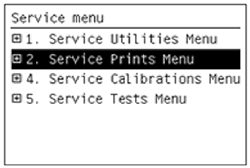
 ) button, depending on your printer's front panel.
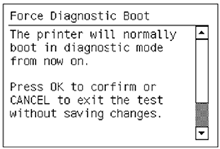
 ) button. Release both buttons simultaneously.
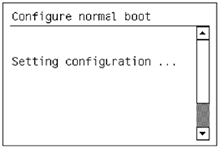
 ) button to exit the