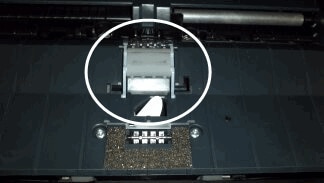
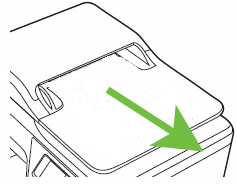
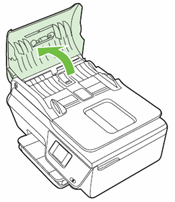
When you use the automatic document feeder (ADF) to copy, scan, or fax, the error message 'The original has jammed or the document feeder (ADF) is dirty. To remove the original, open the ADF cover. To clean the ADF, see the user guide' displays on the product control panel.
Experiencing frequent or recurring paper jams?
-
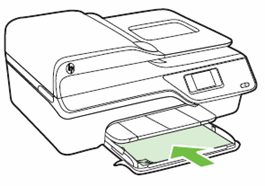
Before loading paper in the ADF tray, hold the stack of paper, and then tap the bottom edge on a flat surface so that the stack is even on all sides.
-
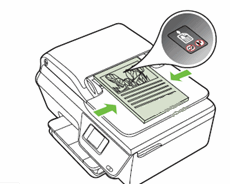
Push the stack of paper forward until the message 'Original Loaded' displays on the control panel, and then adjust the paper width guides so they rest against the stack of paper. Do not push the guides in so tightly that they bind against the paper.
caution:
Do not force the paper to move too far forward in the tray. -
Do not overload the ADF tray with paper.
-
Do not use paper that is bent, torn, dusty, damp, wrinkled, curled, or paper that does not lie flat.
-
Use only one type of paper at a time. Do not mix different types, weights, or sizes of paper.
-
Do not use paper that is too thin, too thick, or too glossy for the product.
-
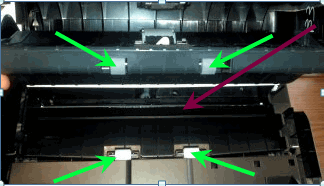
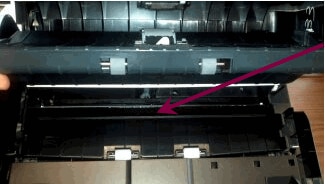
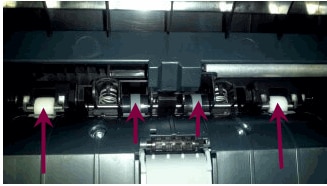
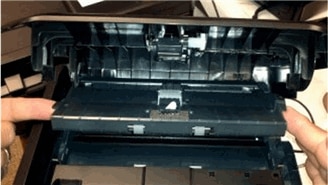
To help prevent ADF jams, make sure that the parts of the ADF are clean and free of dust or sticky material. This applies to the input and output trays, ADF scanner glass strip, separator pad, and pickup rollers.
Causes
-
The paper is loaded incorrectly in the ADF tray.
-
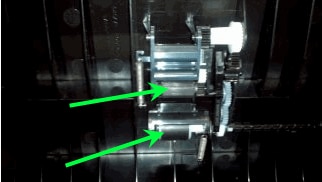
The paper rollers are damaged or dirty.
-
The ADF tray contains torn, wrinkled, or damp paper.
-
The ADF tray contains more than one type of paper.
-
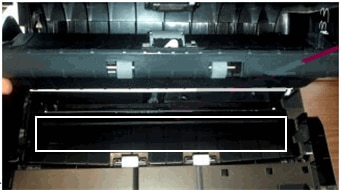
The paper is jammed inside the HP product where you cannot see it.
-
An obstruction is blocking the paper path.
-
Torn pieces of paper from a previous jam are stuck in the product.
-
The tray is too full.
 ) next to
  ) to turn off the product.