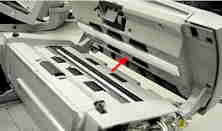
With normal usage, your HP All-in-One should be cleaned every six months; for high usage, every three months, and then as necessary to correct cleaning-related problems. This document contains the recommended cleaning methods for all models of the following product families:
-
All HP Officejet All-in-Ones
-
HP Officejet Pro All-in-Ones
-
HP Printer/Scanner/Copiers (PSC)
-
HP Color Copiers
-
HP Inkjet Faxes
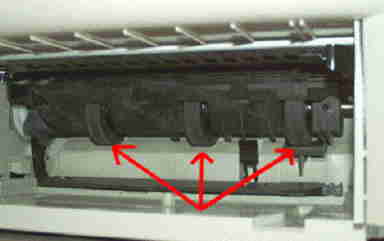
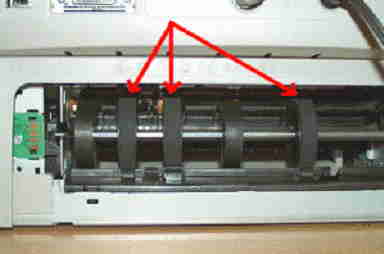
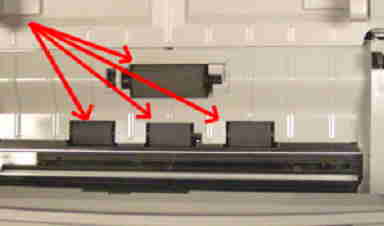
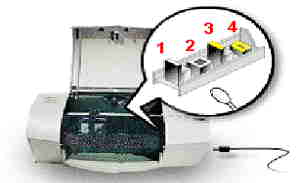
warning:Unplug the power cord from the back of the printer before following any of the cleaning procedures to avoid the chance of electrical shock. Also, unplug the power cord from the wall outlet. Wait for 30 seconds for the static to be discharged before plugging it back into the wall outlet.
caution:Never spray cleaning fluid directly into the unit. Any time a cleaning solution is used on a part, allow the part to dry thoroughly before continuing. Never use any kind of cleaning solution on silver-painted components. Cleaning solutions may remove the paint.