This document is for HP ENVY 7640, 7643, 7644, 7645, Officejet 5740, 5741, 5742, 5743, 5744, 5745, 5746, and Officejet 8040 with Neat e-All-in-One printers.
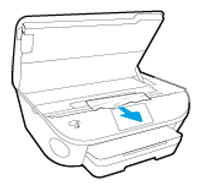
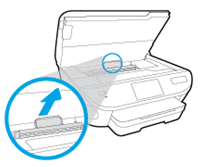
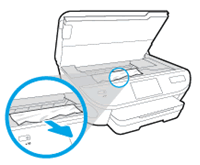
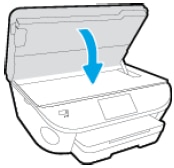
During a print job, the carriage stalls, the printer stops, and the following error message displays on the printer control panel:
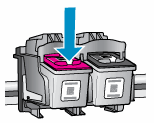
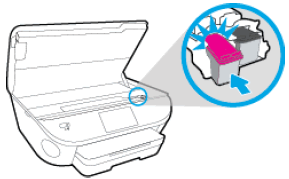
The print carriage cannot move. Open the ink cartridge access door, clear any paper jam or obstruction, and select OK.
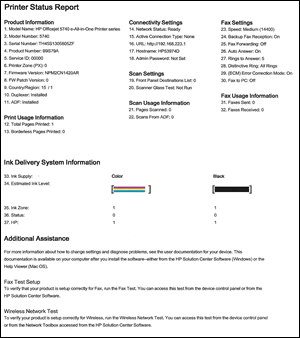
Try the following solutions to resolve the carriage jam issue. When you can successfully print a Printer Status Report, you can stop troubleshooting.
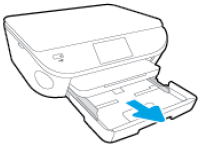
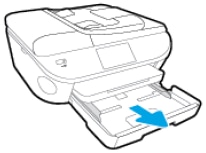
 ).
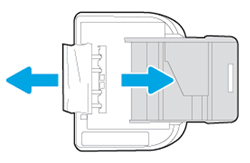
).