This document is for HP Deskjet 1000, 2000, 3000, and Deskjet Ink Advantage 2010 printers.
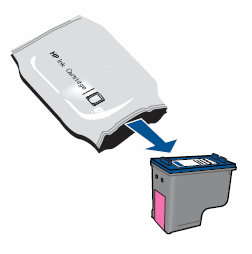
To prevent print quality issues, replace the ink cartridges when they are low or out of ink.
|
Ink cartridge description
|
North America and Asia Pacific, including Japan (excluding India, China, and Indonesia)
|
Western Europe
|
Middle East, Africa, Latin America, and CIS
|
China, India, and Indonesia
|
|
Black ink cartridge
|
HP 61 Black
|
HP 301 Black
|
HP 122 Black
|
HP 802 Black
|
|
Color ink cartridge
|
HP 61 Tri-color
|
HP 301 Tri-color
|
HP 122 Tri-color
|
HP 802 Tri-color
|
|
Ink cartridge description
|
The Americas
|
Europe
|
Middle East and Africa
|
Asia Pacific
|
|
Black ink cartridge
|
HP 704 Black
|
N/A
|
N/A
|
HP 704 Black
|
|
Color ink cartridge
|
HP 704 Tri-Color
|
N/A
|
N/A
|
HP 704 Tri-Color
|
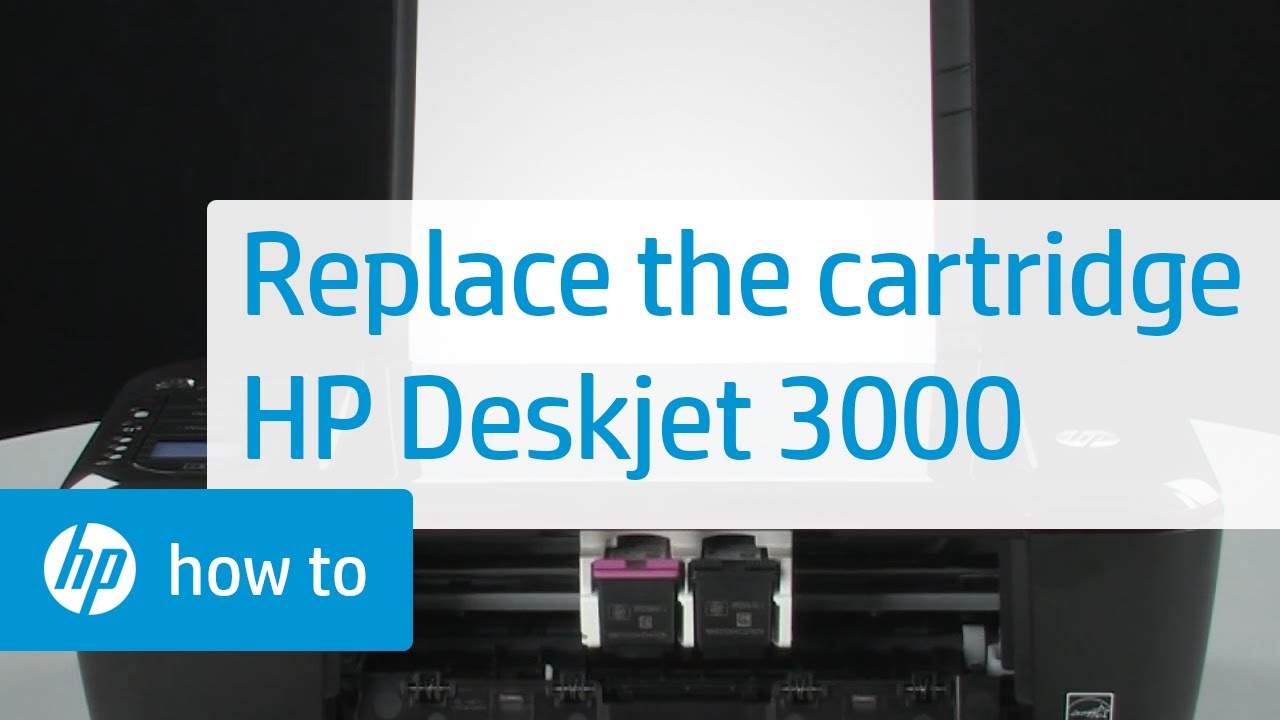
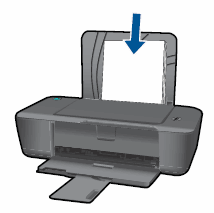
note:The video shows the HP Deskjet 3000. The outside of the product might not look the same as your product, but the steps are the same.
 ) to turn it on.
 ) to turn it on.
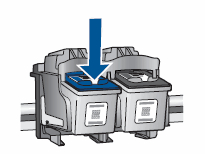
caution:Do not touch the copper-colored contacts or the ink nozzles. Touching these parts can result in clogs, ink failure, and bad electrical connections. Also, do not re-tape the cartridges. Doing so can result in clogs, ink failure, and bad electrical connections.Figure : Do not touch electrical contacts or ink nozzles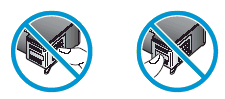
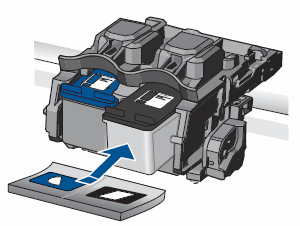
 ) goes in the slot on the left
 ) goes in the slot on the right
 ) in the lower left corner of the screen, and then click Search.
 ). The printer software opens.
note:You can also open the printer software from your computer desktop: double-click the icon for your printer ().
 ), click All Programs, click HP, click the folder for your printer, and then click the icon for your printer (). The printer software opens.
note:You can also open the printer software from your computer desktop: double-click the icon for your printer (
 ), click All Programs, click HP, click the folder for your printer, and then click the icon for your printer (
 ). The printer software opens.
note:You can also open the printer software from your computer desktop: double-click the icon for your printer (
