Use these advanced troubleshooting procedures for issues with HDMI display and sound.
A hard or forced reset erases all information in the computer memory, which might resolve HDMI display and sound issues.
When performing a hard reset, you must disconnect or remove all peripheral devices. Test the computer by itself, and then reconnect one peripheral device at a time.
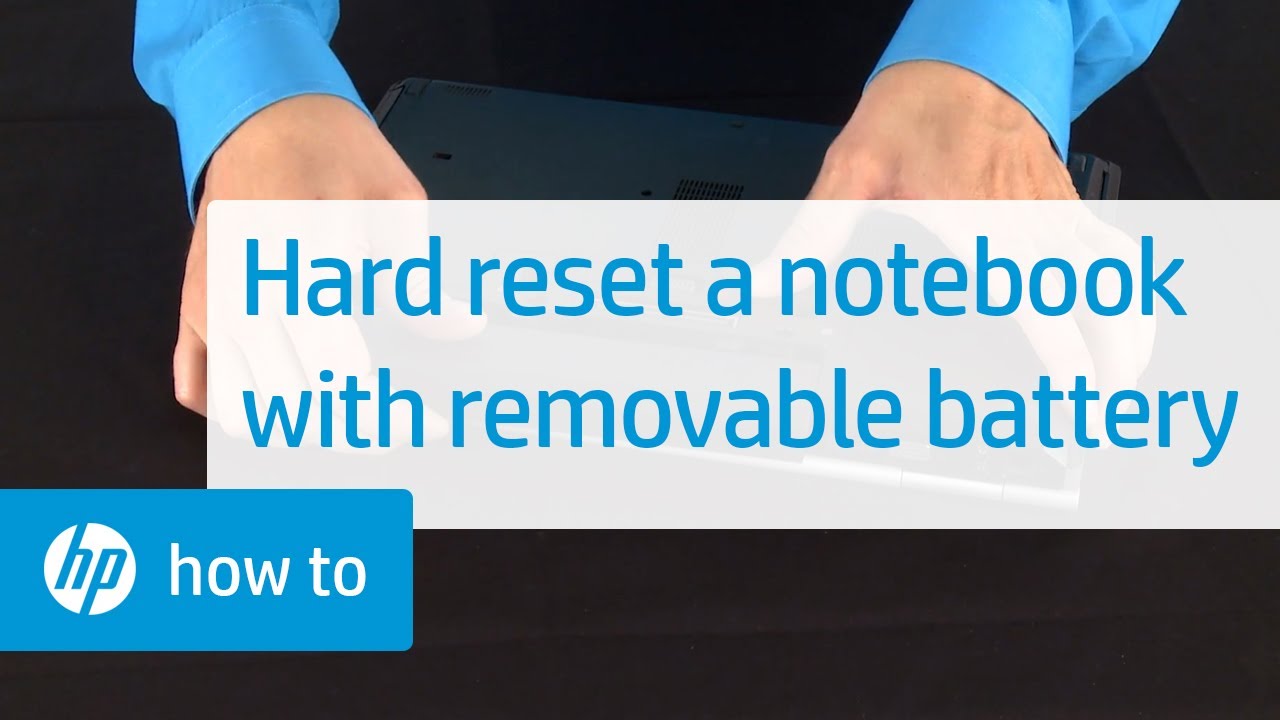
Perform a power reset (or hard reset) of your desktop computer to clear information from the computer memory without erasing personal data.
Turn off the computer.
Disconnect the AC adapter.
Disconnect all nonessential peripheral devices, such as printers, scanners, external hard drives, and USB flash drives.
Do not disconnect your mouse, keyboard, or monitor.
With the AC adapter unplugged, press and hold the power button for approximately 15 seconds.
After you drain the capacitors, reconnect the AC adapter. Leave peripheral devices disconnected.
Turn on the computer.
Perform a power reset on your notebook with a removable battery.
Turn off the computer, and then unplug the power cord.
Disconnect any peripheral devices, and then remove the computer from any port replicator or docking station.
Remove the battery from the computer.
With the battery and power cord unplugged, press and hold the Power button for approximately 15 seconds.
After you drain the capacitors, re-insert the battery, and then plug in the power cord. Leave peripheral devices disconnected.
Turn on the computer.
Perform a power reset (or hard reset) of your notebook to clear information from the computer memory without erasing personal data.
Turn off the computer.
Disconnect the AC adapter.
Remove any discs from the disc drive.
Remove memory cards from the card reader slot.
Disconnect all nonessential peripheral devices, such as printers, scanners, external hard drives, and USB flash drives.
With the AC adapter unplugged, press and hold the power button for approximately 15 seconds.
Reconnect the AC adapter, and then turn on the computer.
Use HP Support Assistant to find and install updates, including BIOS updates, for your computer with Windows.
In Windows, search for and open HP Support Assistant, or click the app icon in the taskbar.
If the app is not installed on your computer, download the latest version from the HP Support Assistant website.
On the My Dashboard tab, find your computer, and then click Updates.
Wait while HP Support Assistant analyzes the system.
After the analysis completes, select the listed updates, download and install the updates, and then follow any on-screen instructions.
If prompted, restart the computer, and then close the tool.
Find and install updates for your computer with Windows 10.
In Windows, search for and open Windows Update settings.
Click Check for updates.
If there are any available updates, they begin installing automatically.
After the updates install, restart your computer, if necessary.
Find your HDMI issue and use the suggestions to troubleshoot your issue.
HP recommends that you connect analog speakers to the computer Audio Line Out connector if you want to hear sound during the initial setup of the computer.
If you used a DVI-to-HDMI adapter to connect the display, DVI does not carry an audio signal. To hear sound through the display, you must connect the computer Audio Line Out connector to the DVI Audio In connector on the display and select DVI as the source. Do not select HDMI as the default audio device in Windows.
With HDMI, you can use both your computer and your high definition TV screen as a display at the same time. In this scenario, the audio might play, but there is no video output from the DVD.
Check that the display is connected to the computer and turned on.
Select the correct source on the HDTV monitor or TV. If the display or TV has more than one HDMI input, make sure that you select the HDMI port that the HDMI cable is connected to; for example, HDMI 2. If you are using a DVI-to-HDMI adapter, select DVI as the source. Do not select HDMI as the default audio device in Windows.
If you are using multiple displays, check the specifications for the graphics card to ensure that it supports the display types and numbers to which you connected. Most cards do not support connecting more than two displays at a time.
Update the BIOS and the video drivers to the latest version available for your computer.
If you experience poor picture quality, try a shorter or higher quality HDMI cable.
Use an HDMI cable five meters (16 feet) or less in length. Longer distances can result in signal degradation and possible loss of audio and video quality. For longer distances, or for viewing 1080 p or higher video definition, use a higher quality cable (Category 2) or a signal amplifier.
If you connected the monitor or TV after the graphics software was opened, close the software and open it again. Most software does not recognize a monitor or TV added or attached after the software is opened.
While playing an HD DVD on your computer while it is connected to an LCD TV with an HDMI cable, you see the "Content protected" error message.
The following error sometimes occurs when single mode settings are selected:
The content is protected. The content is not allowed to be played in current mode.
To resolve the issue, click to accept the message when prompted. The movie plays.
If you do not see the surround sound option in Sound Manager, confirm that the computer recognizes HDMI audio.
To confirm that the computer recognizes HDMI audio, right-click the Volume icon in the Windows system tray, and then select Sounds or Playback Devices. If you do not see HDMI Output, make sure that the HDMI cable is connected between the computer and the device.
If the issue persists, reinstall or update your audio drivers and make sure the BIOS is up-to-date.
The HDMI port cannot receive audio if the HDMI icon disappears from the Sound properties in Control Panel.
Connect the HDMI cable to your computer and to your output device.
In Windows, search for and open Control Panel.
Click Sound, and then click the Playback tab.
The Sound window opens. On the Playback tab, select the output device connected with the HDMI cable, and then click Set Default.
If the HDMI icon always displays Working status, the audio source is always directed to the HDMI port.
To remove the constant Working status from the HDMI icon, select a different default audio device.
Connect the HDMI cable to your computer and to your output device.
In Windows, search for and open Control Panel.
Click Sound, and then click the Playback tab. The Sound window opens.
On the Playback tab, select another audio device, click Set Default > OK.
The HDMI icon no longer constantly displays Working status and the audio source is no longer always directed to the HDMI port.
If the HDMI icon displays Not Plugged In, audio and video do not output to the HDMI port.
To remove the Not Plugged In status from the HDMI icon, select another audio device.
Disconnect the HDMI cable from the HDMI port on the computer.
Reconnect the HDMI cable to the HDMI port on the computer.
In Windows, search for and open Control Panel.
Click Sound, and then click the Playback tab.
After 10 seconds, switch the audio source in the Sound properties. Right-click the Volume icon on the taskbar, and then select Sounds or Playback Devices.
The Sound window opens. On the Playback tab, select another audio device, click Set Default > OK.
The HDMI icon no longer displays the Not Plugged In status. Audio and video can now output to the HDMI port.
If your display does not have an HDMI connector, you can use a DVI-to-HDMI adapter with a DVI cable (or an HDMI cable). However, DVI does not carry an audio signal.
To hear sound through the display, you must connect the computer Audio Line Out connector to the DVI Audio In connector on the monitor or TV, and then select DVI as the source. Do not select HDMI as the default audio device in Windows.
Using the DVI-to-HDMI adapter with the HDMI and DVI connectors
Connecting the analog audio cable to the computer Audio Line Out connector and the display DVI Audio In connector